Media Library
Page summary:Media Library centralizes all uploaded assets with search, filters, and folder organization. This documentation includes provider options, upload workflows, and explanations on inserting media into content.
The Media Library is the Strapi feature that displays all assets uploaded in the Strapi application and allows users to manage them.
Strapi has completely reworked the Media Library UI. It is available as a beta feature 5.52.2+ for the next few weeks, before it becomes the default UI. Enable it by setting the future.betaMediaLibrary property to true in the config/features file:
- JavaScript
- TypeScript
module.exports = () => ({
  future: {
    betaMediaLibrary: true,
  },
});
export default () => ({
  future: {
    betaMediaLibrary: true,
  },
});
Restart your Strapi application after the configuration change. Set the property to false and restart Strapi to go back to the previous UI: no asset, folder or setting is lost when you switch either way.
The Usage section of this page describes the new UI. The Configuration section applies to both. The guided tour above still shows the previous UI.
The flag changes the Media Library page of the admin panel, and adds the upload dialog described in following upload progress to the whole admin panel. The following are not affected and still behave as documented:
- the media field of the Content Manager, which still opens the previous asset picker,
- the Settings > Global Settings > Media Library page,
- the Upload REST API.
The Media Library page displays a notice reminding you that this is a beta and that some features are still in progress. Read the features configuration documentation before enabling the flag, where the STRAPI_FUTURE_BETA_MEDIA_LIBRARY environment variable is also documented.
You can read more about the beta here and report any issue you run into on the strapi/strapi repository.
Configuration
Some configuration options for the Media Library are available in the admin panel, and some are handled via your Strapi project's code.
Admin panel configuration
In the admin panel, some Media Library settings are available via the Global Settings to manage the format, file size, and orientation of uploaded assets. It is also possible, directly via the Media Library to configure the view.
Configuring settings
Path to configure the feature: Settings > Global Settings > Media Library.
-
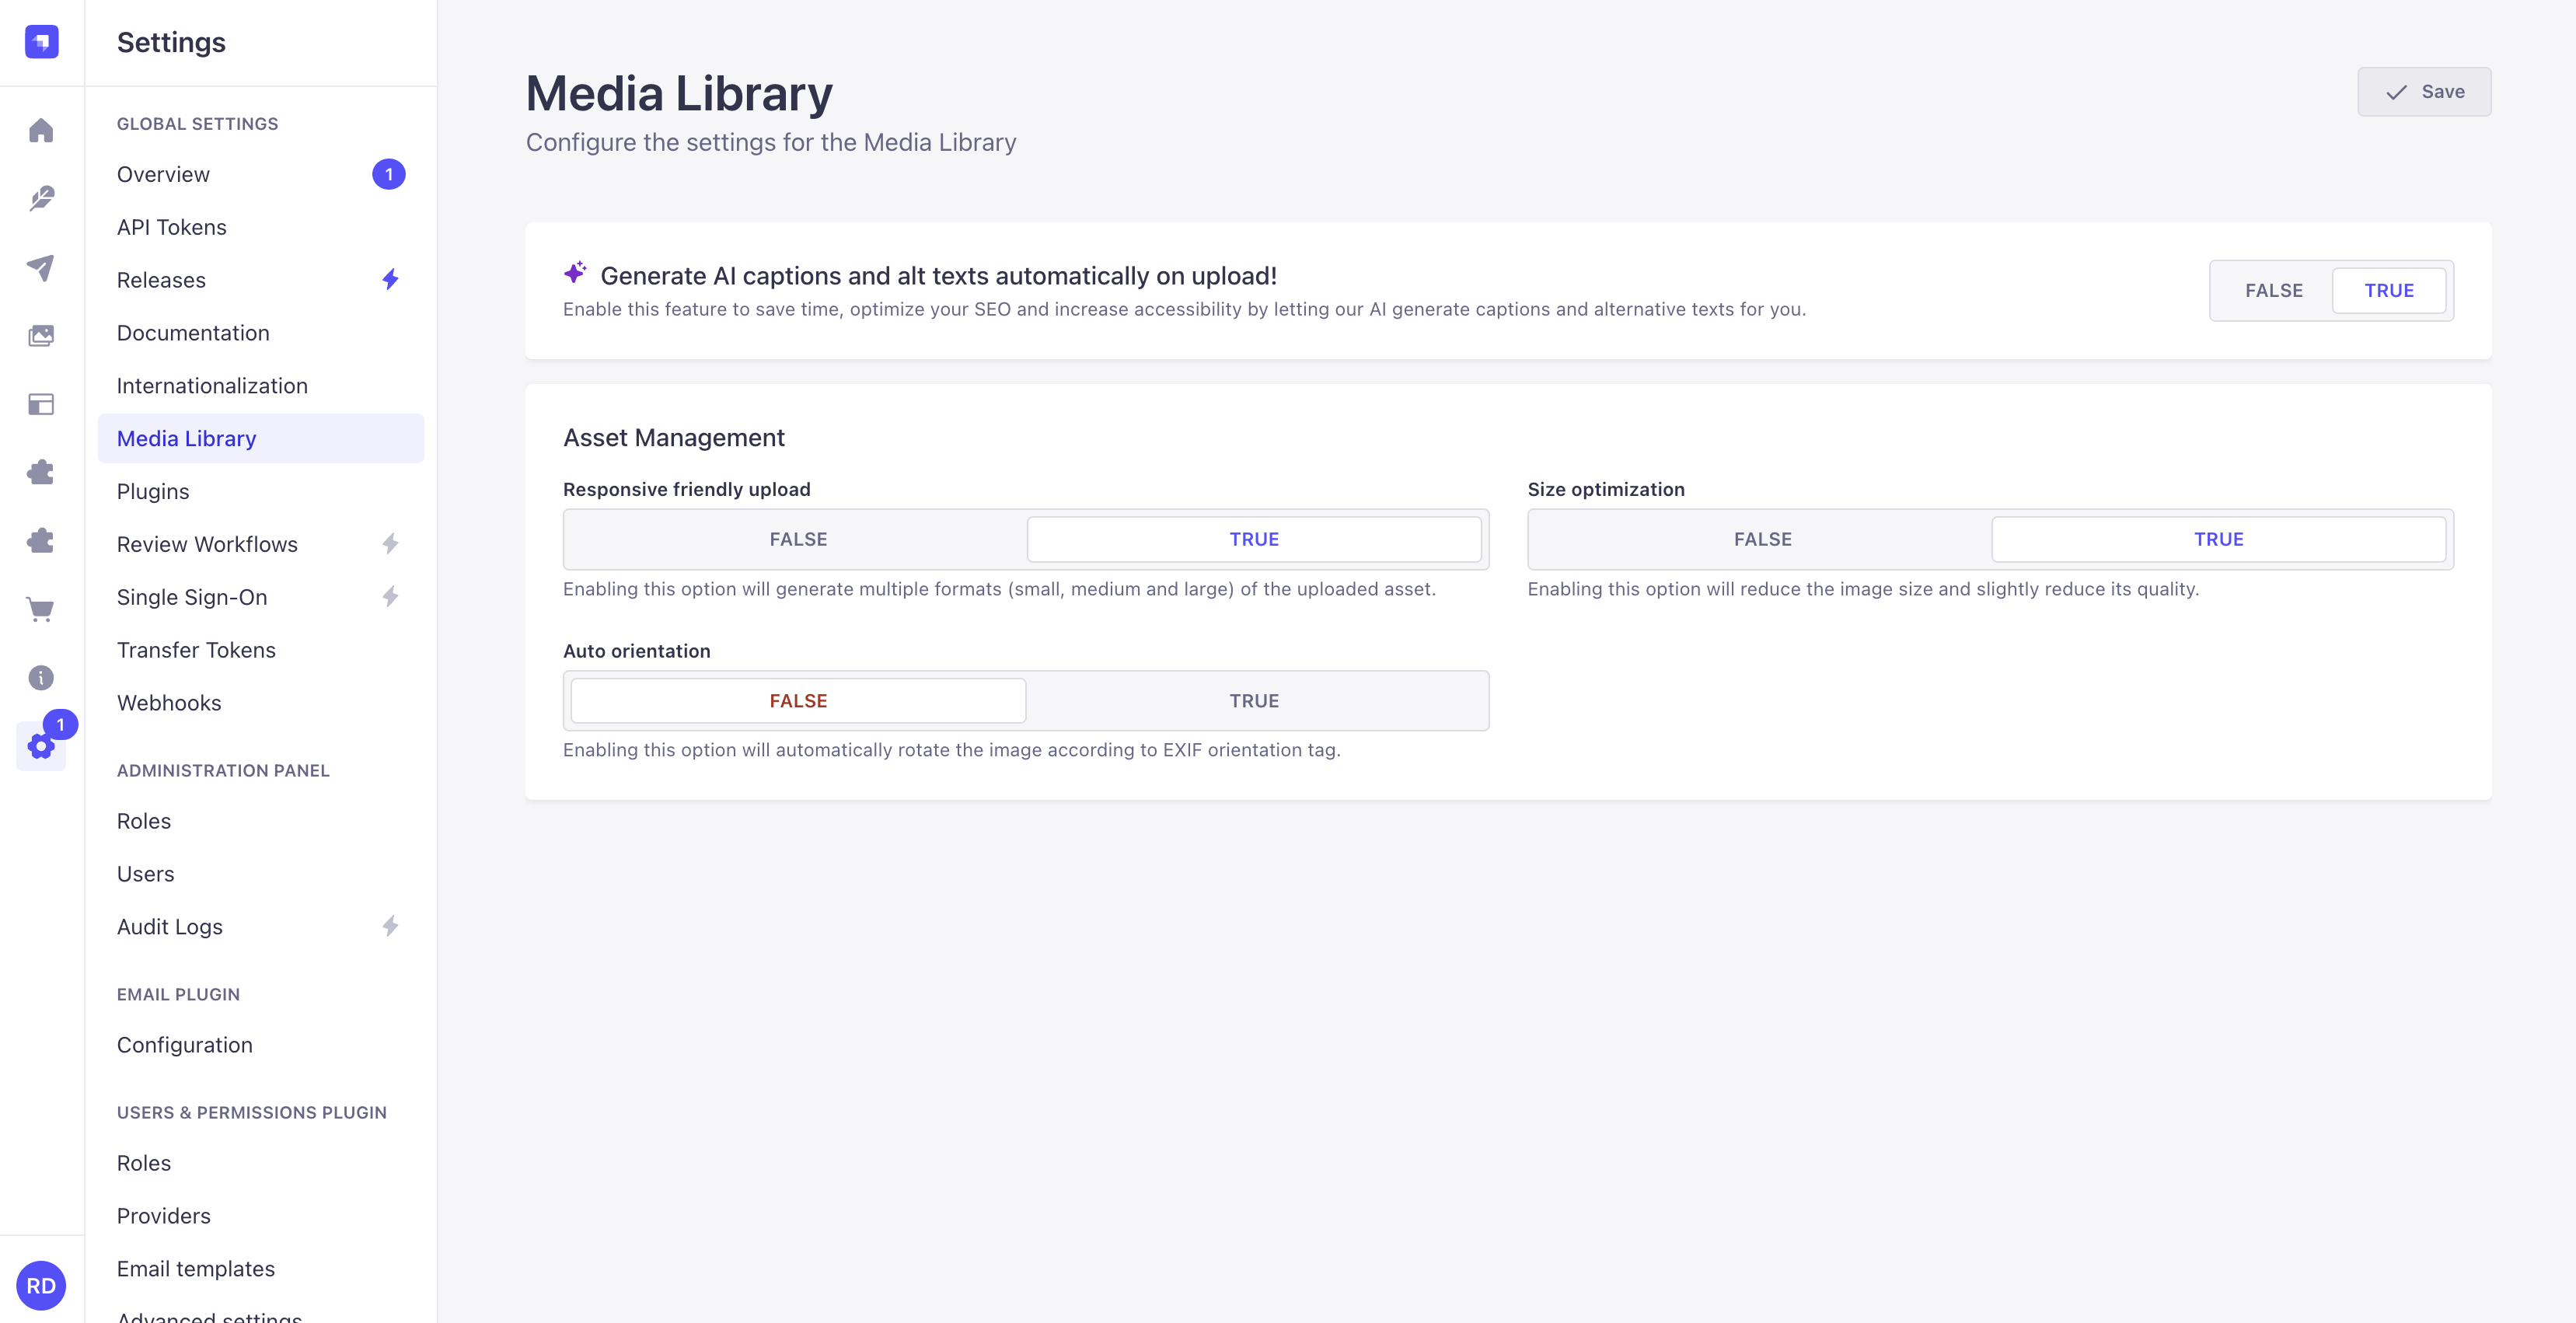
Define your chosen new Media Library settings:
Setting name Instructions Default value Generate AI captions and alt texts automatically on upload! Enabling this option will turn on AI‑powered metadata generation GrowthThis feature is available with a Growth plan. True Responsive friendly upload Enabling this option will generate multiple formats (small, medium and large) of the uploaded asset.
Default sizes for each format can be configured through the code.True Size optimization Enabling this option will reduce the image size and slightly reduce its quality. True Auto orientation Enabling this option will automatically rotate the image according to EXIF orientation tag. False -
Click on the Save button.
When images in your library lack a caption or an alternative text, the AI metadata setting reports how many, and offers a Generate metadata button to generate the missing metadata in the background. Review the result: AI can make mistakes.
Configuring the view
Path to configure the feature: Media Library
The button and the view configuration page described below are not available while the betaMediaLibrary future flag is enabled, because the beta Media Library replaces both settings:
- assets load as you scroll instead of being paginated, so there is no page size to define,
- the sort order is chosen from the toolbar and stored in the page URL (see sorting assets).
A bookmarked link to /admin/plugins/upload/configuration displays a blank page rather than an error while the flag is enabled.
Both settings still apply to the media field of the Content Manager. To change them, set the flag back to false temporarily.
- Click on the button just above the list of folders and assets, on the right side of the interface.
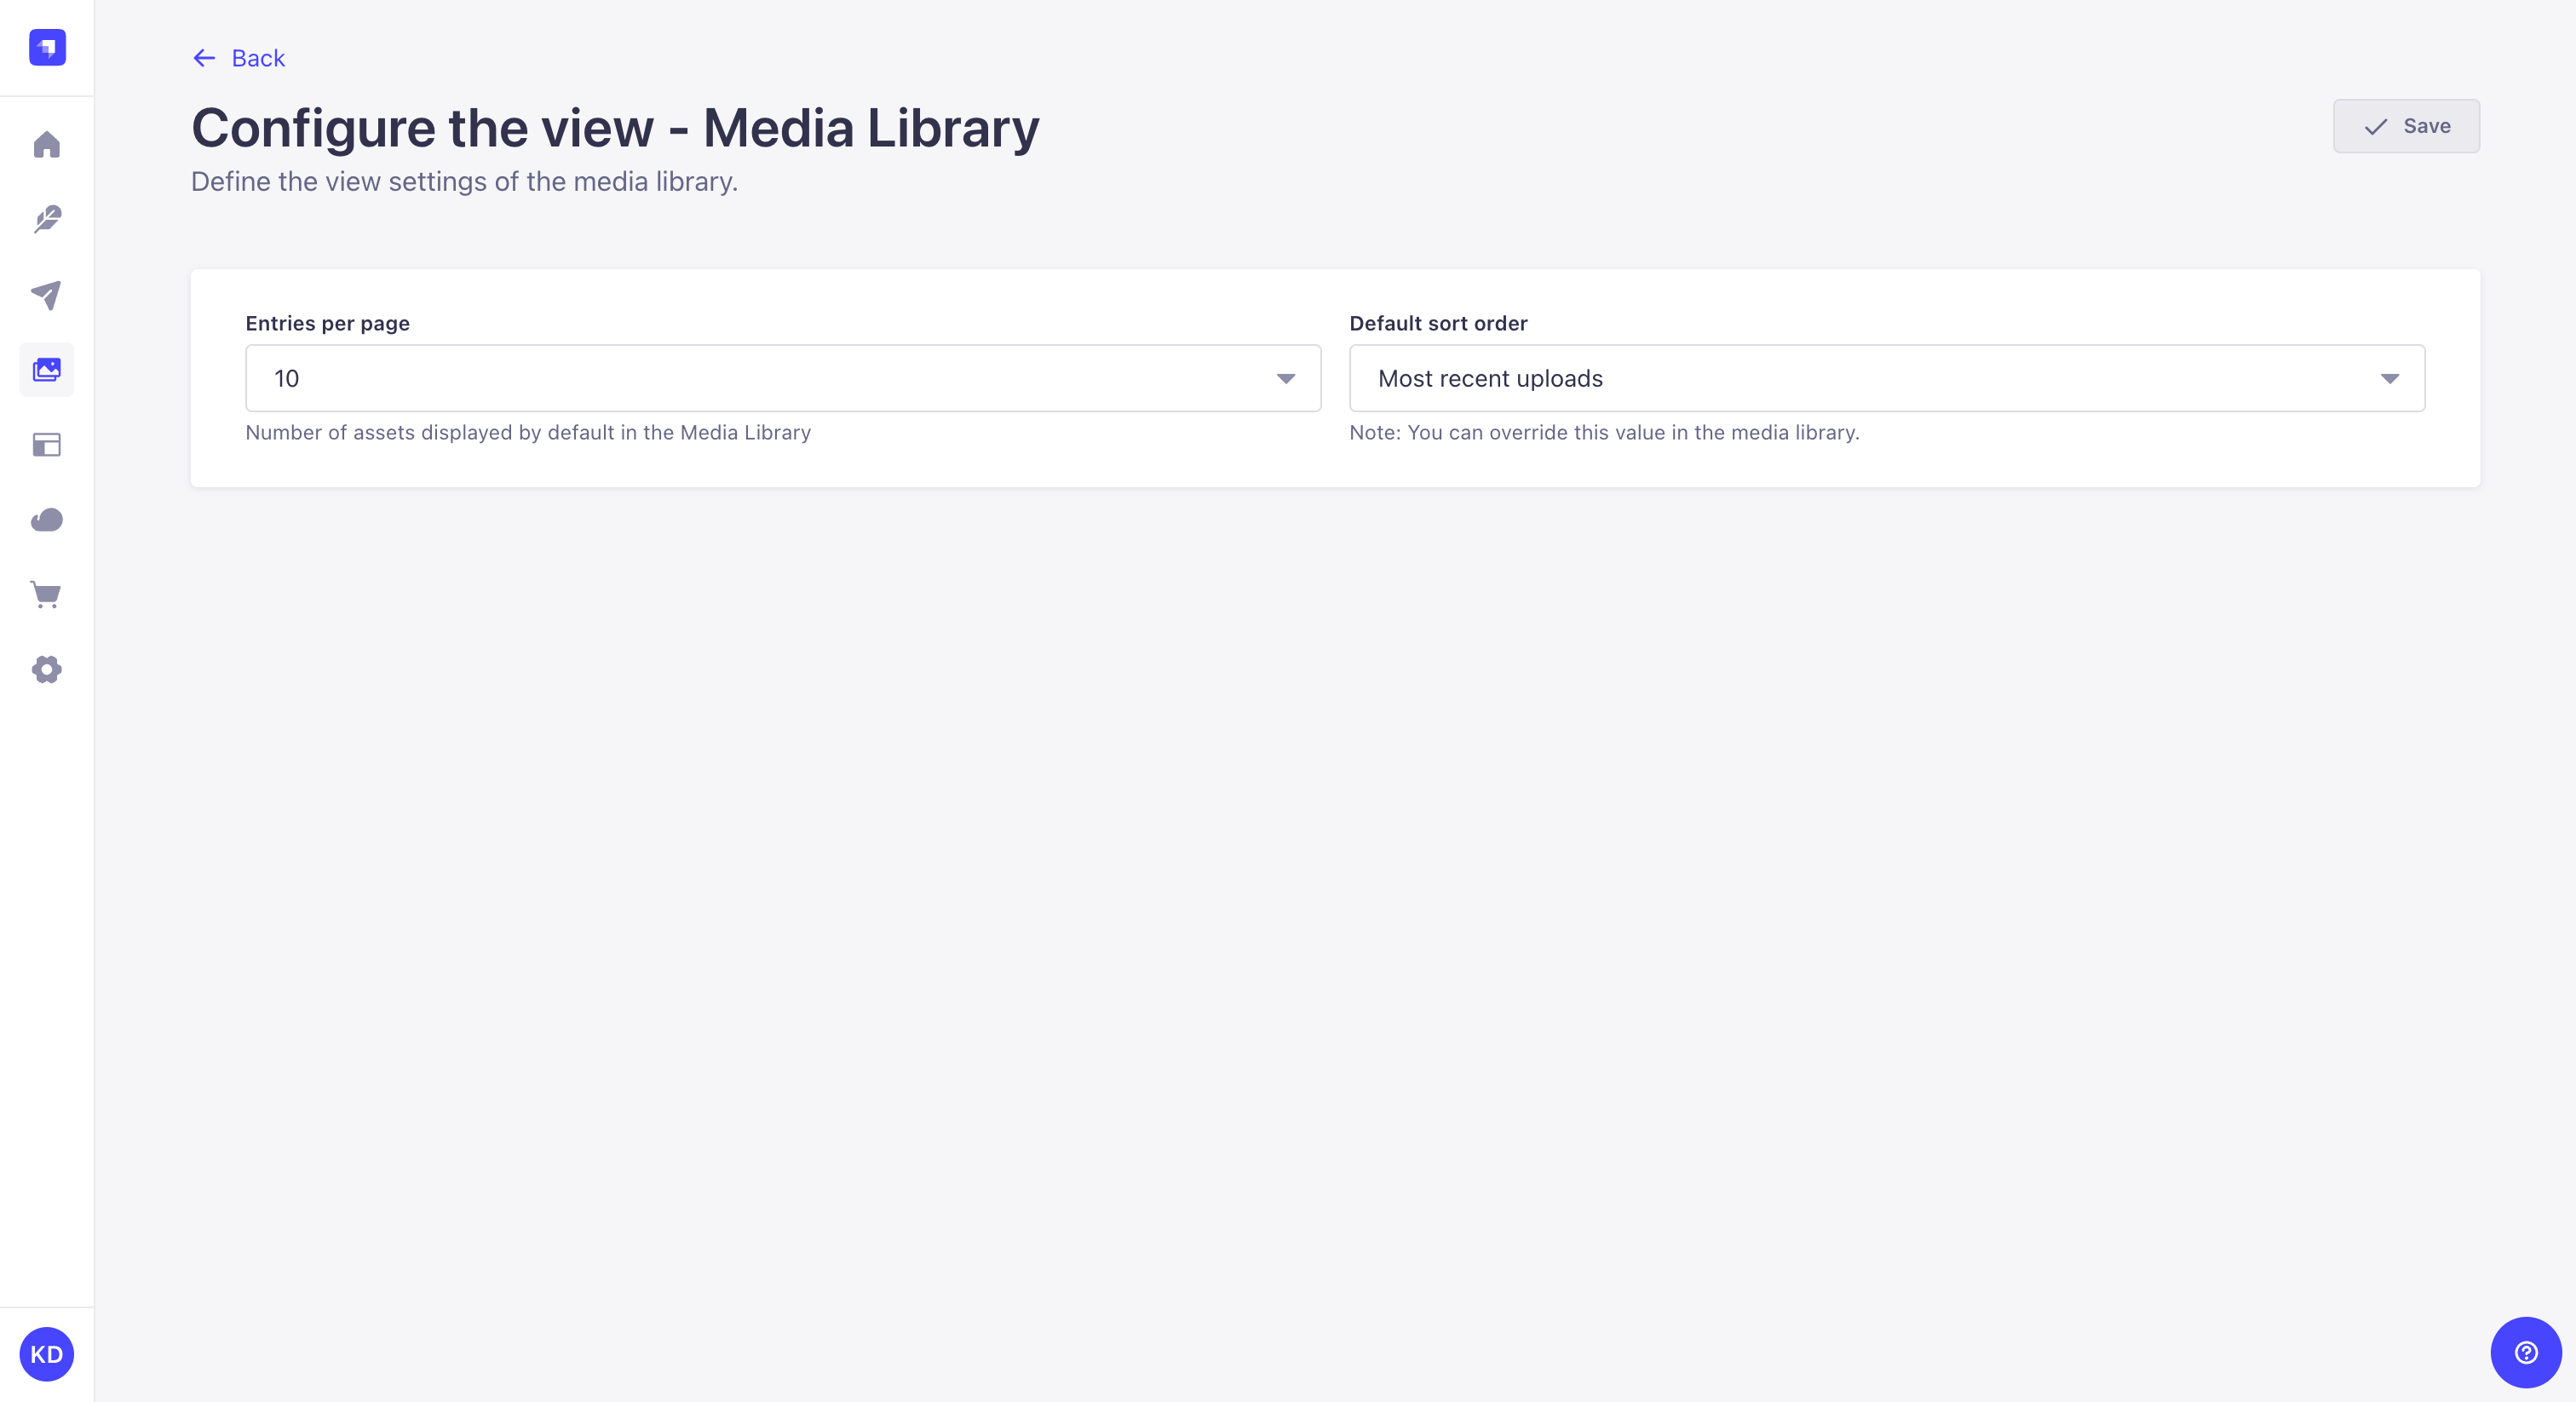
- Configure the Media Library view, following the instructions below:
Setting name Instructions Entries per page Use the dropdown to define the number of assets displayed by default per page. Default sort order Use the dropdown to define the default order in which assets are displayed. This can be overriden when sorting assets in the Media Library.
With the beta Media Library disabled, both settings are used as the defaults in the Media Library and in the Content Manager's media upload modal. These settings are global across the entire Strapi project for all users.
Code-based configuration
The Media Library is powered in the backend server by the Upload package, which can be configured and extended through providers.
Providers
The providers maintained by Strapi are the following. Clicking on a card will redirect you to a docs page with a configuration example:
Amazon S3
Official provider for file uploads to Amazon S3.
Cloudinary
Official provider for media management with Cloudinary.
Local
Default provider for storing files locally on the server.
If you need to install other providers or create your own, please refer to the following guide:
Code-based configuration instructions on the present page detail options for the default upload provider. If using another provider, please refer to the available configuration parameters in that provider's documentation.
Available options
When using the default upload provider, the following specific configuration options can be declared in an upload.config object within the config/plugins file. All parameters are optional:
| Parameter | Description | Type | Default |
|---|---|---|---|
providerOptions.localServer | Options that will be passed to koa-static upon which the Upload server is build (see local server configuration) | Object | - |
sizeLimit | Maximum file size in bytes (see max file size) | Integer | 1000000000(1 GB in bytes) |
breakpoints | Allows to override the breakpoints sizes at which responsive images are generated when the "Responsive friendly upload" option is set to true (see responsive images) | Object | { large: 1000, medium: 750, small: 500 } |
sharp | Configures sharp image processing options (see sharp configuration) | Object | { cache: false, concurrency: 1 } |
security | Configures validation rules for uploaded files to enhance media security (see security) | Object | - |
concurrentUploadRequests | Number of files the admin panel uploads to the server in parallel (see concurrent file uploads). Must be an integer >= 1. | Integer | 1 |
concurrentUploadSize | Number of files the server processes in parallel within a single upload request (see concurrent file uploads). Must be an integer >= 1. | Integer | 1 |
The Upload request timeout is defined in the server options, not in the Upload plugin options, as it's not specific to the Upload plugin but is applied to the whole Strapi server instance (see upload request timeout).
If you wish to override the image function to generate custom file names, please refer to the Plugins extension documentation.
Example custom configuration
The following is an example of a custom configuration for the Upload plugin when using the default upload provider:
- JavaScript
- TypeScript
module.exports = ({ env })=>({
  upload: {
    config: {
      providerOptions: {
        localServer: {
          maxage: 300000
        },
      },
      sizeLimit: 250 * 1024 * 1024, // 256mb in bytes
      breakpoints: {
        xlarge: 1920,
        large: 1000,
        medium: 750,
        small: 500,
        xsmall: 64
      },
      sharp: {
        cache: true,
        concurrency: 4,
      },
      security: {
        allowedTypes: ['image/*', 'application/*'],
        deniedTypes: ['application/x-sh', 'application/x-dosexec']
      },
      concurrentUploadSize: 5,
    },
  },
});
export default () => ({
  upload: {
    config: {
      providerOptions: {
        localServer: {
          maxage: 300000
        },
      },
      sizeLimit: 250 * 1024 * 1024, // 256mb in bytes
      breakpoints: {
        xlarge: 1920,
        large: 1000,
        medium: 750,
        small: 500,
        xsmall: 64
      },
      sharp: {
        cache: true,
        concurrency: 4,
      },
      security: {
        allowedTypes: ['image/*', 'application/*'],
        deniedTypes: ['application/x-sh', 'application/x-dosexec']
      },
      concurrentUploadSize: 5,
    },
  },
})
Local server
By default Strapi accepts localServer configurations for locally uploaded files. These will be passed as the options for koa-static.
You can provide them by creating or editing the /config/plugins file. The following example sets the max-age header:
- JavaScript
- TypeScript
module.exports = ({ env })=>({
  upload: {
    config: {
      providerOptions: {
        localServer: {
          maxage: 300000
        },
      },
    },
  },
});
export default ({ env }) => ({
  upload: {
    config: {
      providerOptions: {
        localServer: {
          maxage: 300000
        },
      },
    },
  },
});
Max file size
On Strapi Cloud, upload size limits are enforced at the infrastructure level. They cannot be raised via the strapi::body middleware config. See Upload size limits for Strapi Cloud for per-plan values and the memory-based recommendation for image uploads.
The Strapi middleware in charge of parsing requests needs to be configured to support file sizes larger than the default of 1 GB. This must be done in addition to provider options passed to the Upload package for sizeLimit.
You may also need to adjust any upstream proxies, load balancers, or firewalls to allow for larger file sizes. For instance, Nginx has a configuration setting called client_max_body_size that must be adjusted, since its default is only 1mb.
The middleware used by the Upload package is the body middleware. You can pass configuration to the middleware directly by setting it in the /config/middlewares file:
- JavaScript
- TypeScript
module.exports = [
  // ...
  {
    name: "strapi::body",
    config: {
      formLimit: "256mb", // modify form body
      jsonLimit: "256mb", // modify JSON body
      textLimit: "256mb", // modify text body
      formidable: {
        maxFileSize: 250 * 1024 * 1024, // multipart data, modify here limit of uploaded file size
      },
    },
  },
  // ...
];
export default [
  // ...
  {
    name: "strapi::body",
    config: {
      formLimit: "256mb", // modify form body
      jsonLimit: "256mb", // modify JSON body
      textLimit: "256mb", // modify text body
      formidable: {
        maxFileSize: 250 * 1024 * 1024, // multipart data, modify here limit of uploaded file size
      },
    },
  },
  // ...
];
In addition to the middleware configuration, you can pass the sizeLimit, which is an integer in bytes, in the /config/plugins file:
- JavaScript
- TypeScript
module.exports = {
  // ...
  upload: {
    config: {
      sizeLimit: 250 * 1024 * 1024 // 256mb in bytes
    }
  }
};
export default {
  // ...
  upload: {
    config: {
      sizeLimit: 250 * 1024 * 1024 // 256mb in bytes
    }
  }
};
Security
The Upload plugin validates files based on their actual MIME type rather than the declared file extension. Only files matching the defined security rules are uploaded.
The security configuration provides 2 options: allowedTypes or deniedTypes, which let you control which file types can or cannot be uploaded.
Apps scaffolded with create-strapi-app include a pre-configured security block in the generated config/plugins.* file. See the Security defaults generated by create-strapi-app details block below for the full lists.
SVG uploads
Since Strapi 5.52.2+, image/svg+xml is part of the deniedTypes generated by create-strapi-app, so SVG uploads are refused even though they match the image/* wildcard in allowedTypes. An explicit deniedTypes entry always takes precedence over a wildcard in allowedTypes.
SVG files can embed browser-active content such as scripts and event handlers, which is why they are denied by default. This affects newly generated projects only: existing projects keep their current configuration unless you add the same entry yourself.
To accept SVG uploads, remove image/svg+xml from deniedTypes in your config/plugins.* file. Serve the resulting files from a domain that does not share cookies or local storage with your application, or with a Content-Disposition: attachment header, so an uploaded SVG cannot run scripts in the context of your site.
You can use allowedTypes and deniedTypes separately or together to fine-tune which files are accepted. Files must match an allowed type and must not match any denied type. If you use a wildcard like * in allowedTypes, you can narrow down the validation by specifying exceptions in deniedTypes.
You can provide them by creating or editing the /config/plugins file. The following is an example of how to combine allowedTypes and deniedTypes:
- JavaScript
- TypeScript
module.exports = {
  // ...
  upload: {
    config: {
      security: {
        allowedTypes: ['image/*', 'application/*'],
        deniedTypes: ['application/x-sh', 'application/x-dosexec']
      },
    }
  }
};
export default {
  // ...
  upload: {
    config: {
      security: {
        allowedTypes: ['image/*', 'application/*'],
        deniedTypes: ['application/x-sh', 'application/x-dosexec']
      },
    }
  }
};
Security defaults generated by create-strapi-app
New projects declare the 2 lists as separate variables and pass them to the upload plugin, alongside the other generated plugin configuration:
- JavaScript
- TypeScript
const allowedMediaTypes = [
  'image/*',
  'video/*',
  'audio/*',
  'application/pdf',
  'application/msword',
  'application/vnd.openxmlformats-officedocument.*',
  'text/plain',
  'text/csv',
];

const deniedTypes = [
  'image/svg+xml',
  'application/vnd.microsoft.portable-executable',
  'application/x-msdownload',
  'application/x-msdos-program',
  'application/x-executable',
  'application/x-dosexec',
  'application/x-sh',
  'text/x-shellscript',
  'application/x-mach-binary',
];

module.exports = ({ env }) => ({
  // ...
  upload: {
    config: {
      security: {
        allowedTypes: allowedMediaTypes,
        deniedTypes,
      },
    },
  },
});
import type { Core } from '@strapi/strapi';

const allowedMediaTypes = [
  'image/*',
  'video/*',
  'audio/*',
  'application/pdf',
  'application/msword',
  'application/vnd.openxmlformats-officedocument.*',
  'text/plain',
  'text/csv',
];

const deniedTypes = [
  'image/svg+xml',
  'application/vnd.microsoft.portable-executable',
  'application/x-msdownload',
  'application/x-msdos-program',
  'application/x-executable',
  'application/x-dosexec',
  'application/x-sh',
  'text/x-shellscript',
  'application/x-mach-binary',
];

const config = ({ env }: Core.Config.Shared.ConfigParams): Core.Config.Plugin => ({
  // ...
  upload: {
    config: {
      security: {
        allowedTypes: allowedMediaTypes,
        deniedTypes,
      },
    },
  },
});

export default config;
Upload request timeout
By default, the value of strapi.server.httpServer.requestTimeout is set to 330 seconds. This includes uploads.
To make it possible for users with slow internet connection to upload large files, it might be required to increase this timeout limit. The recommended way to do it is by setting the http.serverOptions.requestTimeout parameter in the config/servers file.
An alternate method is to set the requestTimeout value in the bootstrap function that runs before Strapi gets started. This is useful in cases where it needs to change programmatically, for example to temporarily disable and re-enable it:
- JavaScript
- TypeScript
module.exports = {

  //...

  bootstrap({ strapi }) {
    // Set the requestTimeout to 1,800,000 milliseconds (30 minutes):
    strapi.server.httpServer.requestTimeout = 30 * 60 * 1000;
  },
};
export default {

  //...

  bootstrap({ strapi }) {
    // Set the requestTimeout to 1,800,000 milliseconds (30 minutes):
    strapi.server.httpServer.requestTimeout = 30 * 60 * 1000;
  },
};
Concurrent file uploads
Bulk uploads are controlled by 2 options that set how many files Strapi handles at the same time:
| Parameter | Description | Type | Default |
|---|---|---|---|
concurrentUploadRequests | Number of files the admin panel uploads to the server in parallel. | Integer | 1 |
concurrentUploadSize | Number of files the server processes in parallel within a single upload request. | Integer | 1 |
Both default to 1, so files are uploaded and processed one at a time. Raising concurrentUploadRequests makes the admin panel send more upload requests at the same time, and raising concurrentUploadSize makes the server process more files at once within a single request. Both speed up bulk uploads at the cost of higher load on the server.
- JavaScript
- TypeScript
module.exports = () => ({
  upload: {
    config: {
      concurrentUploadRequests: 4,
      concurrentUploadSize: 2,
    },
  },
});
export default () => ({
  upload: {
    config: {
      concurrentUploadRequests: 4,
      concurrentUploadSize: 2,
    },
  },
});
Both values must be integers greater than or equal to 1. Any other value, 0 included, prevents Strapi from starting.
concurrentUploadRequests is only read by the beta Media Library. With the betaMediaLibrary future flag disabled the option has no effect: the previous UI sends one request per asset and starts them all at the same time. concurrentUploadSize applies in both cases, because the server enforces it.
Responsive Images
When the Responsive friendly upload admin panel setting is enabled, the plugin will generate the following responsive image sizes:
| Name | Largest dimension |
|---|---|
| large | 1000px |
| medium | 750px |
| small | 500px |
These sizes can be overridden in /config/plugins:
- JavaScript
- TypeScript
module.exports = ({ env }) => ({
  upload: {
    config: {
      breakpoints: {
        xlarge: 1920,
        large: 1000,
        medium: 750,
        small: 500,
        xsmall: 64
      },
    },
  },
});
export default ({ env }) => ({
  upload: {
    config: {
      breakpoints: {
        xlarge: 1920,
        large: 1000,
        medium: 750,
        small: 500,
        xsmall: 64
      },
    },
  },
});
Breakpoint changes will only apply to new images, existing images will not be resized or have new sizes generated.
Sharp configuration
The sharp option configures the sharp image processing library used for generating responsive image formats. Adjusting these settings can help reduce memory usage during image processing, which is particularly useful for memory-constrained environments.
| Parameter | Description | Type | Default |
|---|---|---|---|
cache | Enables or disables libvips' operation cache. Disabling the cache reduces memory usage. | Boolean | false |
concurrency | Sets the number of threads libvips uses for image processing. Lower values reduce peak memory usage but may slow down processing. | Integer | 1 |
The default values (cache: false, concurrency: 1) are optimized for low memory usage. For environments with more available memory, you can enable caching and increase concurrency to improve image processing performance:
- JavaScript
- TypeScript
module.exports = ({ env }) => ({
  upload: {
    config: {
      sharp: {
        cache: true,
        concurrency: 4,
      },
    },
  },
});
export default ({ env }) => ({
  upload: {
    config: {
      sharp: {
        cache: true,
        concurrency: 4,
      },
    },
  },
});
Usage betaMediaLibraryThis feature requires the betaMediaLibrary feature flag to be enabled.
Path to use the feature: Media Library
The Media Library displays all assets uploaded in the application, either via the Media Library itself or via the Content Manager when managing a media field.
Assets uploaded to the Media Library can be inserted into content-types using the Content Manager.
The Media Library hides what your role cannot do instead of displaying a disabled control. With the Access the Media Library permission alone, the library is read-only: there is no New button, no selection checkbox and no bulk action, and the fields of the asset details panel cannot be edited. See Users & Permissions to grant the Create, Update, Download and Copy link permissions of the Upload plugin.
Interface overview
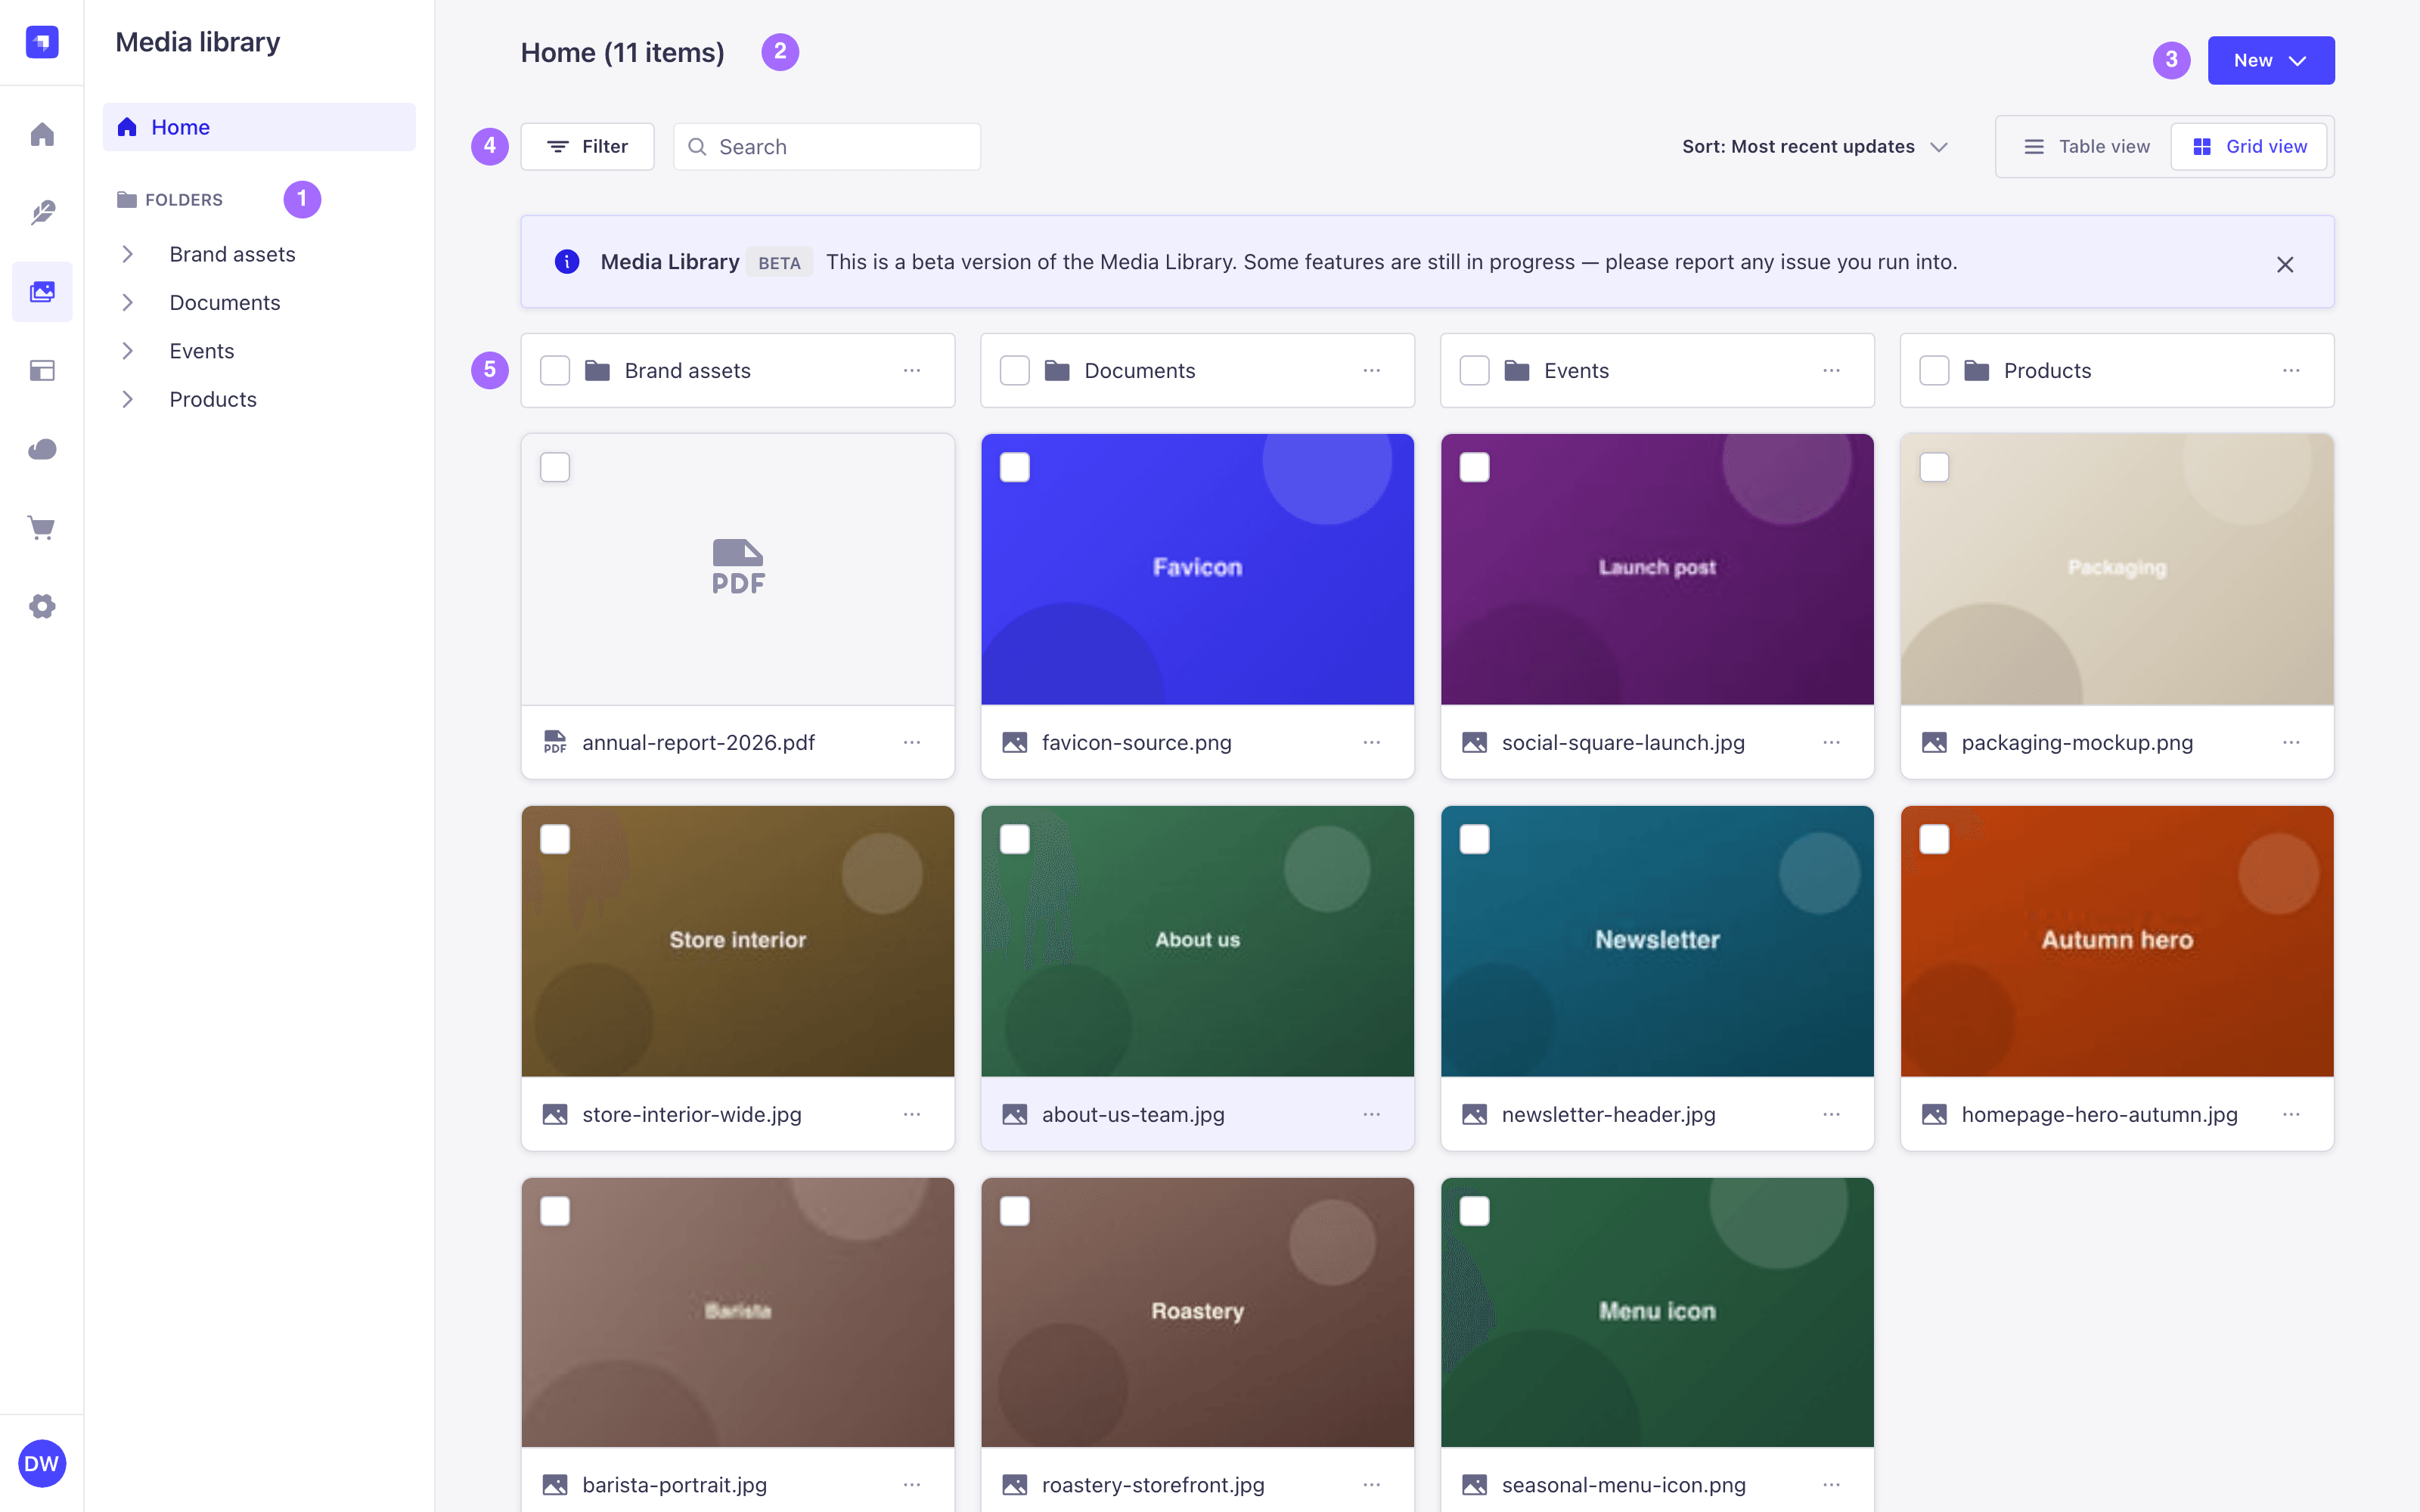
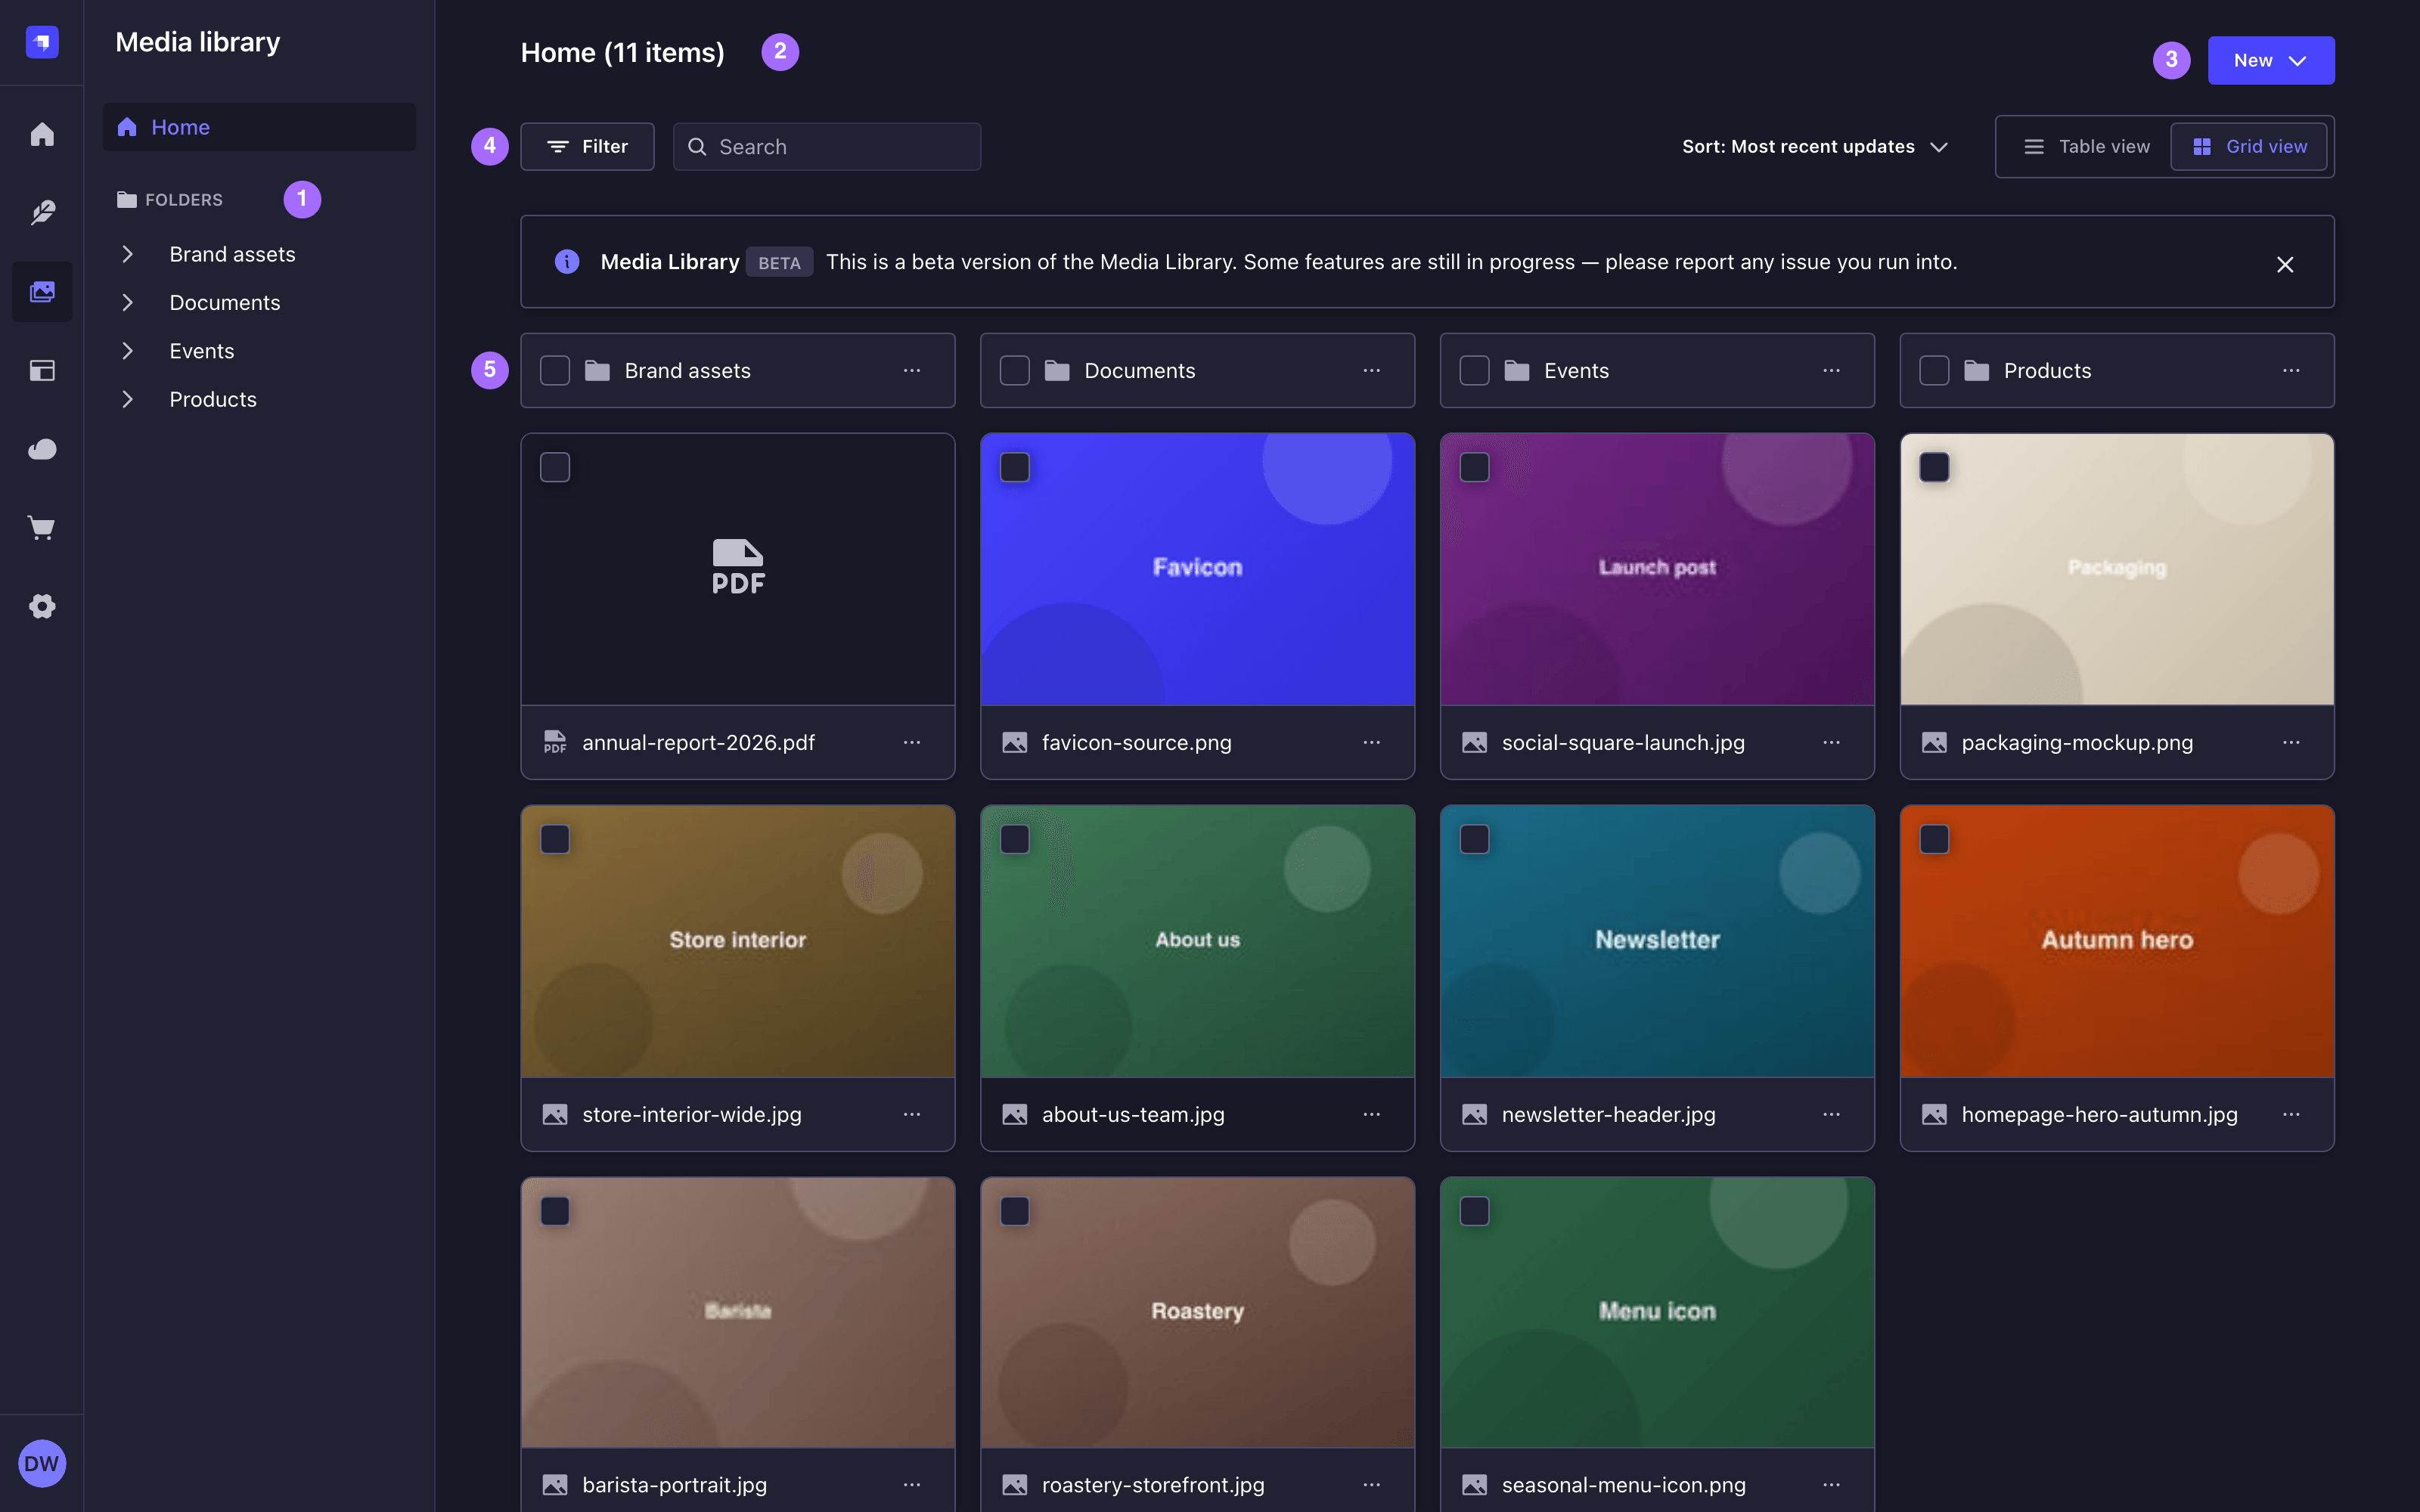
The Media Library is organized in the following areas:
- The folder tree 1 on the left lists Home and the full folder hierarchy (see navigating folders).
- The page title 2 names the location you are currently browsing, either Home or a folder name, followed by the number of files it holds directly, displayed as, for instance, 11 items. Subfolders and their content are not counted, and the number does not change when filters are active.
- The New button 3 creates a folder or uploads assets (see adding assets and adding folders).
- The toolbar 4 spans the row above the list. Use it to filter, search and sort the list (see finding assets), and to switch between the grid view and the table view (see switching views).
- The list 5 displays the folders and assets of the current location. More assets load as you scroll.
A Beta notice sits above the list and reminds you that some features are still in progress. Click Close to dismiss it: it stays dismissed in that browser.
Each folder and asset in the list has a checkbox to select it (see selecting items) and a More actions button (see using the item actions menu). The Media Library calls a folder or an asset an item, and several controls use that word.
What changed from the previous Media Library
| In the previous UI | In the Media Library beta |
|---|---|
| Add new assets and Add new folder buttons | A single New button that does both (see adding assets) |
| Breadcrumbs above the list | A folder tree on the left (see navigating folders) |
| Folder cards displaying how many items they hold | Folder names only. To know how many assets a folder holds directly, open it and read the page title |
| Pagination, with an Entries per page setting | No pagination: more assets load as you scroll |
| A button to configure the view | No view configuration (see configuring the view) |
| A button opening a search field | A search field always displayed in the toolbar (see searching assets) |
| A Details window that covers the library | A details panel that leaves the list usable (see managing individual assets) |
| A crop mode and a focal point mode, opened separately | A single Crop & Focus area editor (see cropping images and setting a focus area) |
The Media Library stores what you are looking at in the page URL: the current folder, the search term, the filters, the sort order, where folders are displayed, and the open asset. Copying the URL and sharing it with another user of the same Strapi project gives them the same list. The grid or table choice is not part of the URL, and a filter set to a relative date is resolved again when the URL is opened.
Switching views
The list displays either as a grid of cards or as a table. Click Grid view or Table view in the toolbar to switch. Your choice is remembered in your browser for the next visit.
The table view displays a Name, Creation date, Last modified and Size column for each item, along with a Select all checkbox in the header row. Assets missing a caption or an alternative text are flagged with a warning icon.
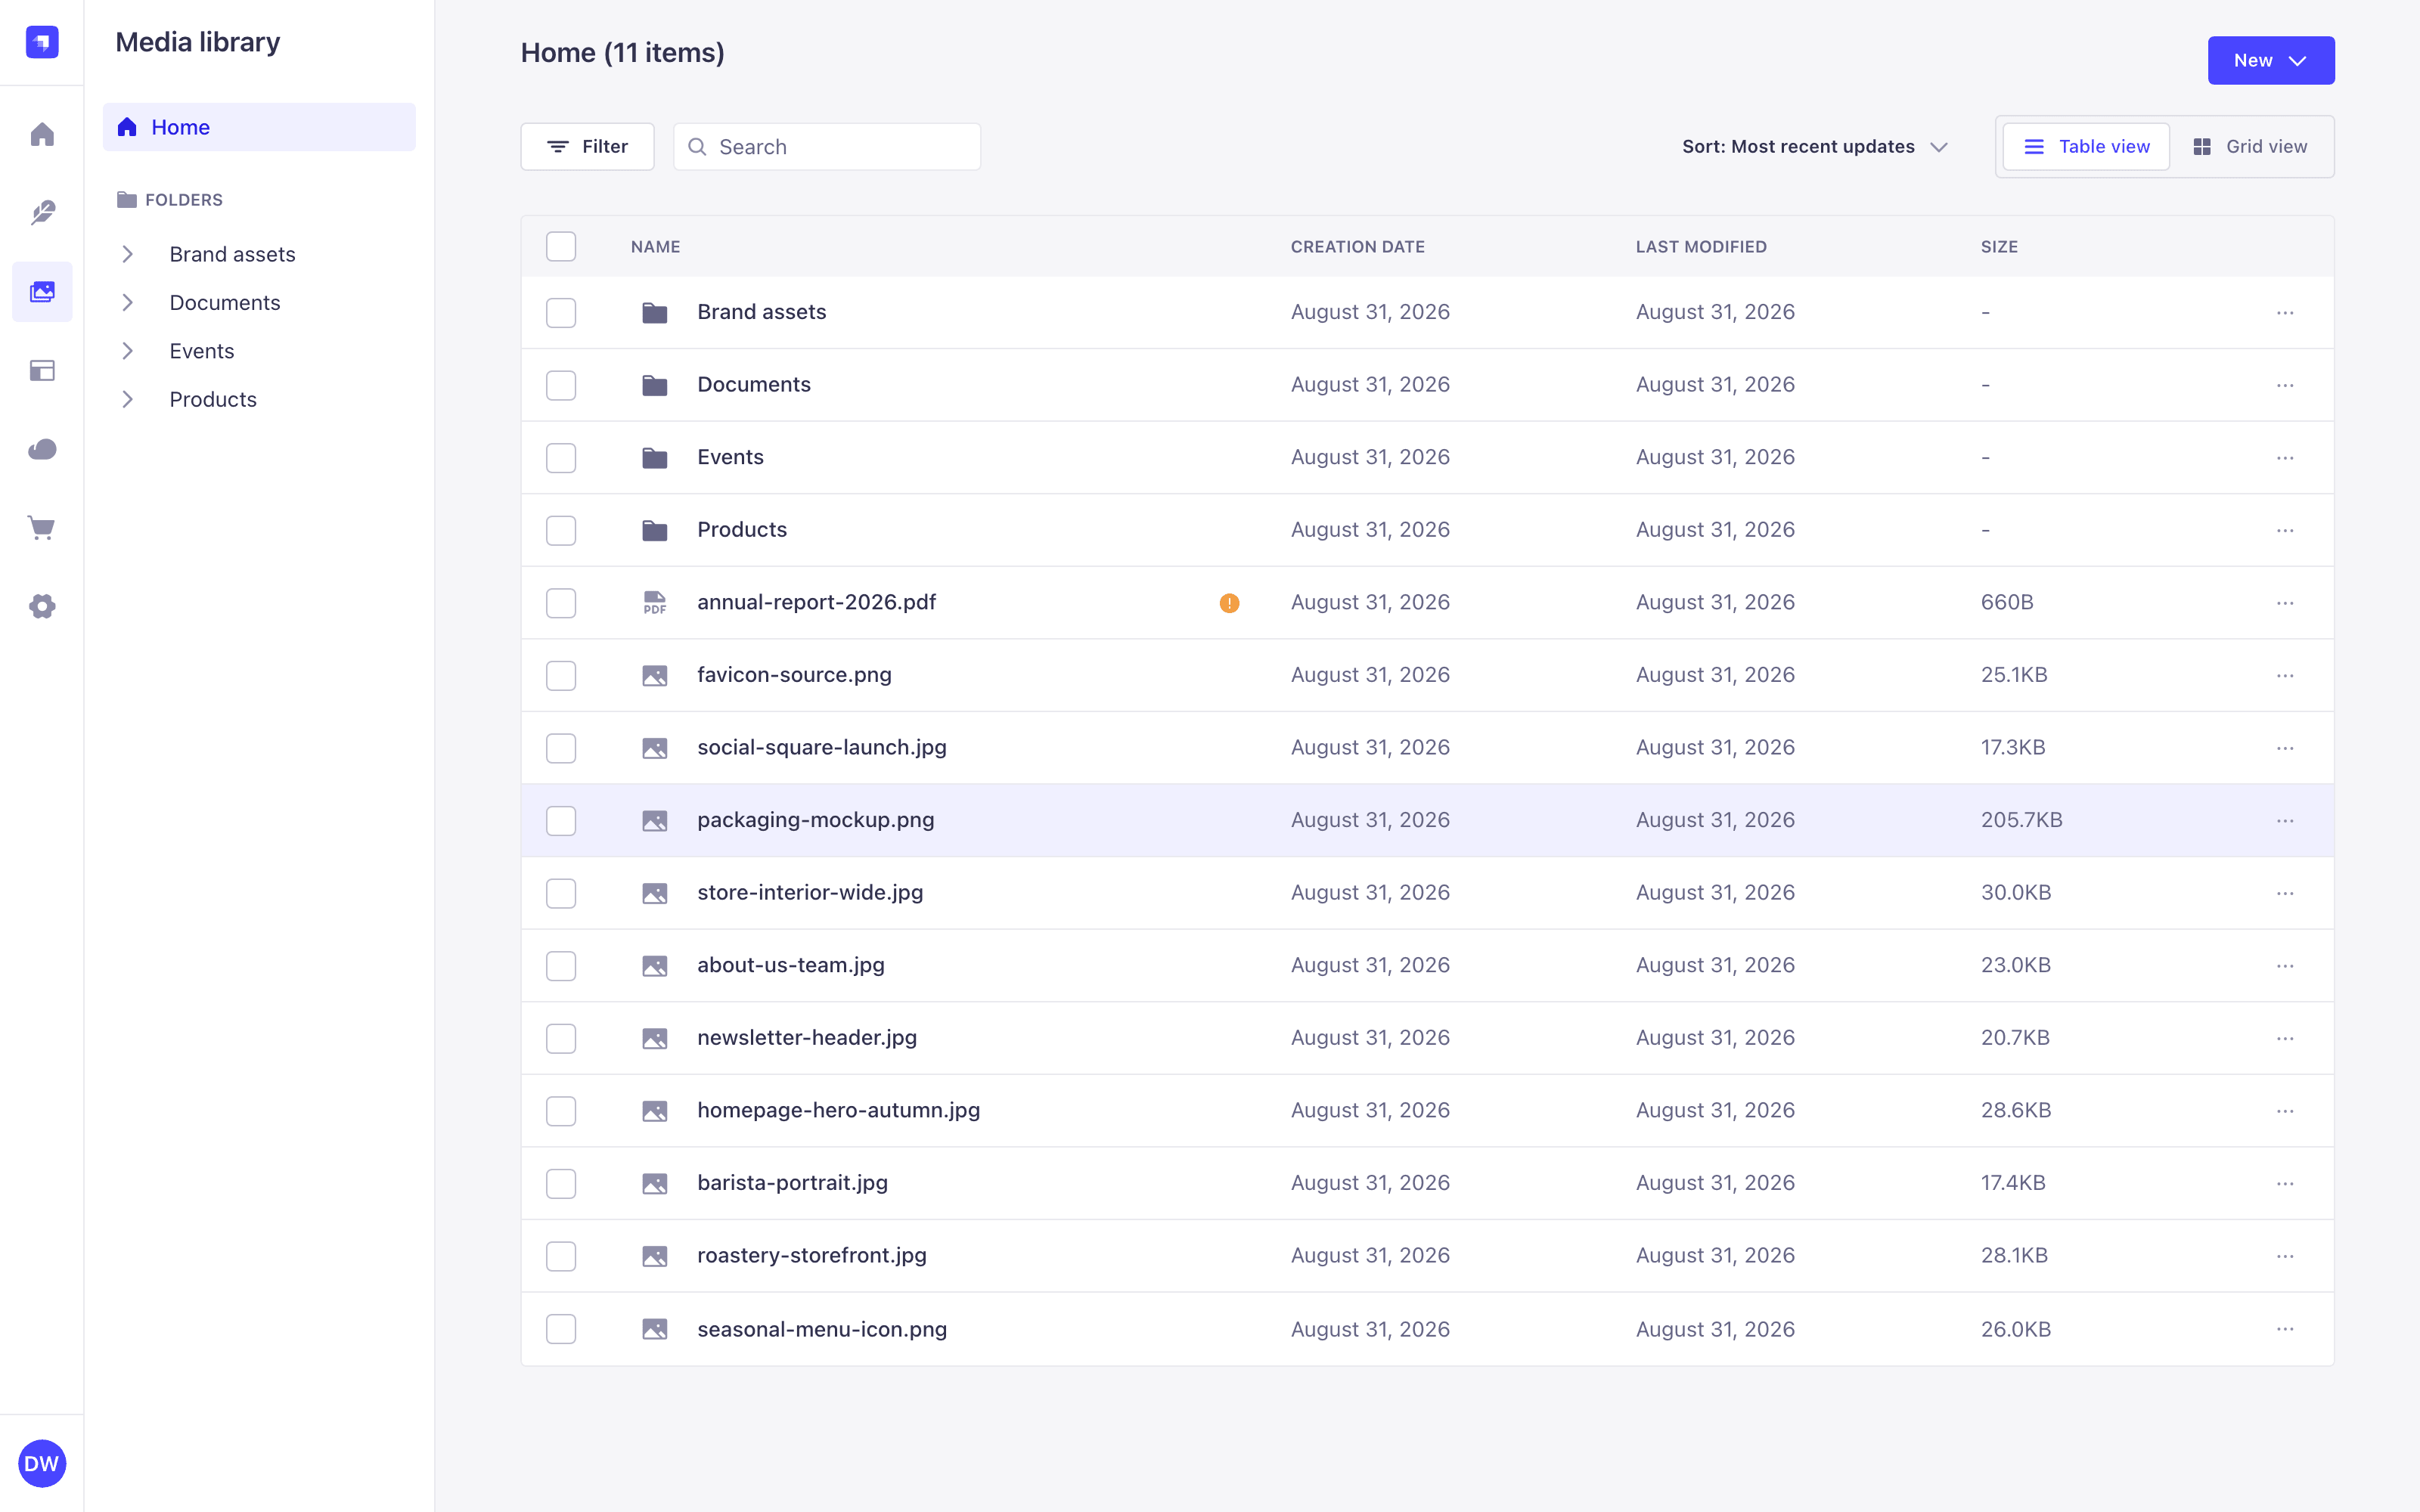
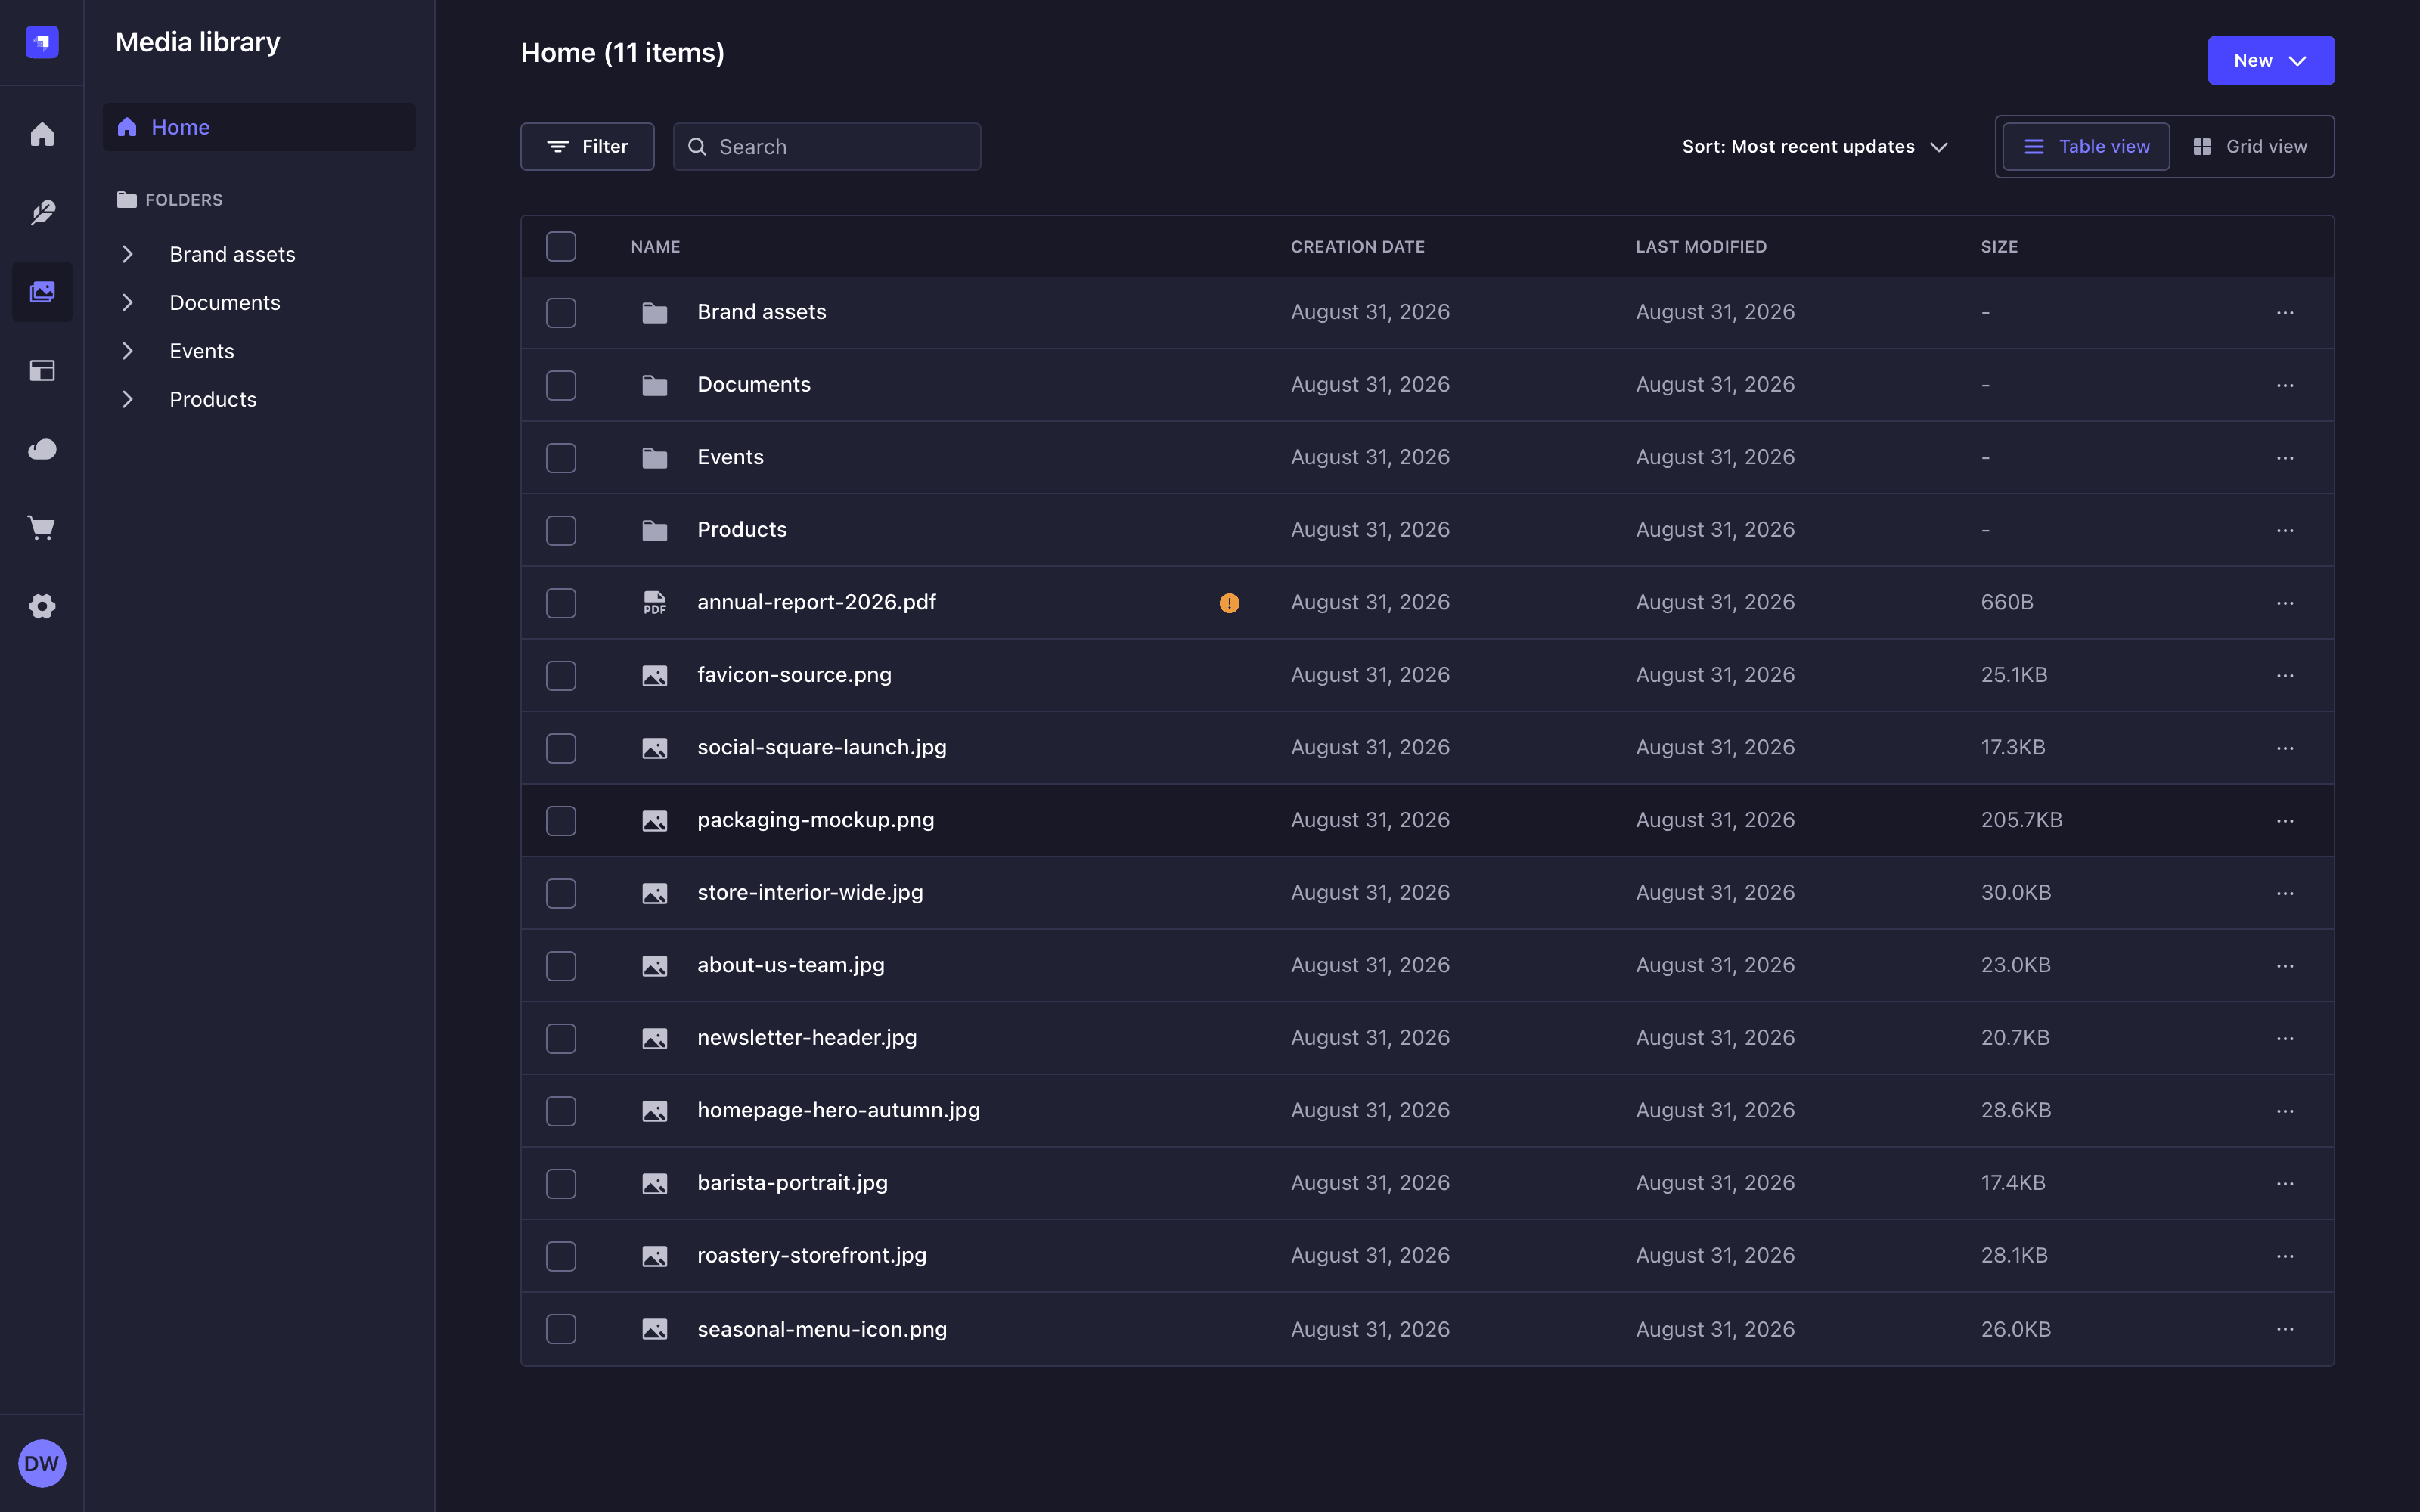
Column headers in the table view are labels, not sort controls. Use the toolbar's Sort menu to change the order (see sorting assets).
Navigating folders
The folder tree on the left side of the interface lists the whole folder hierarchy. There is no breadcrumb: the tree and the page title tell you where you are.
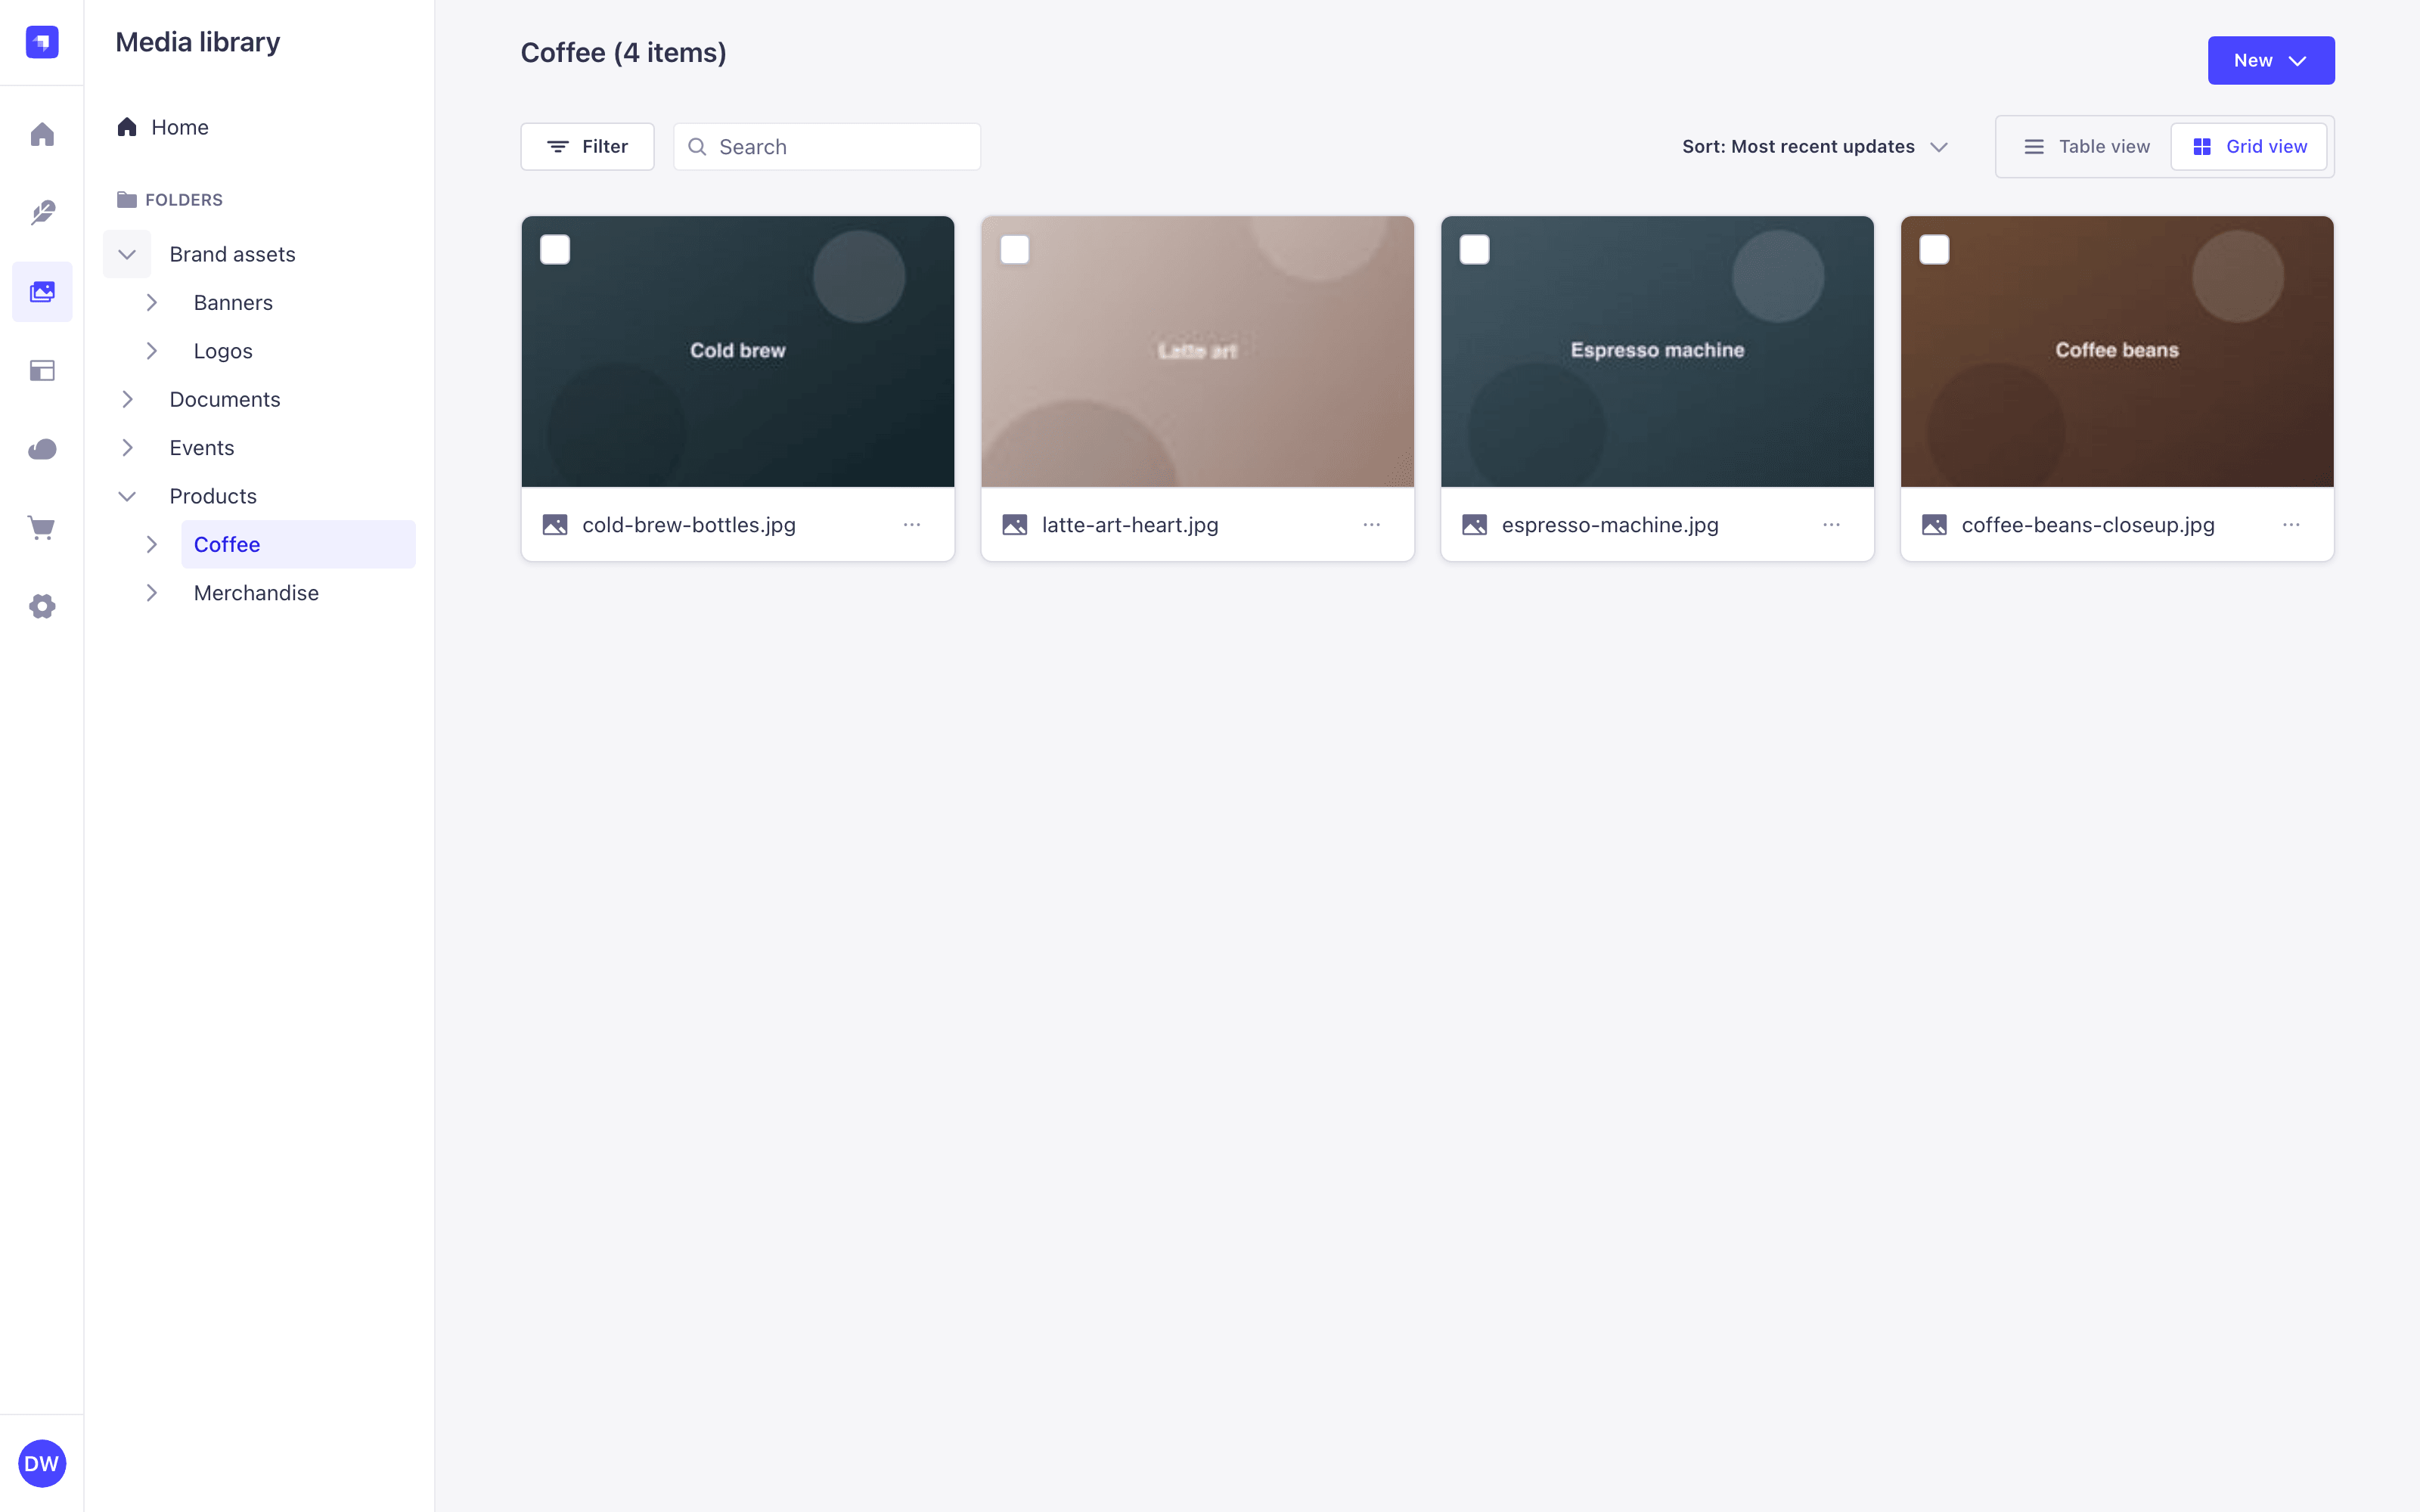
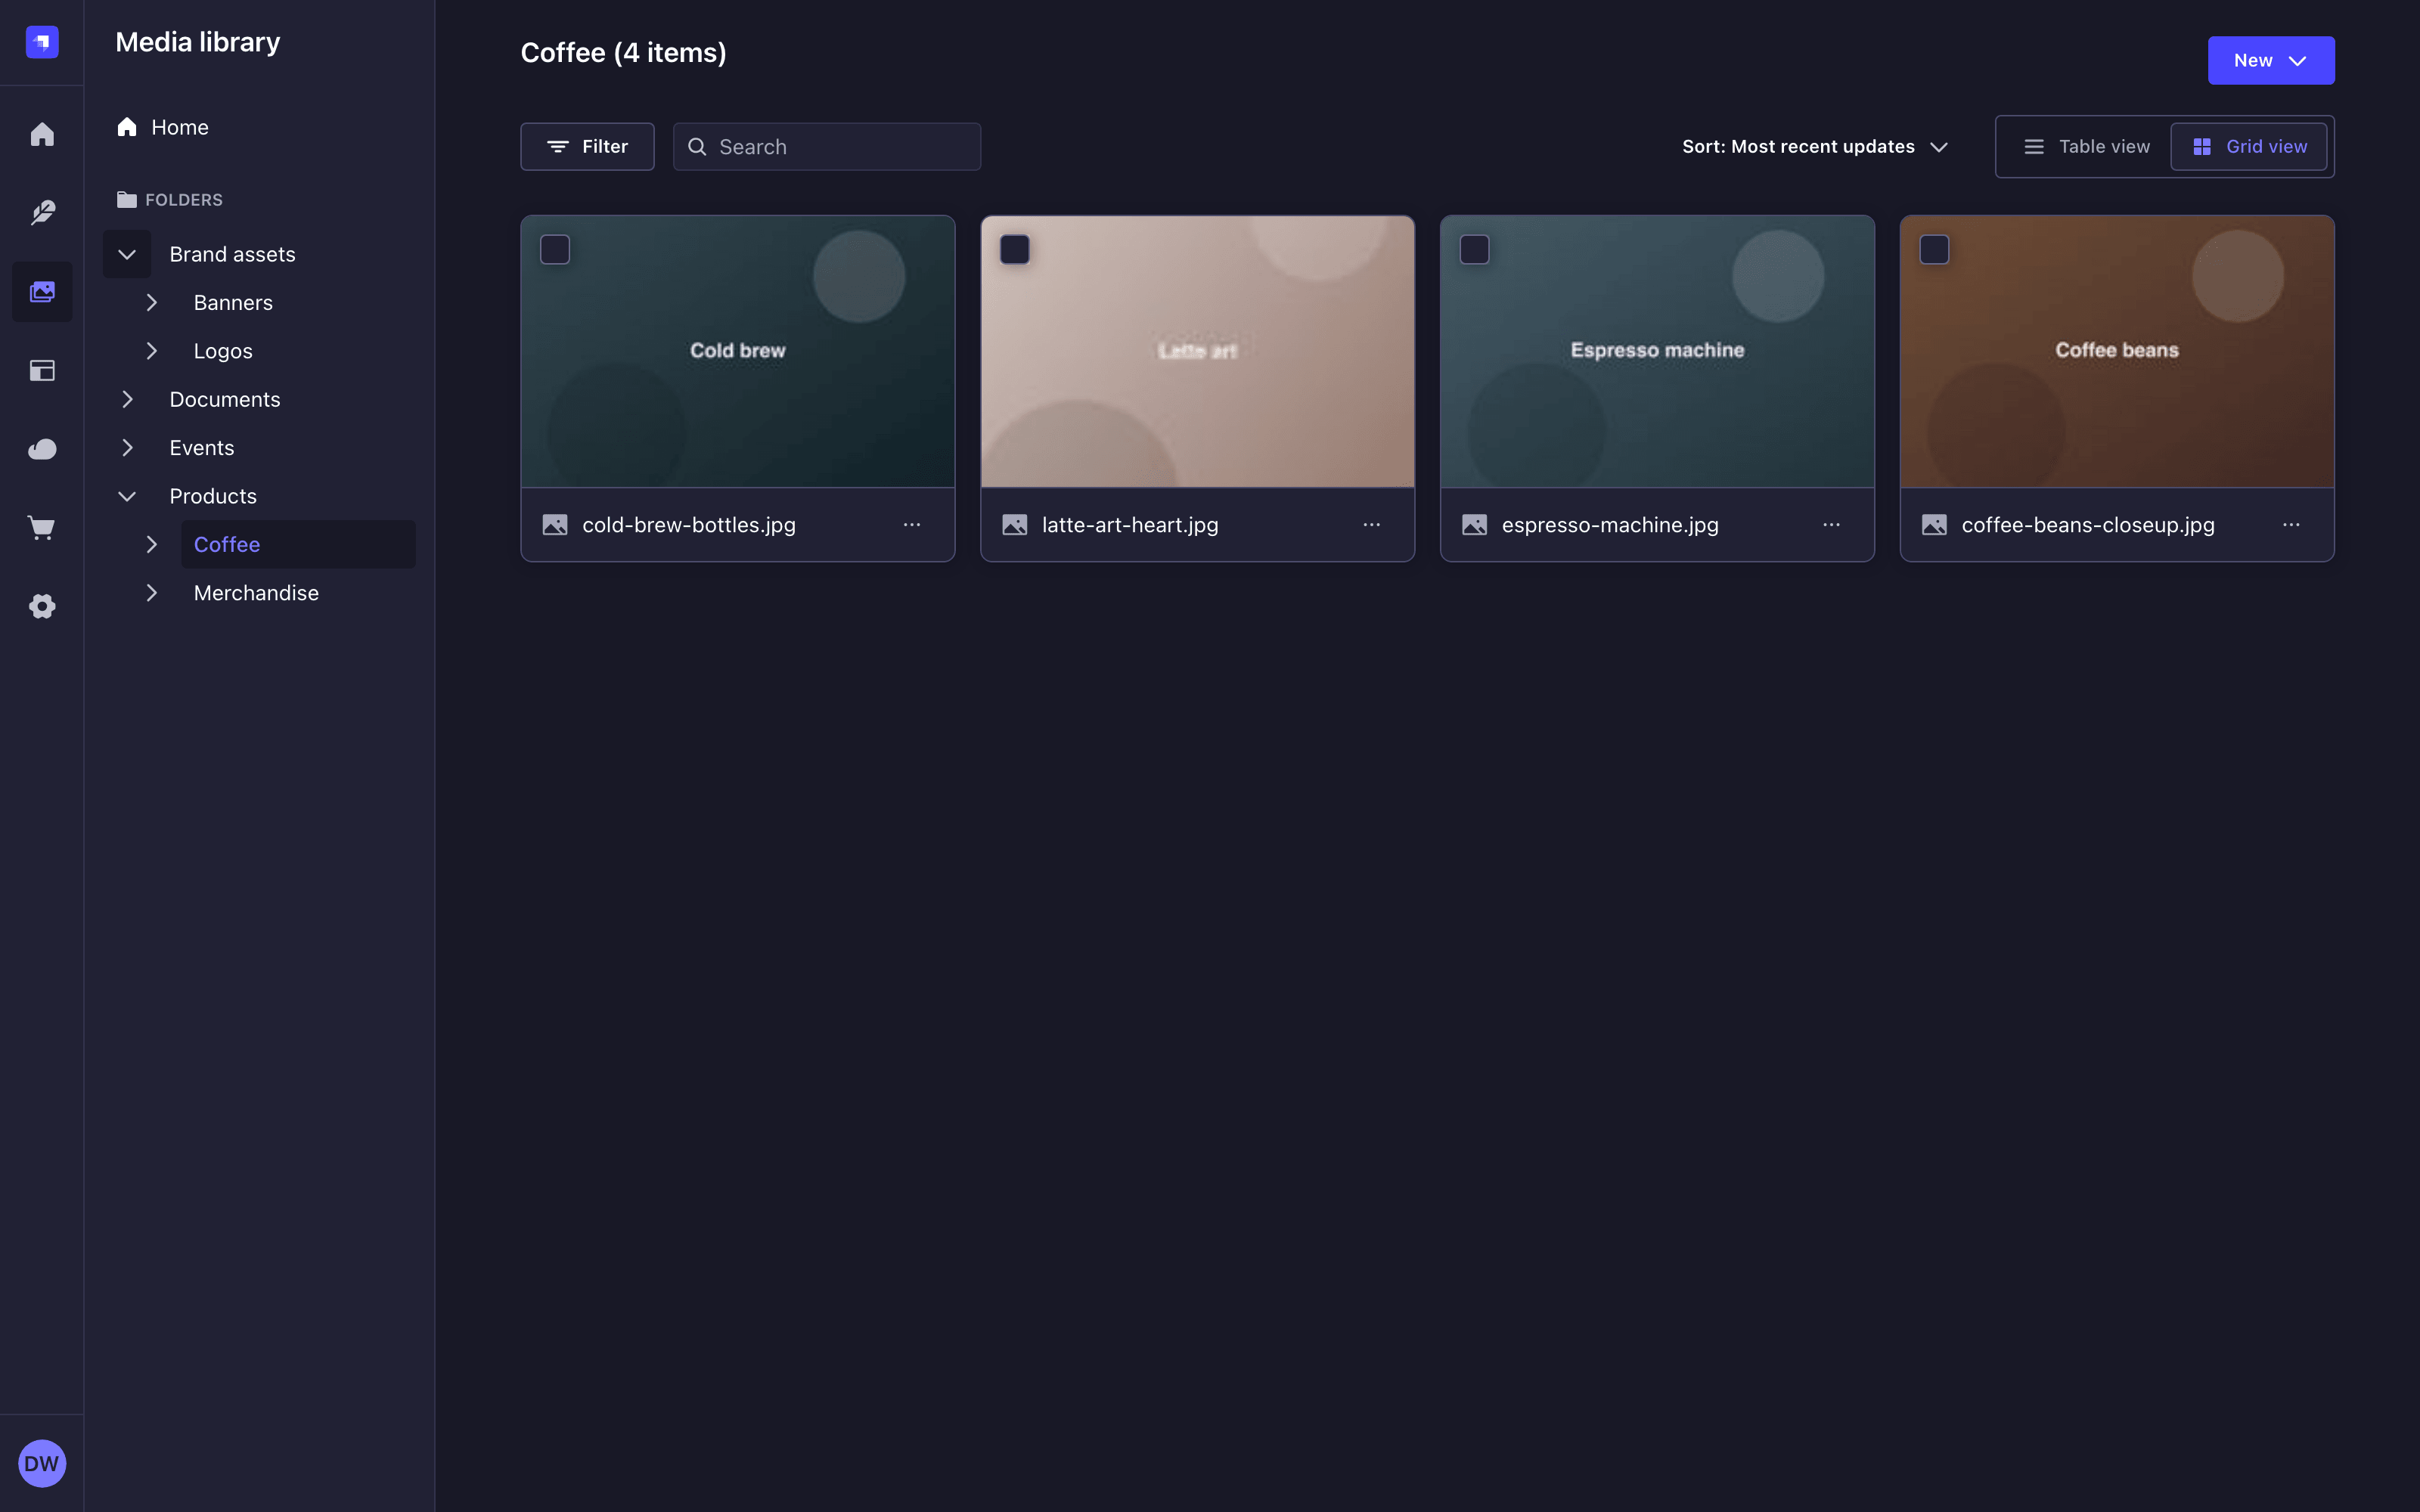
- Click a folder name, in the tree or in the list, to display its content.
- Click the button next to a folder name to expand or collapse its subfolders.
- Click Home to go back to the root of the library.
Strapi does not enforce a maximum folder depth. The folder tree expands automatically to reveal the folder you are browsing.
Using the item actions menu
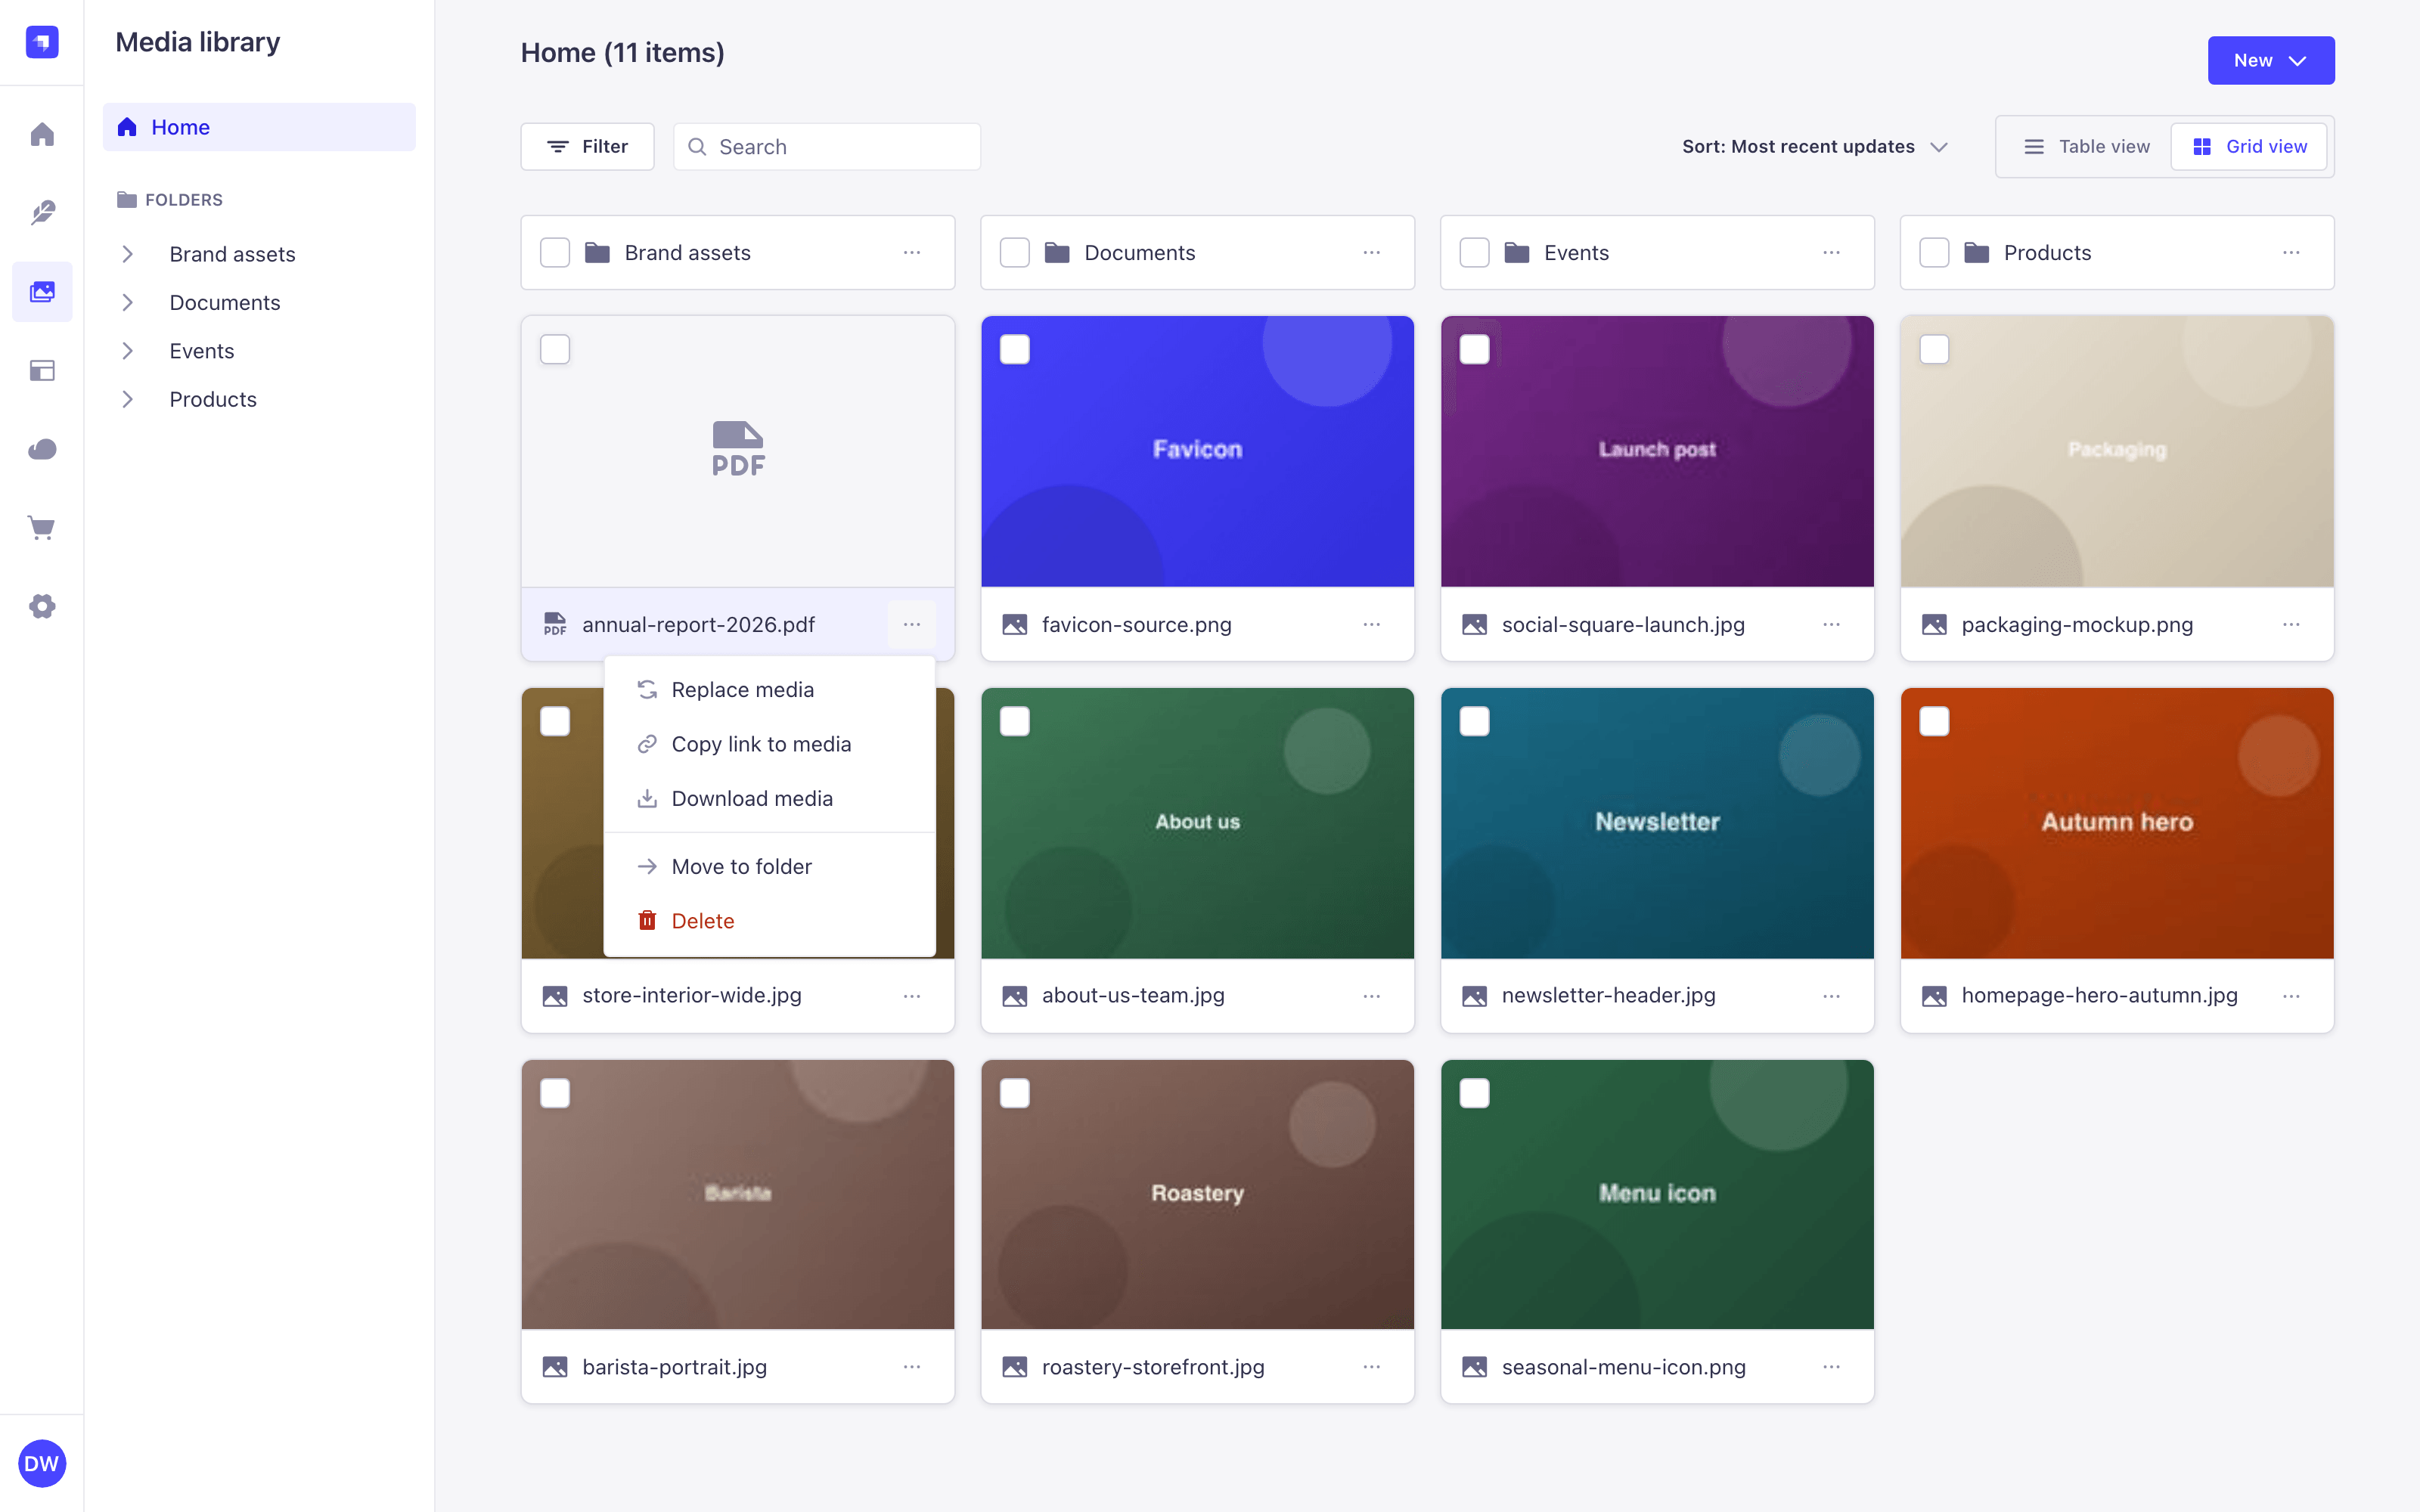
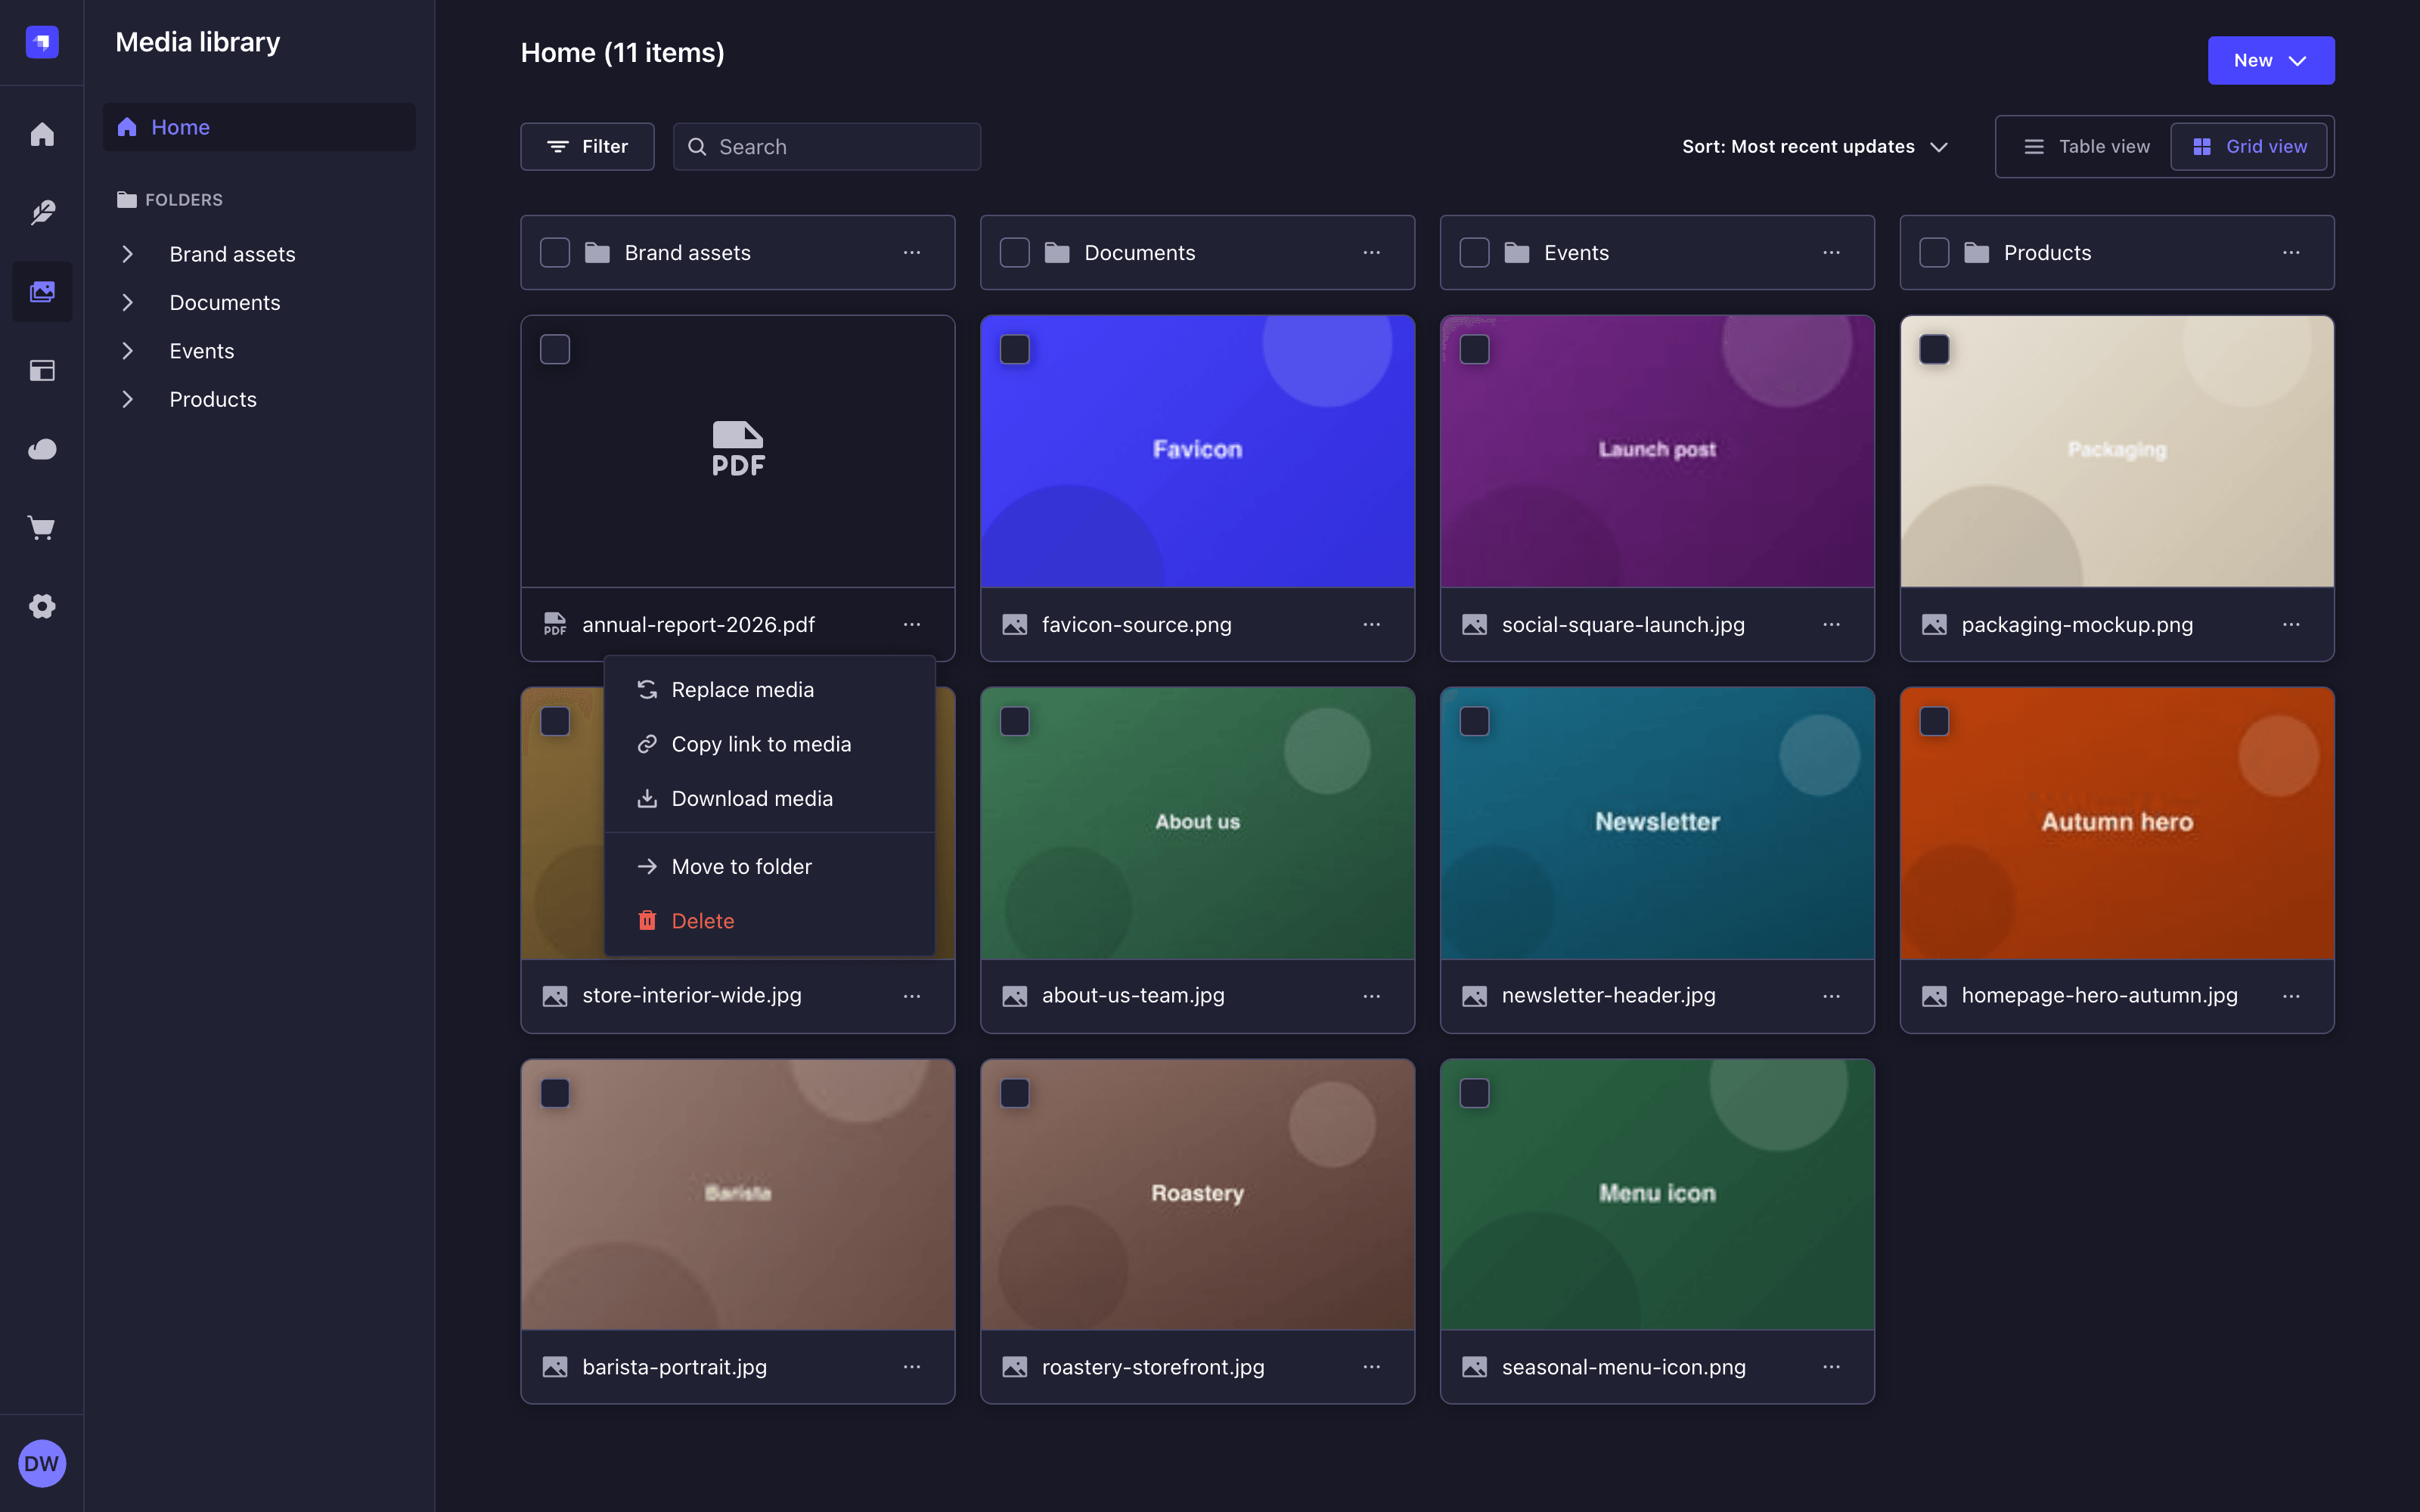
The More actions button of an asset or a folder opens a menu that acts on that item only, whatever else is selected in the list.
On an asset, the menu offers:
- Replace media
- Copy link to media
- Download media
- Move to folder
- Delete
On a folder, it offers:
- Copy link to folder
- Rename folder
- Move to folder
- Delete folder
Adding assets
Media types the Media Library previews
| Media type | Extensions |
|---|---|
| Image | - JPEG - PNG - GIF - SVG - TIFF - ICO - DVU |
| Video | - MPEG - MP4 - MOV (Quicktime) - WMV - AVI - FLV |
| Audio | - MP3 - WAV - OGG |
| File | - CSV - ZIP - XLS, XLSX - JSON |
The Media Library itself does not restrict file types. Which files are accepted is decided by the security.allowedTypes and security.deniedTypes options (see security) and by the maximum file size (see max file size). SVG files are denied by default in projects generated with Strapi 5.52.2+ and later (see SVG uploads).
Assets are always uploaded to the location you are currently browsing. Navigate to the target folder before uploading, or move the assets afterwards (see moving assets and folders).
In an empty folder, and in a new project, the list is replaced by a No assets yet message with an Add assets button that opens the same file browser as New > File upload.
There are 3 ways to add assets.
Uploading files from your computer
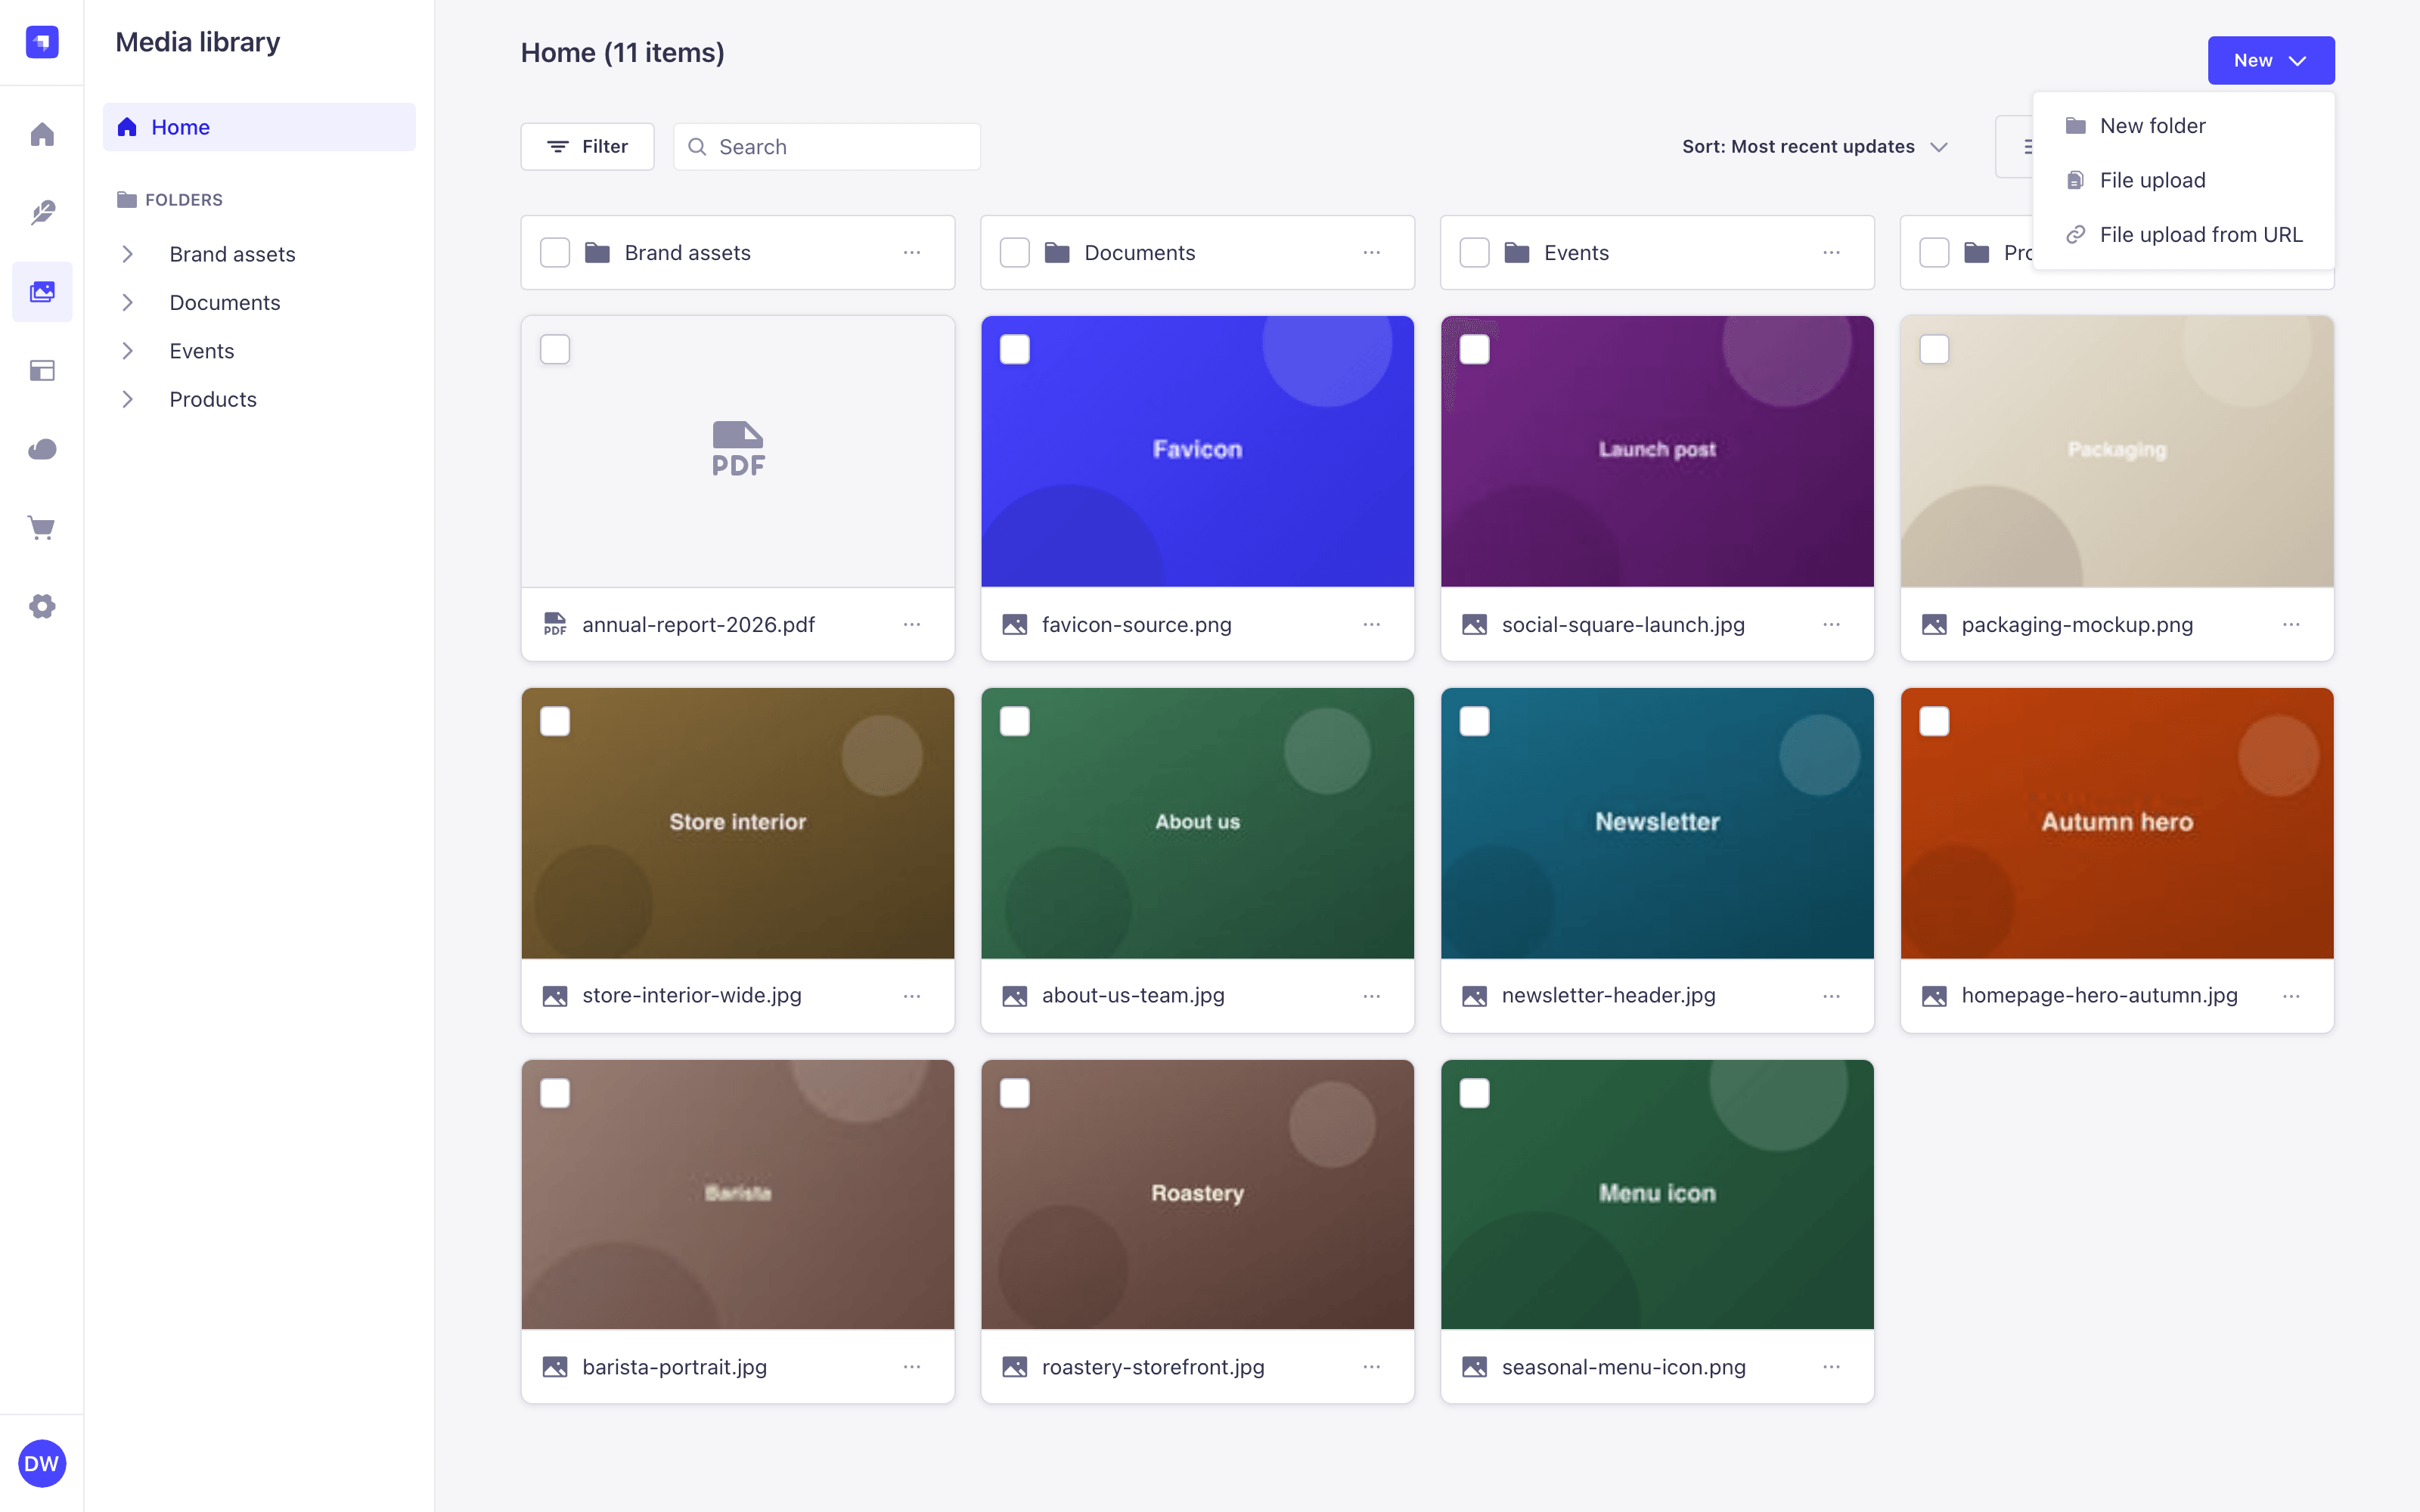
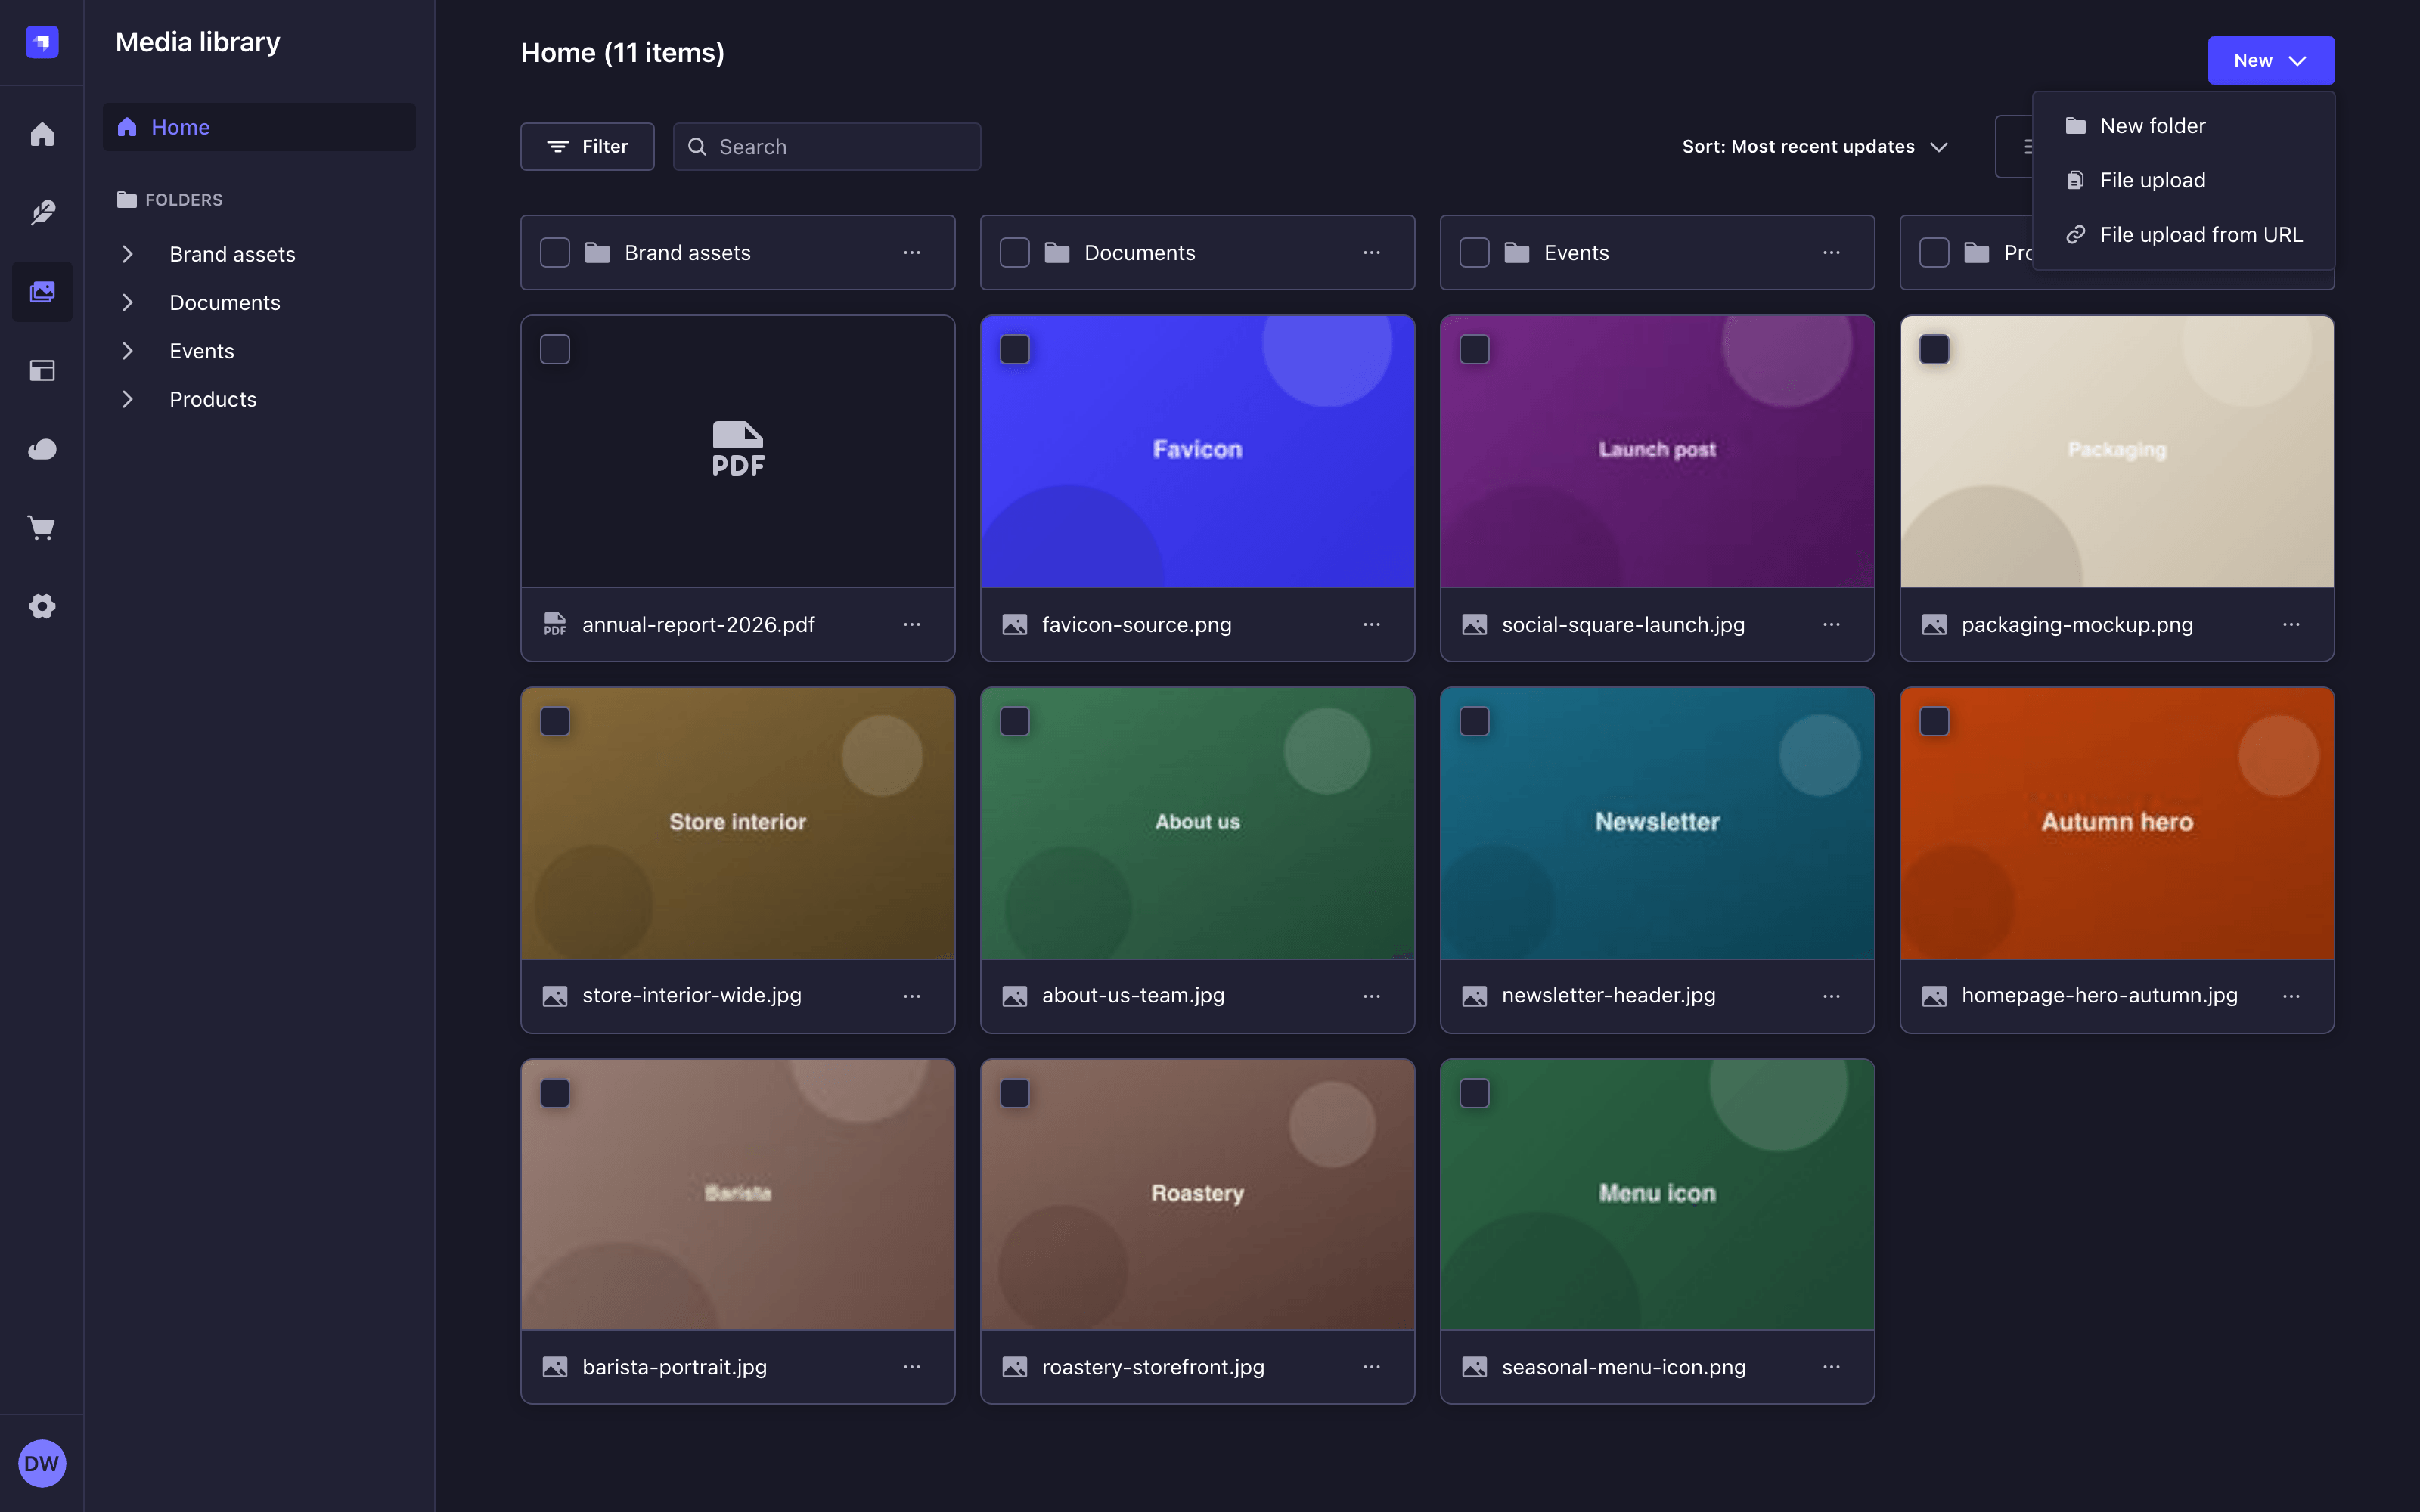
- Click the New button in the upper right corner of the Media Library.
- Click File upload.
- Select one or several files in your system's file browser and confirm.
The upload starts immediately and its progress is reported in the upload dialog (see following upload progress).
Uploading files by drag and drop
- Drag one or several files from your computer onto the Media Library.
- Check the destination folder named in the Drop here to upload to overlay.
- Release the files.
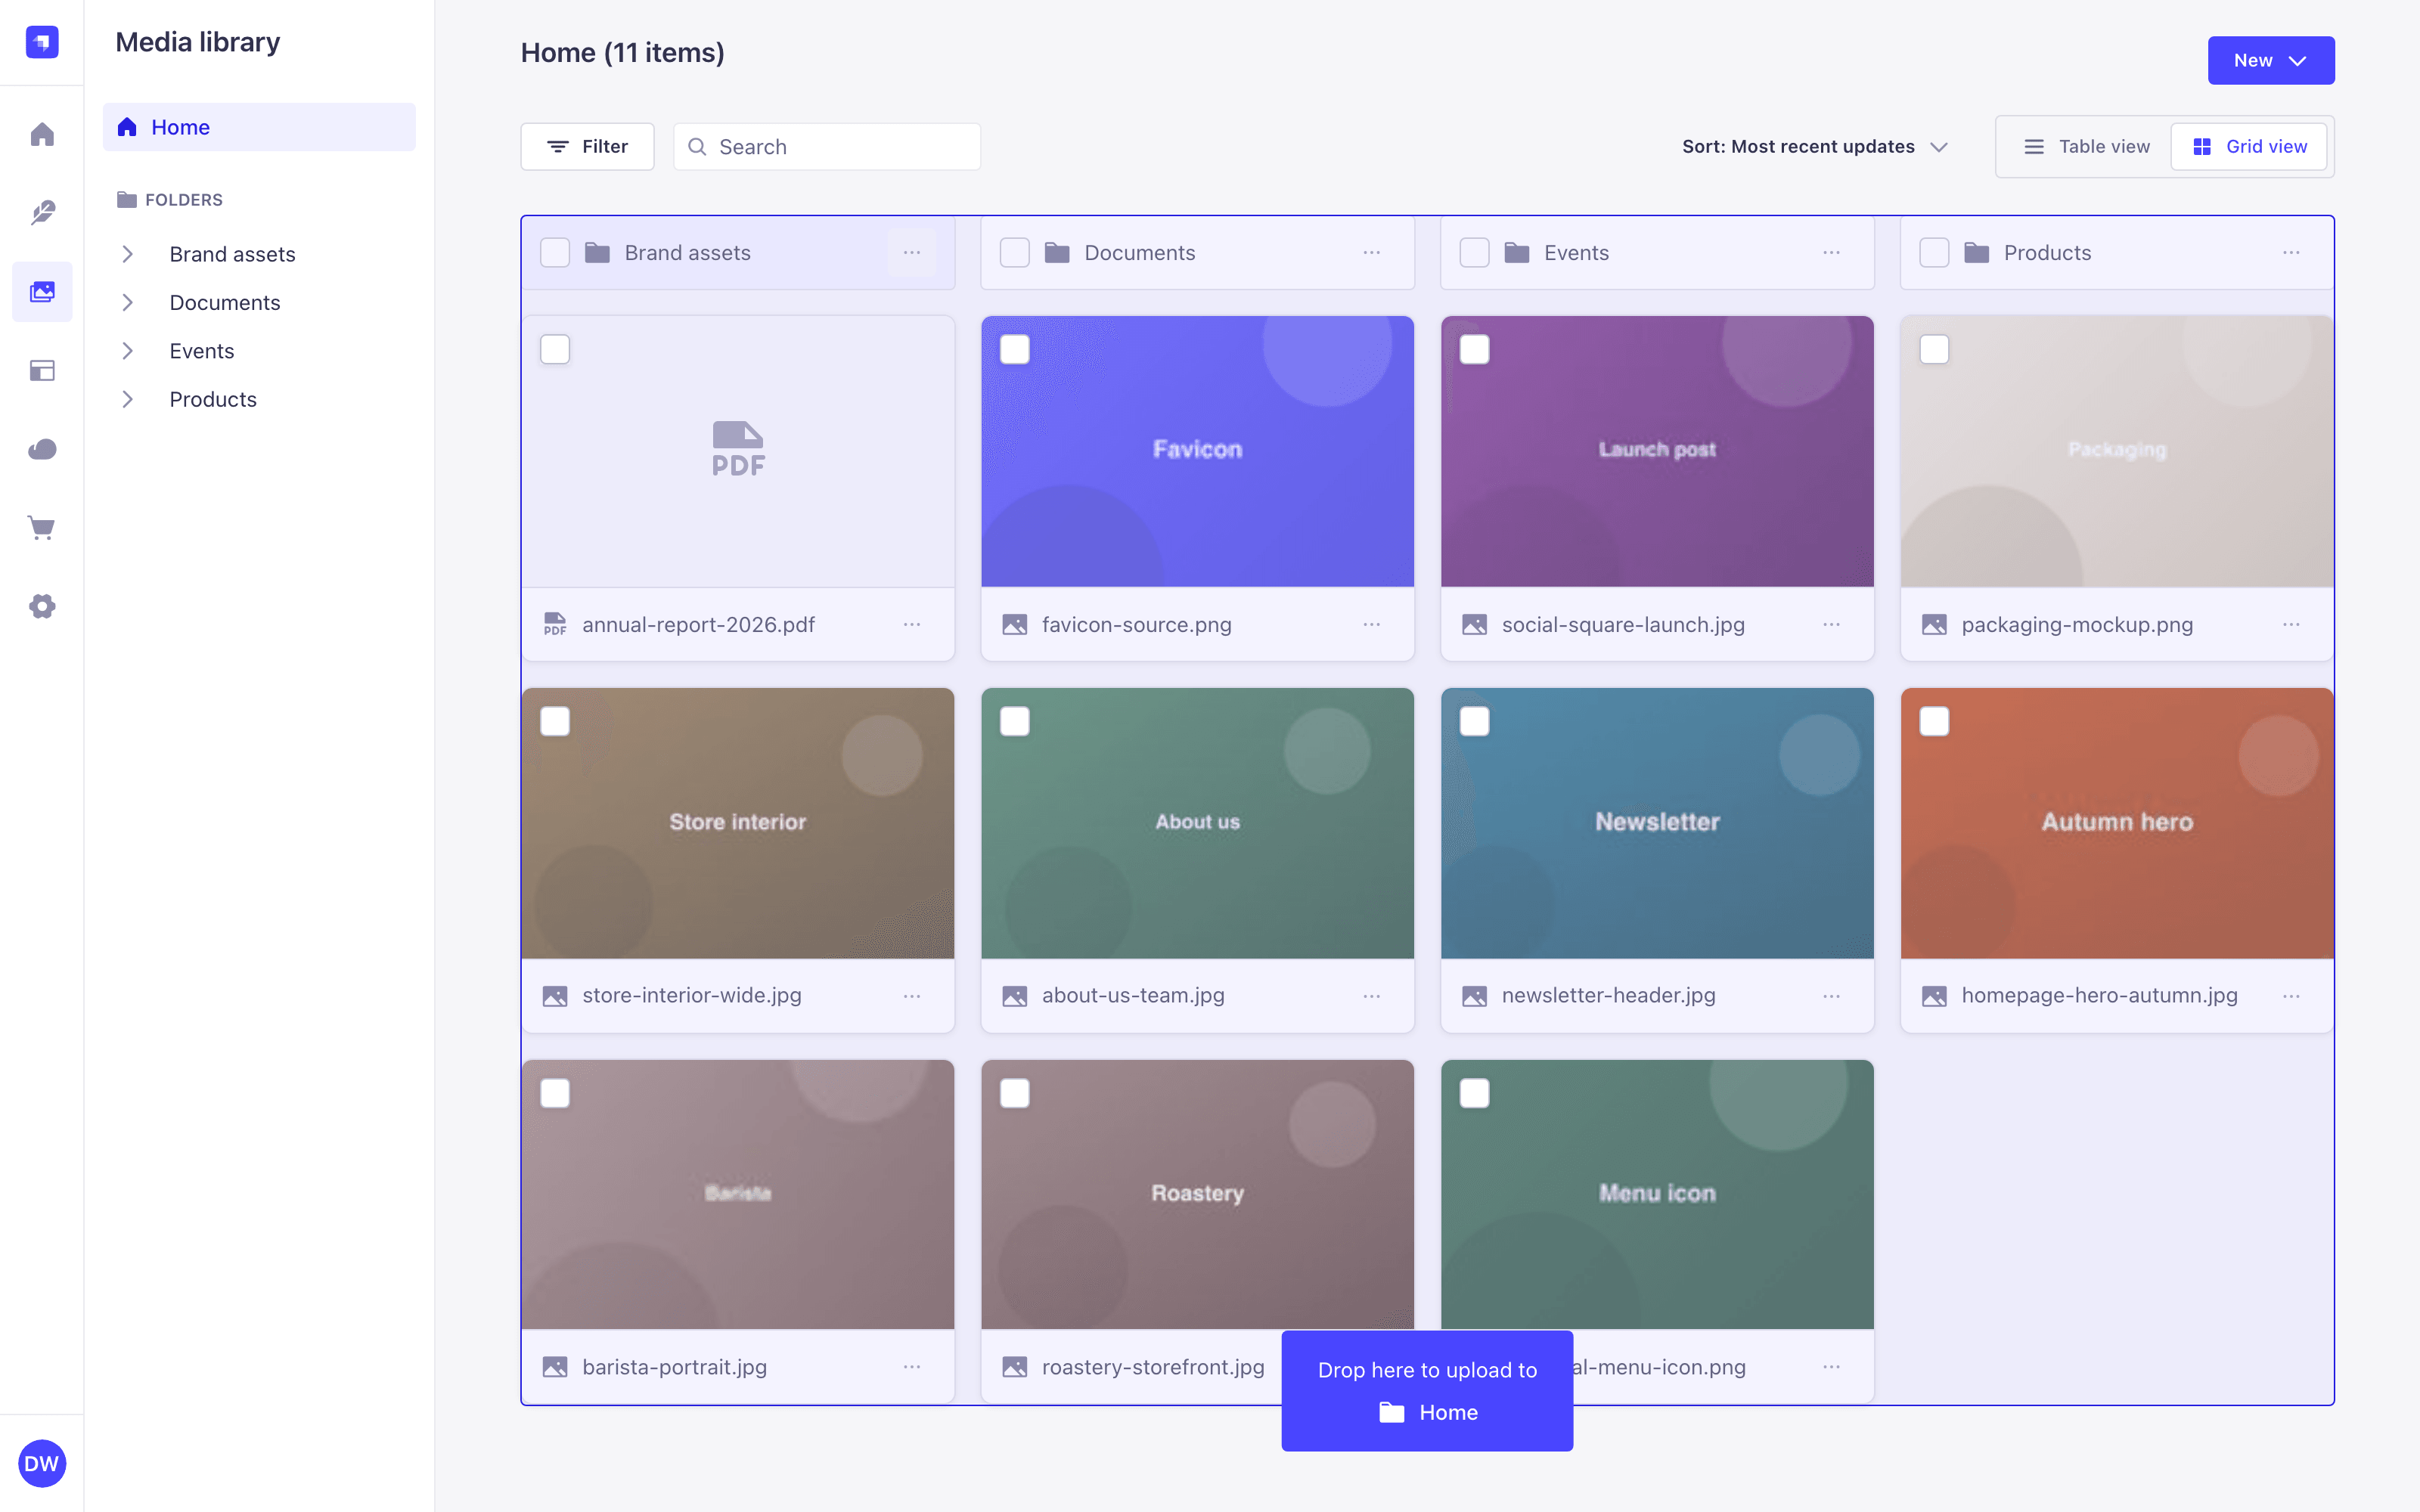
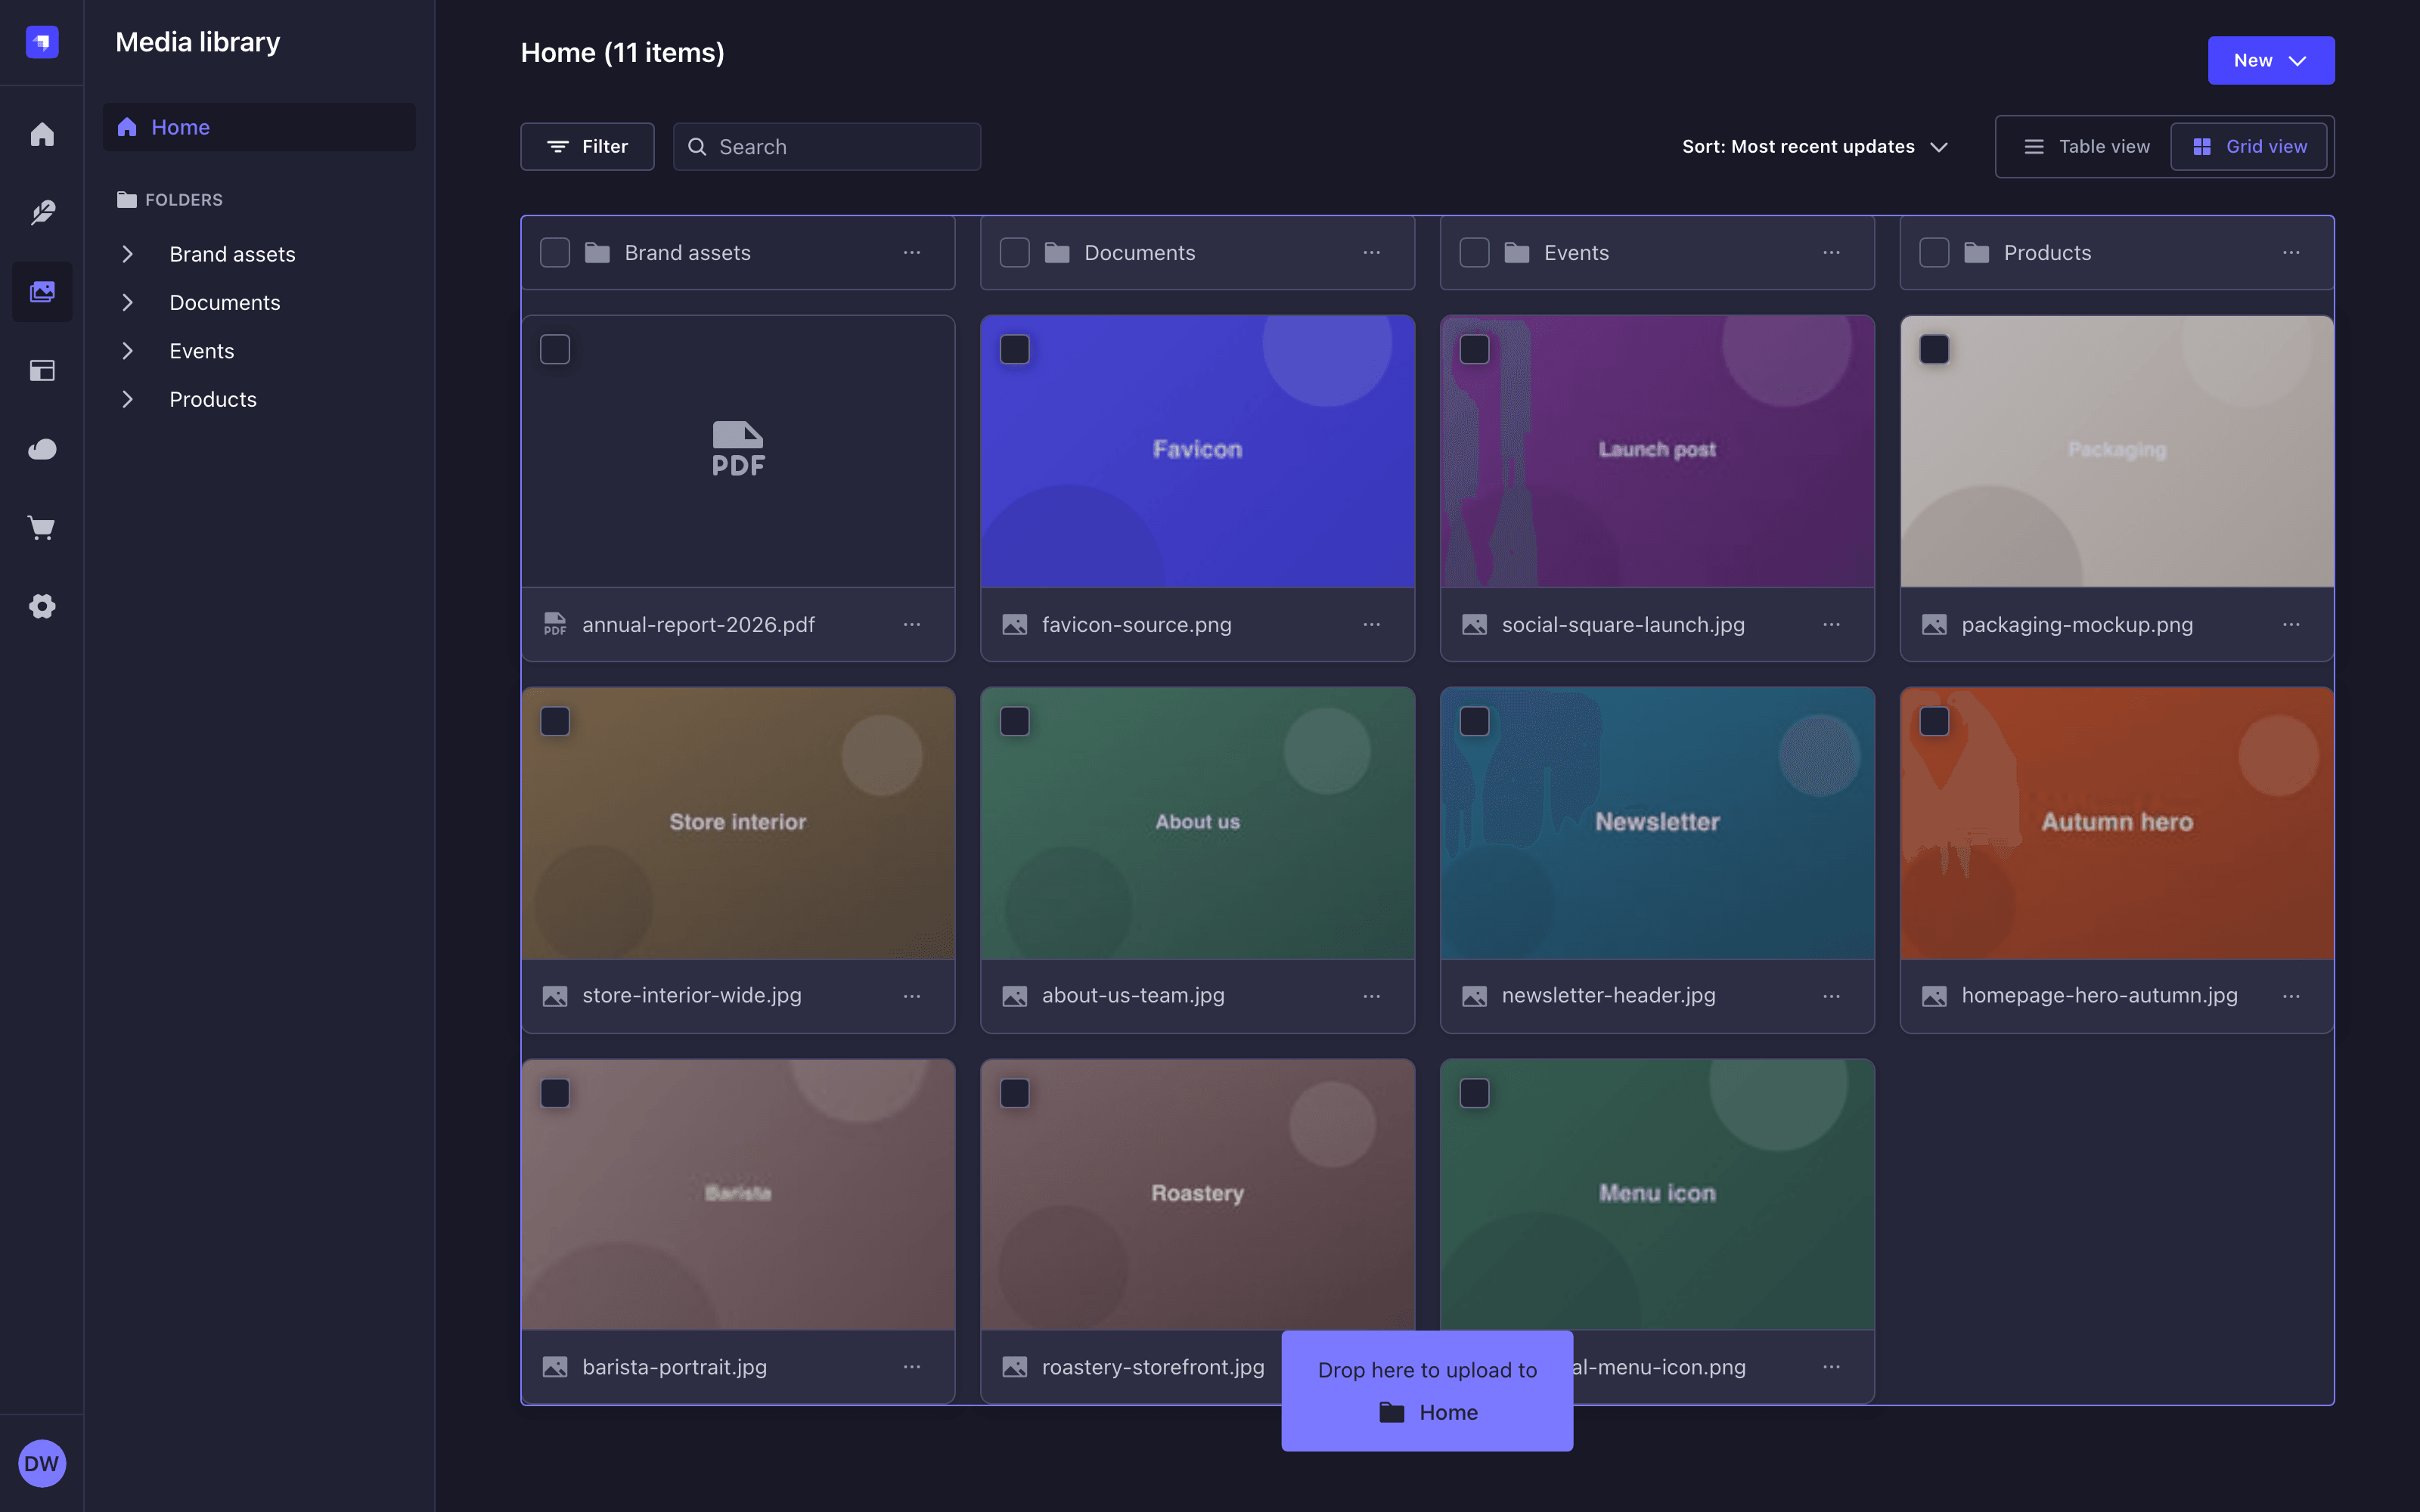
Files dropped from your computer always land in the folder you are currently browsing, whatever they are dropped on. Dropping a file on a folder card does not upload it into that folder: navigate into the folder first. Dragging an item that is already in the library onto a folder does move it (see moving assets and folders).
Uploading files from a URL
- Click the New button in the upper right corner of the Media Library.
- Click File upload from URL.
- In the URL(s) field of the Import from URL dialog, type or paste up to 20 URLs, one per line.
- Click Upload.
Strapi downloads each file server-side and adds it to the current folder. The server reports no incremental byte count for this flow, so the upload dialog displays a moving progress bar without a percentage.
URLs must use the http or https protocol, and must resolve to a publicly reachable address. URLs that resolve to a private or internal address, such as localhost or an address on your own network, are rejected to prevent server-side request forgery.
Following upload progress
Uploads are reported in a dialog that lists every file of the batch with its own status, such as Queued, Uploading... or Uploaded. The dialog is available throughout the admin panel, not only in the Media Library, so you can navigate to another part of Strapi while a batch uploads.
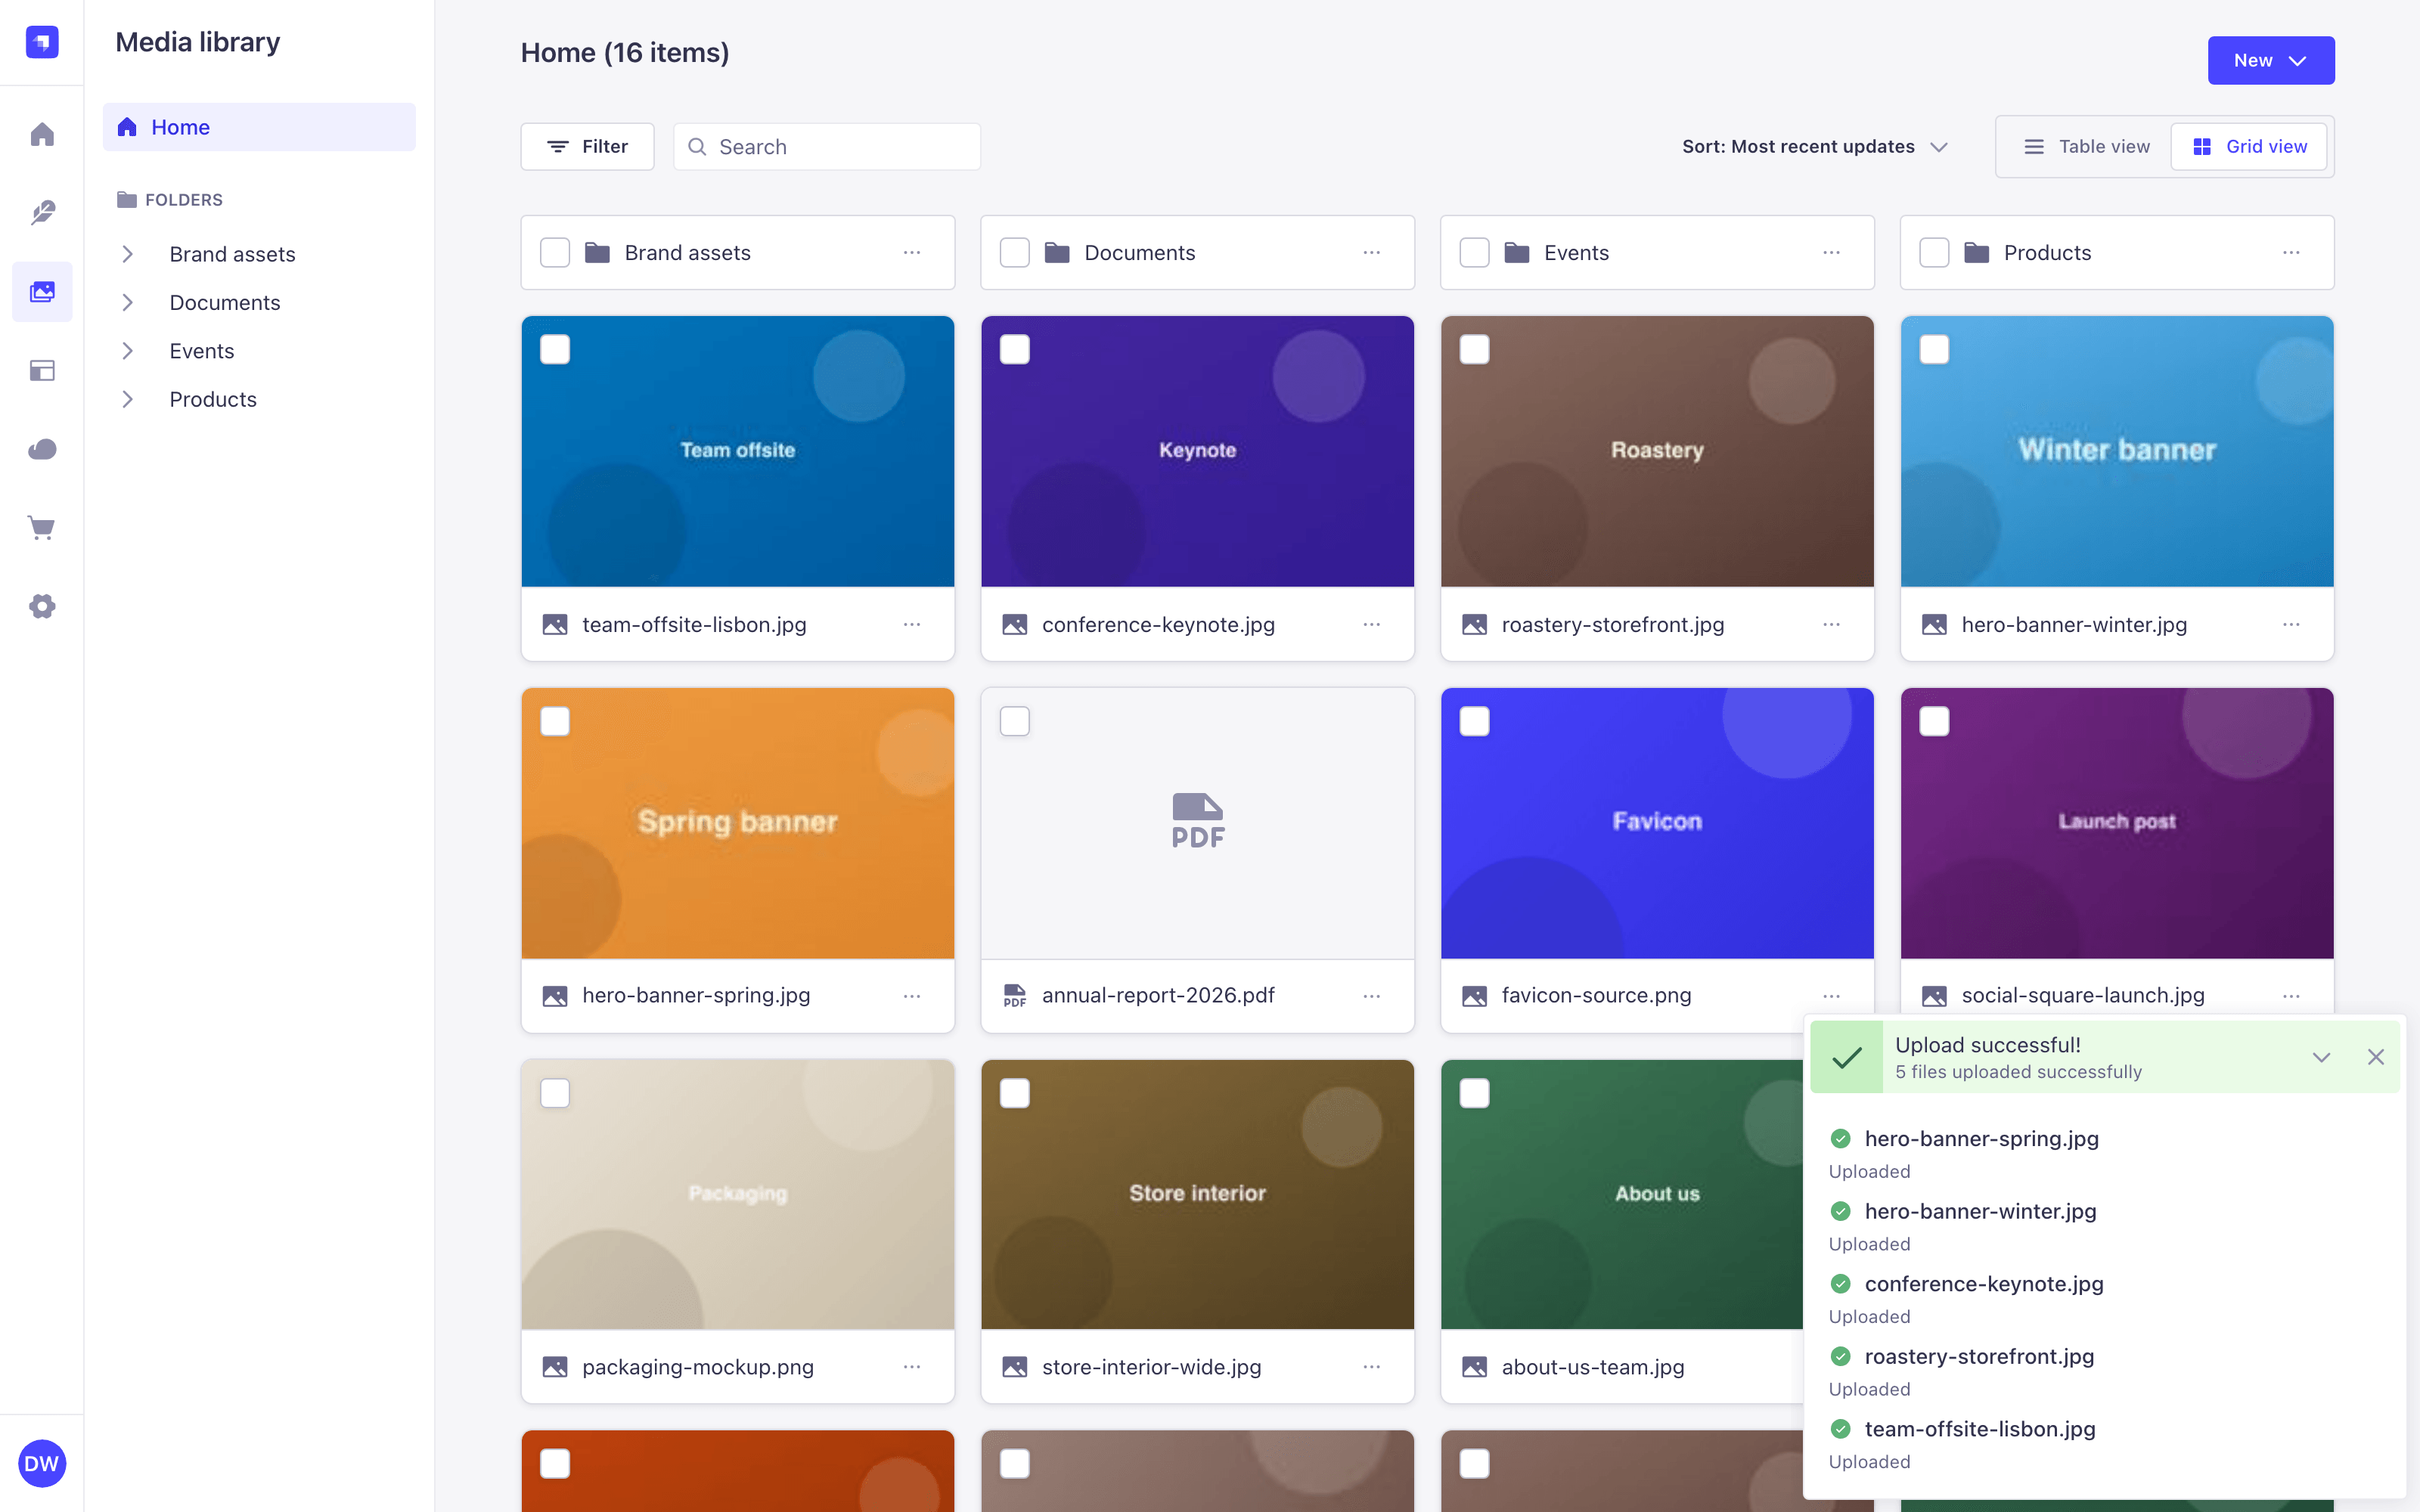
The dialog can be minimized to a summary line and maximized again. It offers a Cancel all button that stops the batch while keeping the files already uploaded, a Retry button that restarts the files you cancelled, and a Close button once the batch is finished. Dropping more files while a batch is running adds them to that batch.
Retry is only displayed after a cancellation, and it only restarts cancelled files. A file that failed on its own cannot be retried from the dialog: read the reason on its row, fix the cause, and upload it again.
By default, files are uploaded one at a time. Increase concurrentUploadRequests to upload several files in parallel.
Automatically generating metadata with Strapi AI
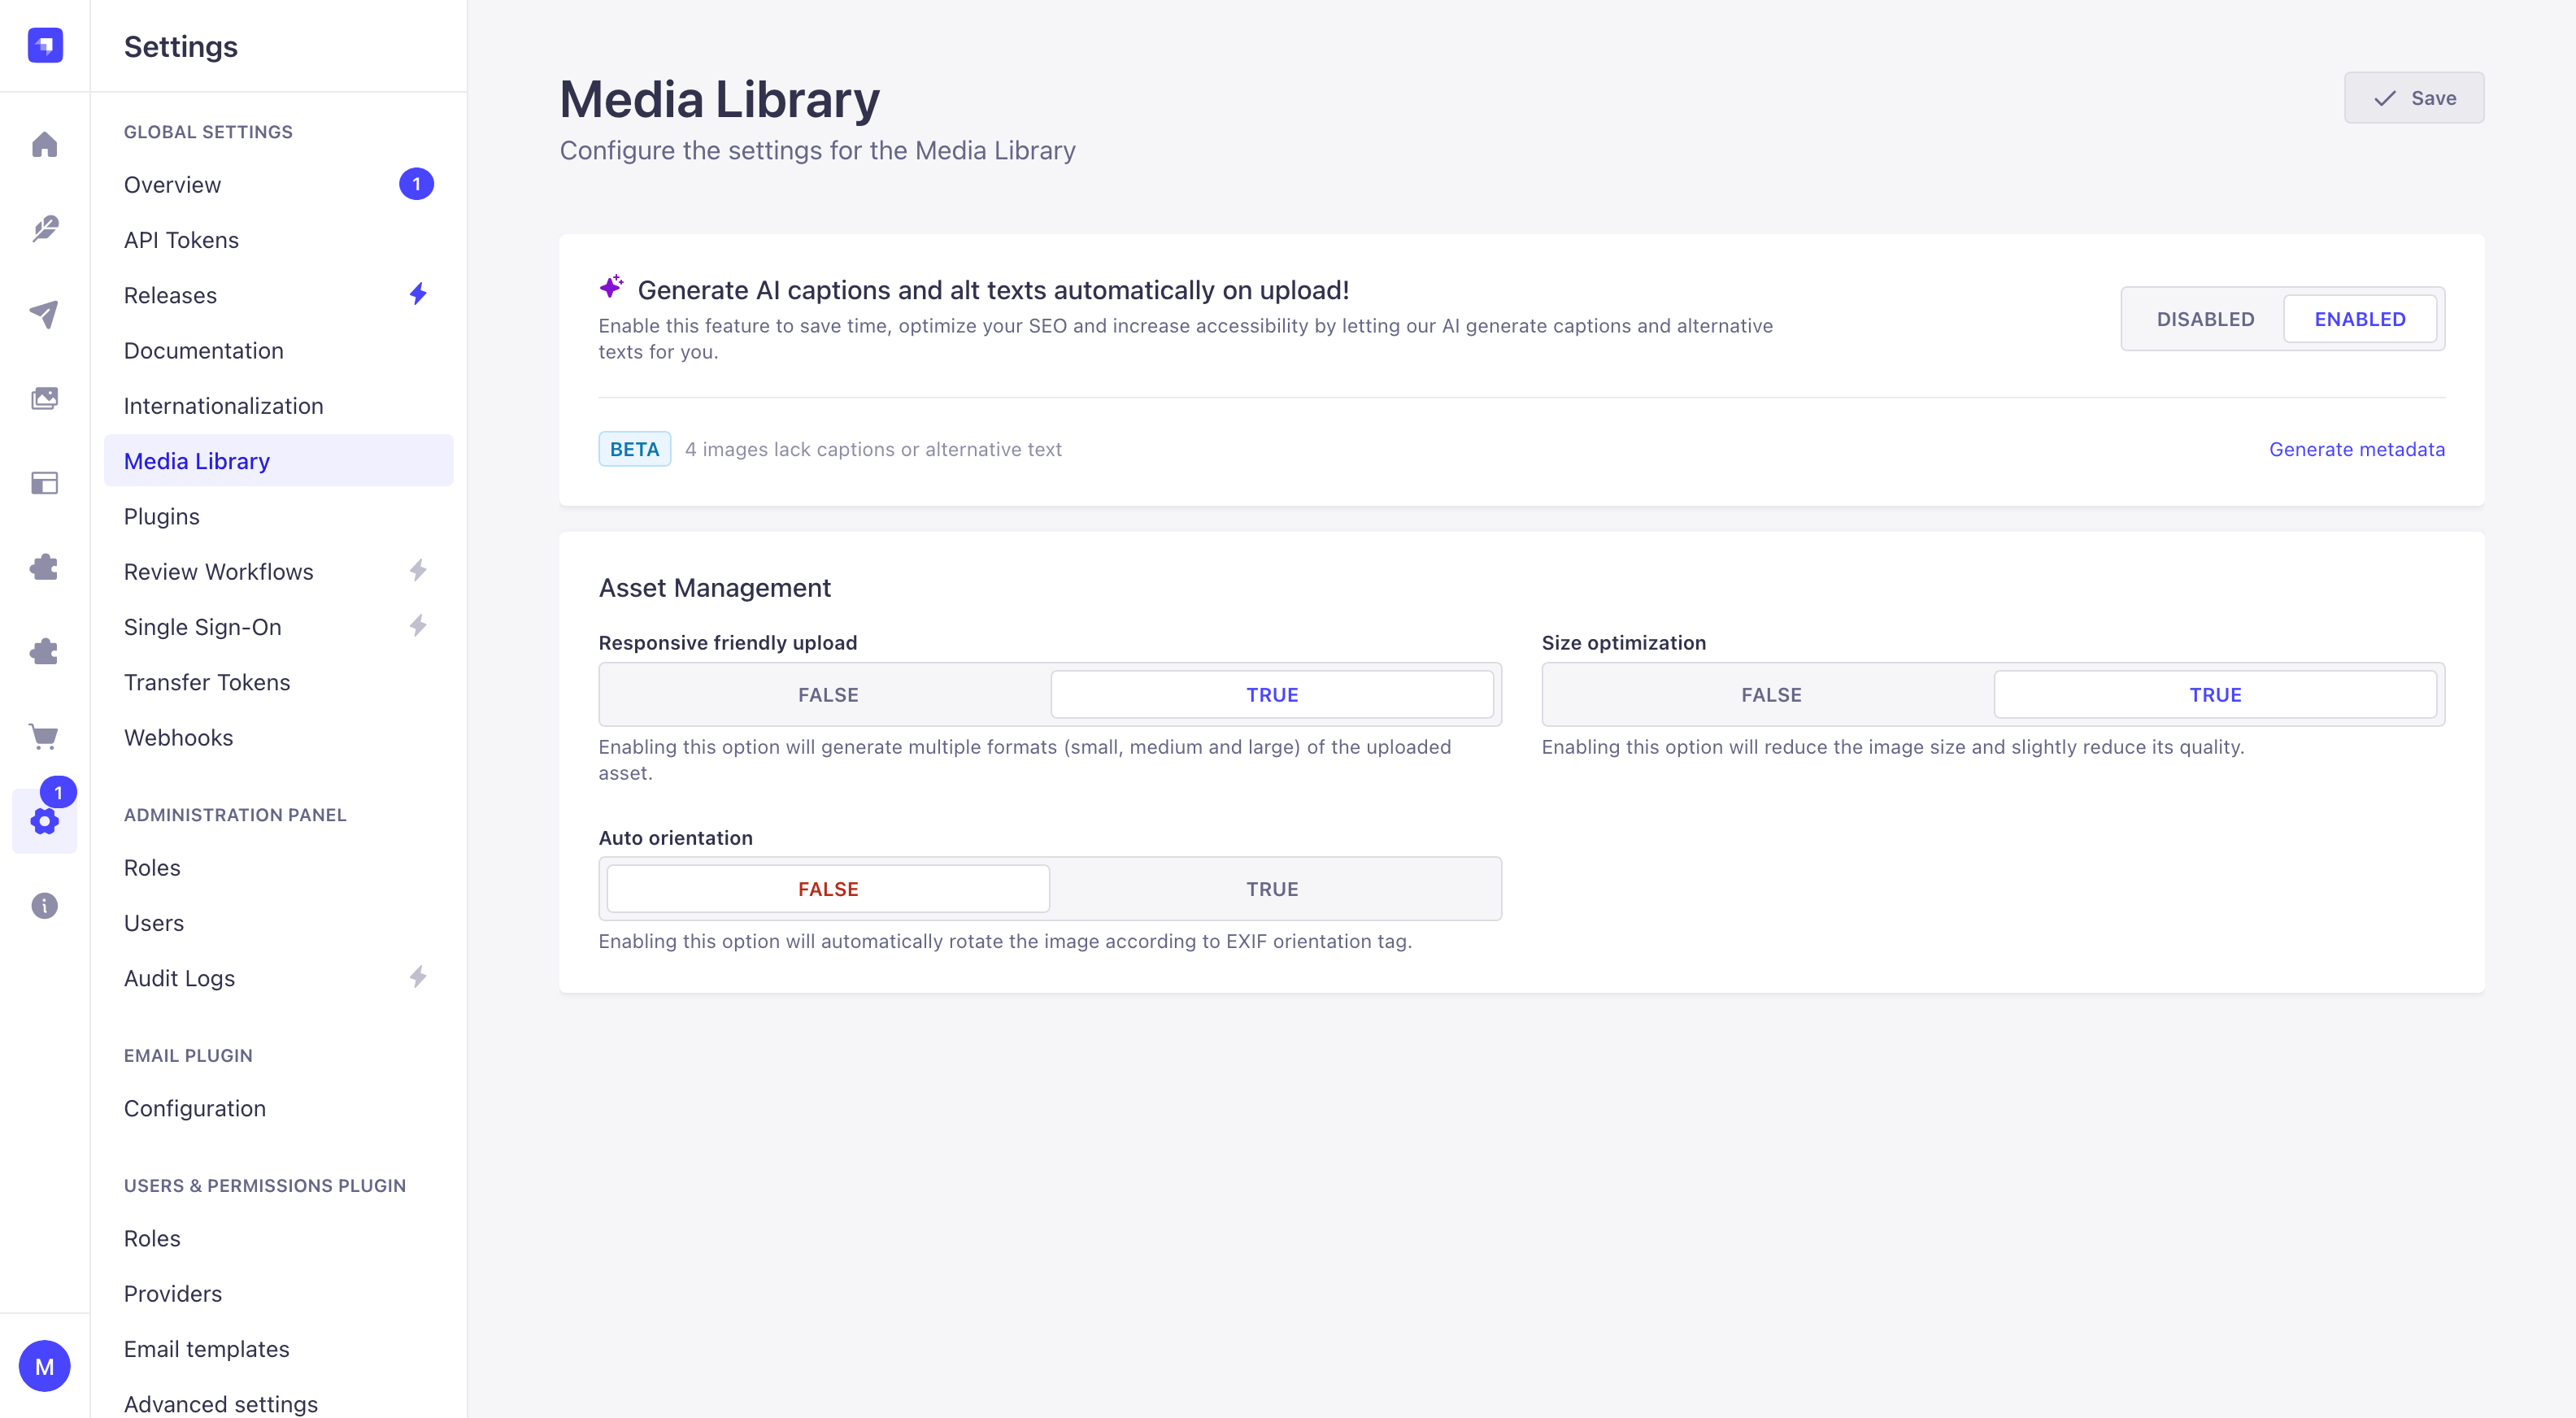
GrowthThis feature is available with a Growth plan.When enabled, Strapi AI automatically generates an alternative text and a caption for images uploaded to the Media Library, helping you improve content accessibility and SEO. The upload dialog reports the outcome for each file, such as Uploaded • Metadata generated or Upload complete • Metadata generation skipped.
AI metadata generation only works with PNG, JPEG, WebP, HEIC and HEIF images. Every other file, including GIF, SVG and TIFF images, is reported as skipped. The feature is enabled by default, but can be disabled in the Media Library settings if needed.
Metadata can also be generated for images that already exist in the library, either from the Media Library settings for every image that lacks one, or with the Create metadata bulk action for a specific selection (see generating metadata in bulk).
Strapi AI includes 1,000 credits per month on the Growth plan, and 10 free credits during the free trial. Strapi AI is not available on Enterprise plans.
Lightweight actions use fewer credits, while more complex ones use more.
You can check your credit usage in the Settings Overview of the admin panel. Notifications are sent when your usage reaches 80%, 90%, and 100% of your monthly allowance. Overages apply.
Credits are shared across all users within the same project instance.
When your credits run out, you can keep using Strapi AI, with overages billed monthly. For more information about Strapi AI, please refer to the dedicated support article.
Finding assets
The toolbar offers a Filter button, a Search field and a Sort button, in that order. Search looks across the whole library, while filters and sorting apply to the location you are browsing.
Searching assets
Type in the toolbar's Search field to find assets and folders by name.
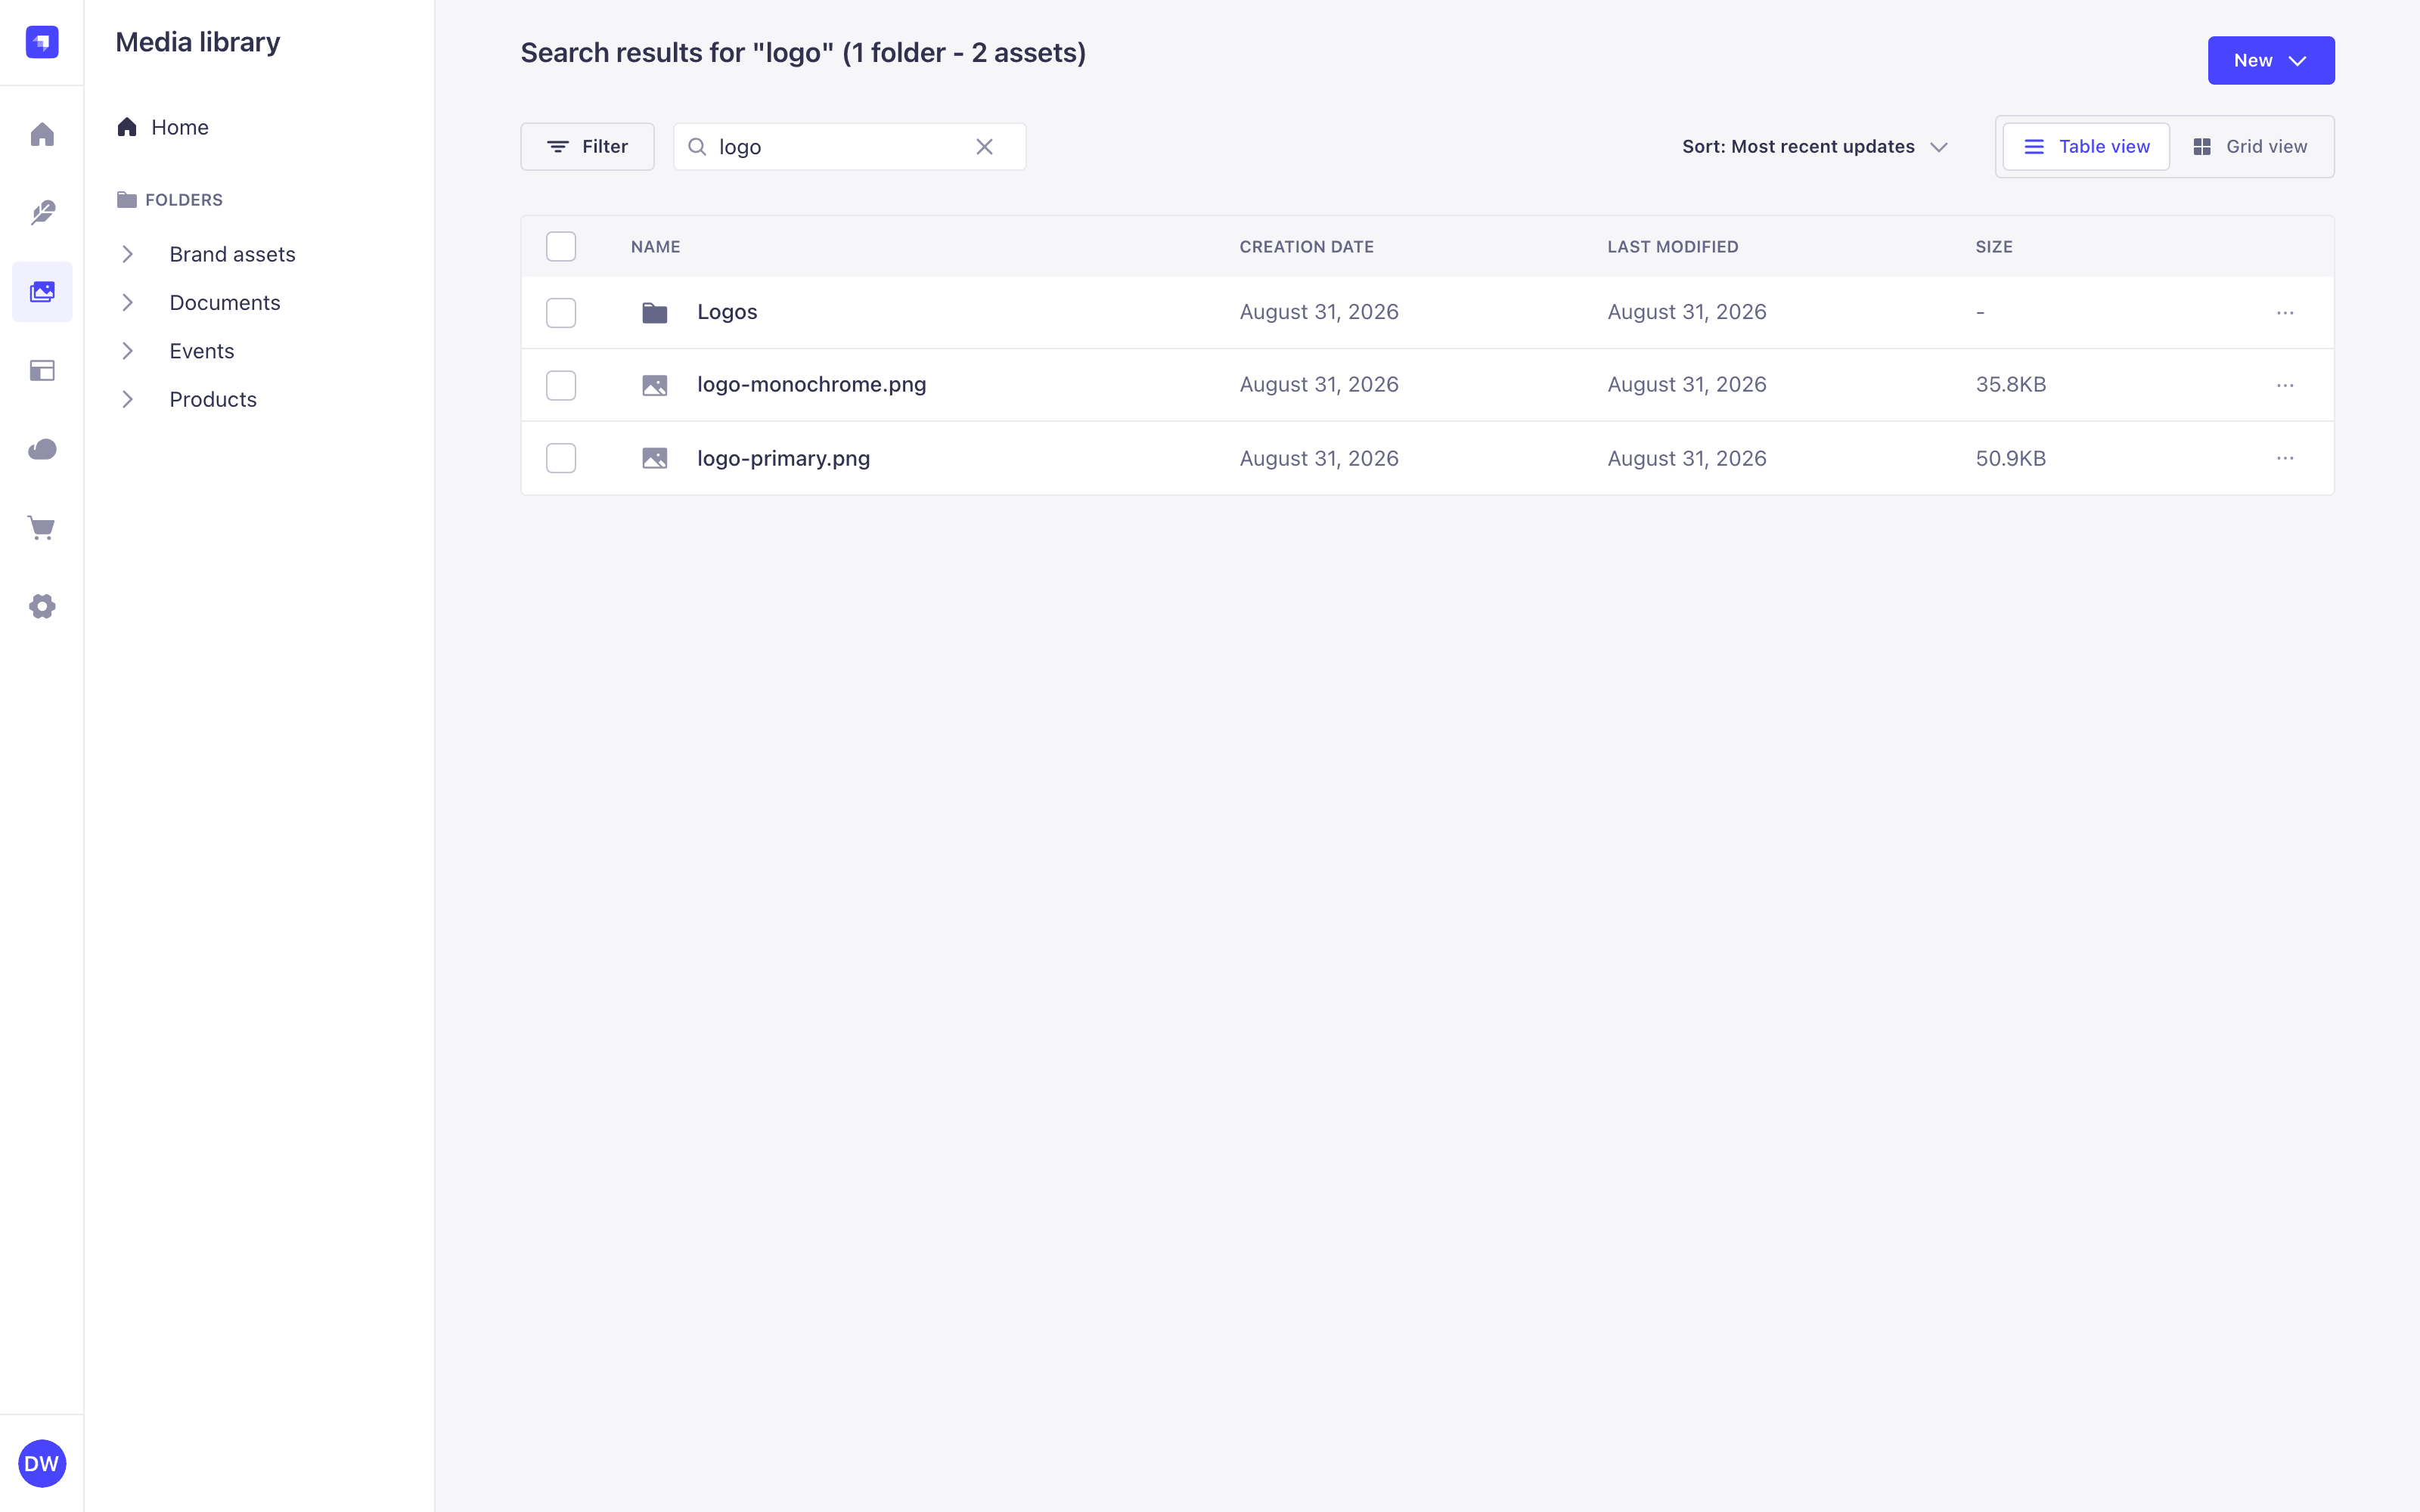
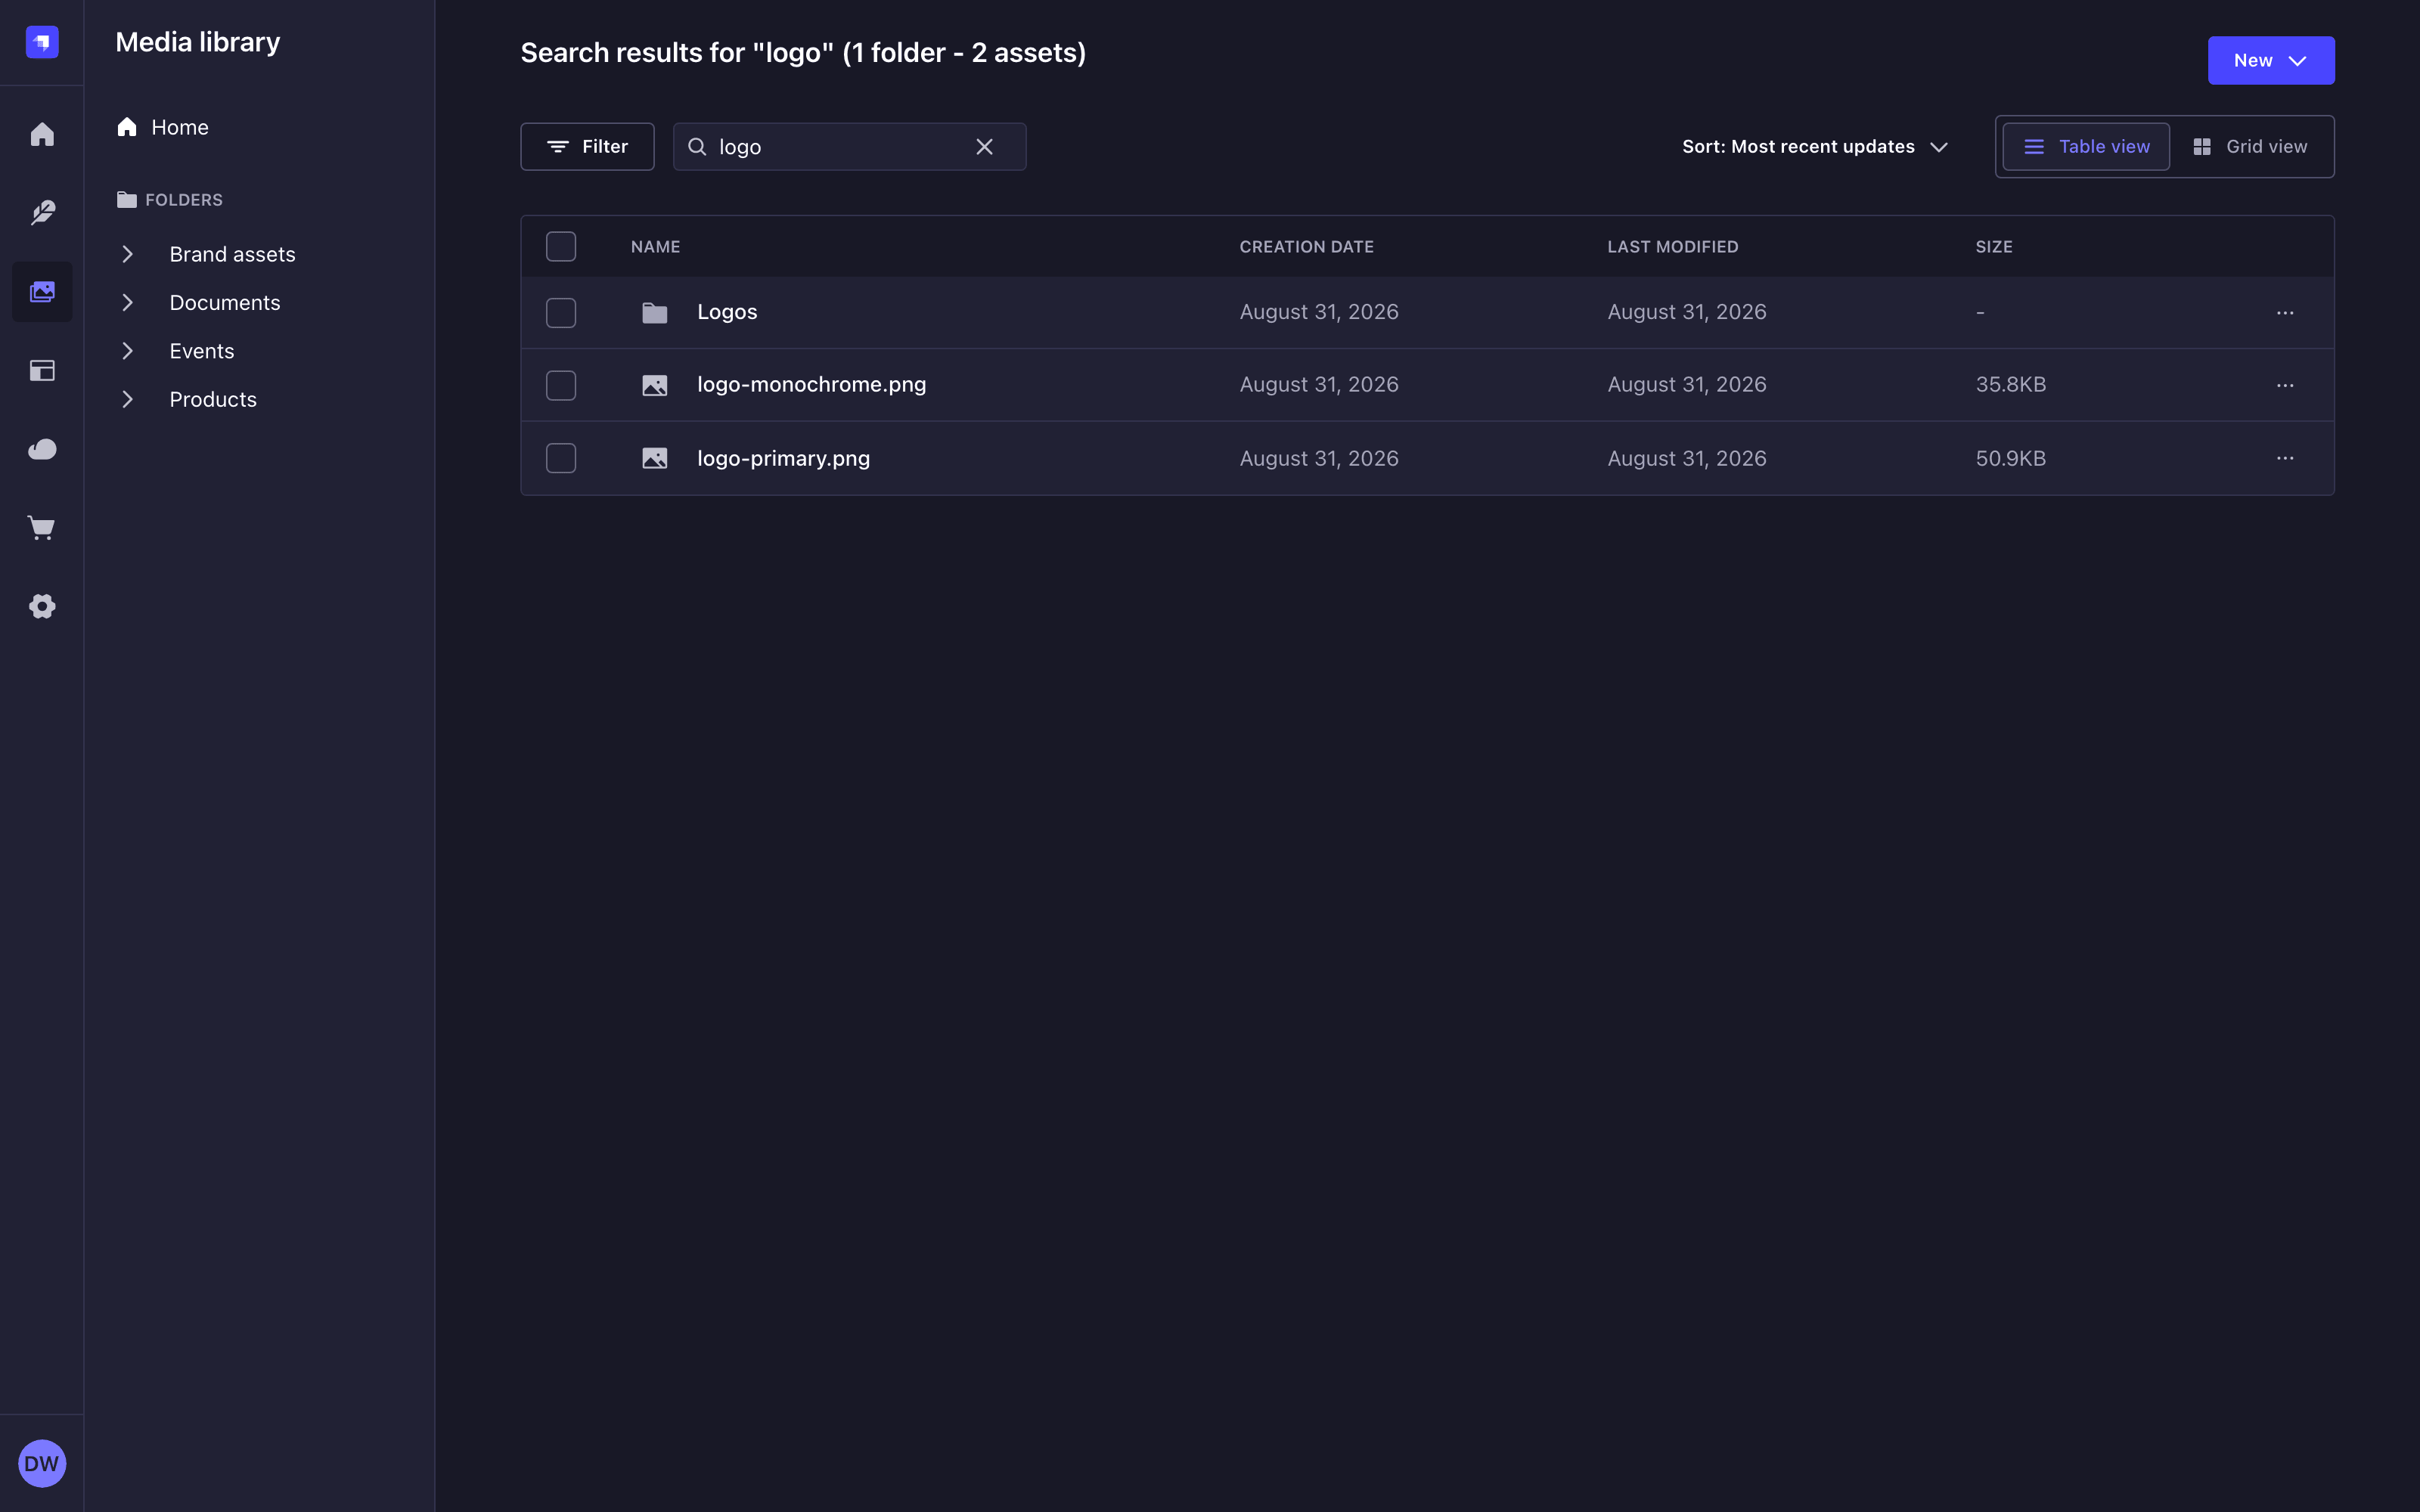
The search covers the whole library, not only the folder you are browsing, and it returns both folders and assets. The page title becomes Search results for "your term" followed by the number of folders and assets found.
To leave the search, click the Clear button inside the search field, or navigate to a folder in the folder tree.
When a search returns nothing, the list is replaced by a No results found message with a Clear search button.
Filtering assets
3 filter fields are available to narrow the list:
| Filter field | Values | Conditions |
|---|---|---|
| Type | Folder, Picture, Audio, Video, Document | is, is not |
| Creation date | A relative preset, from 1 day ago to 1 year ago | is exactly, within the last, not within the last |
| Creation date | A custom date range | is, is not |
| Last modified | A relative preset, from 1 day ago to 1 year ago | is exactly, within the last, not within the last |
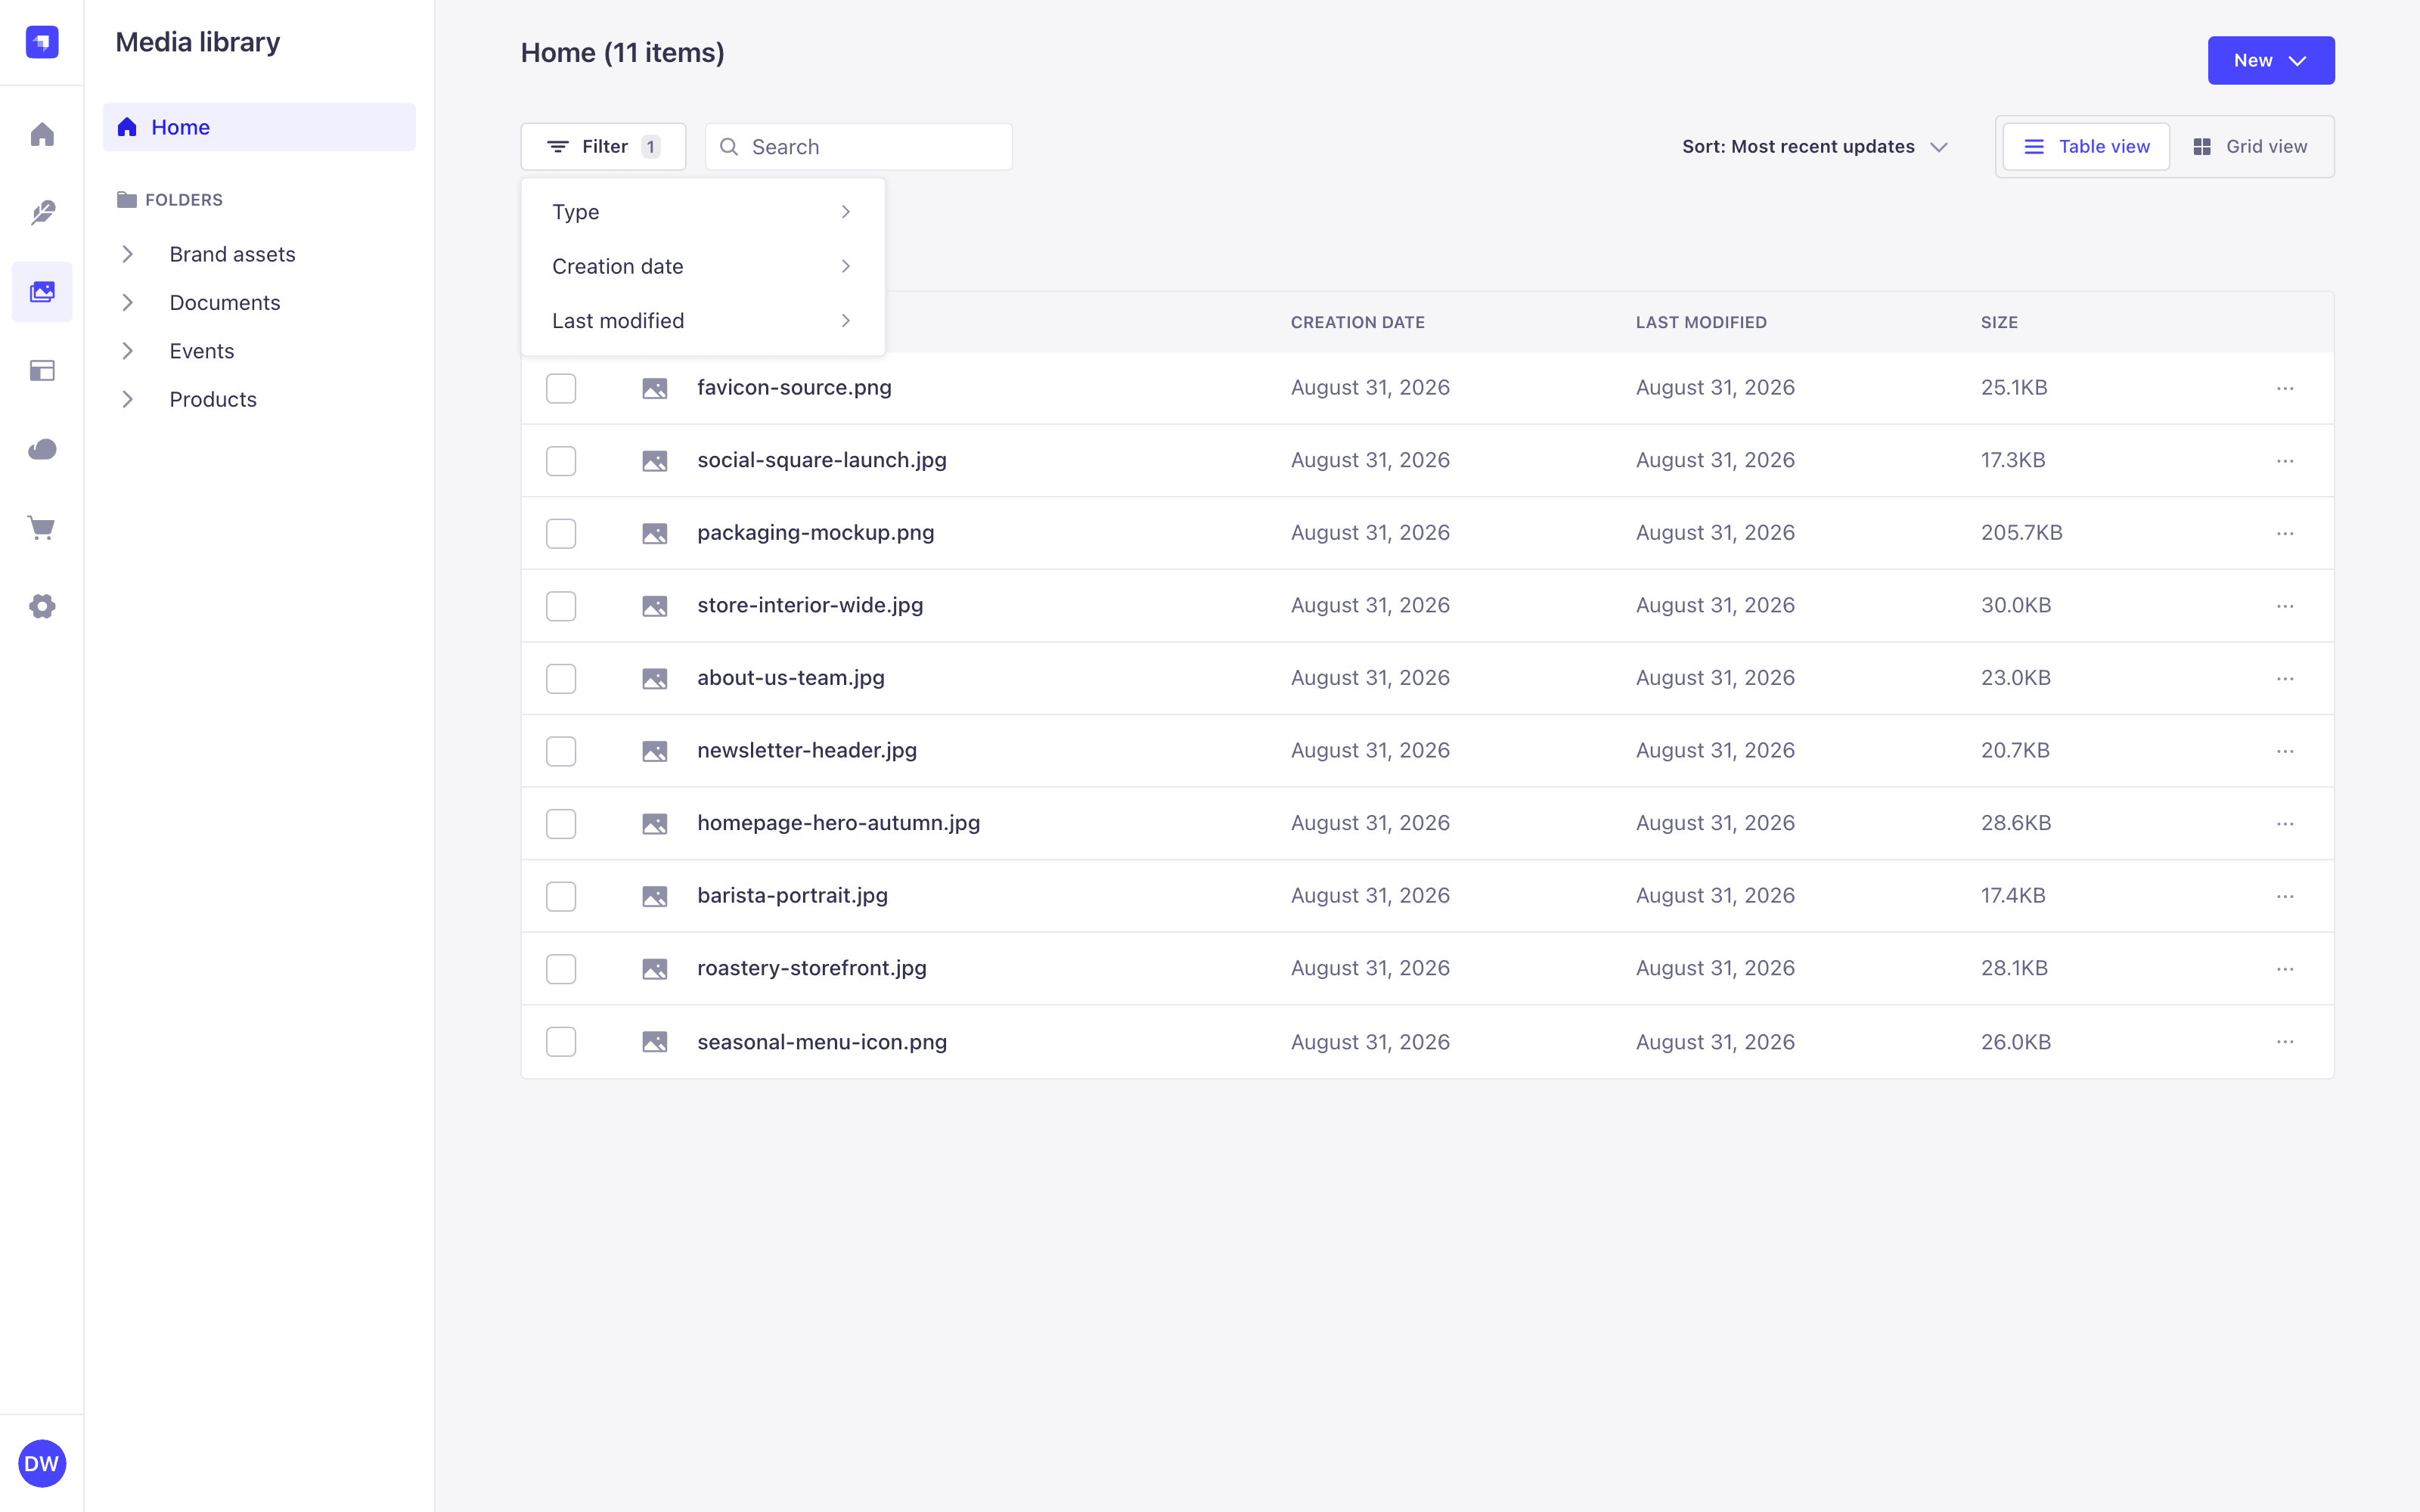
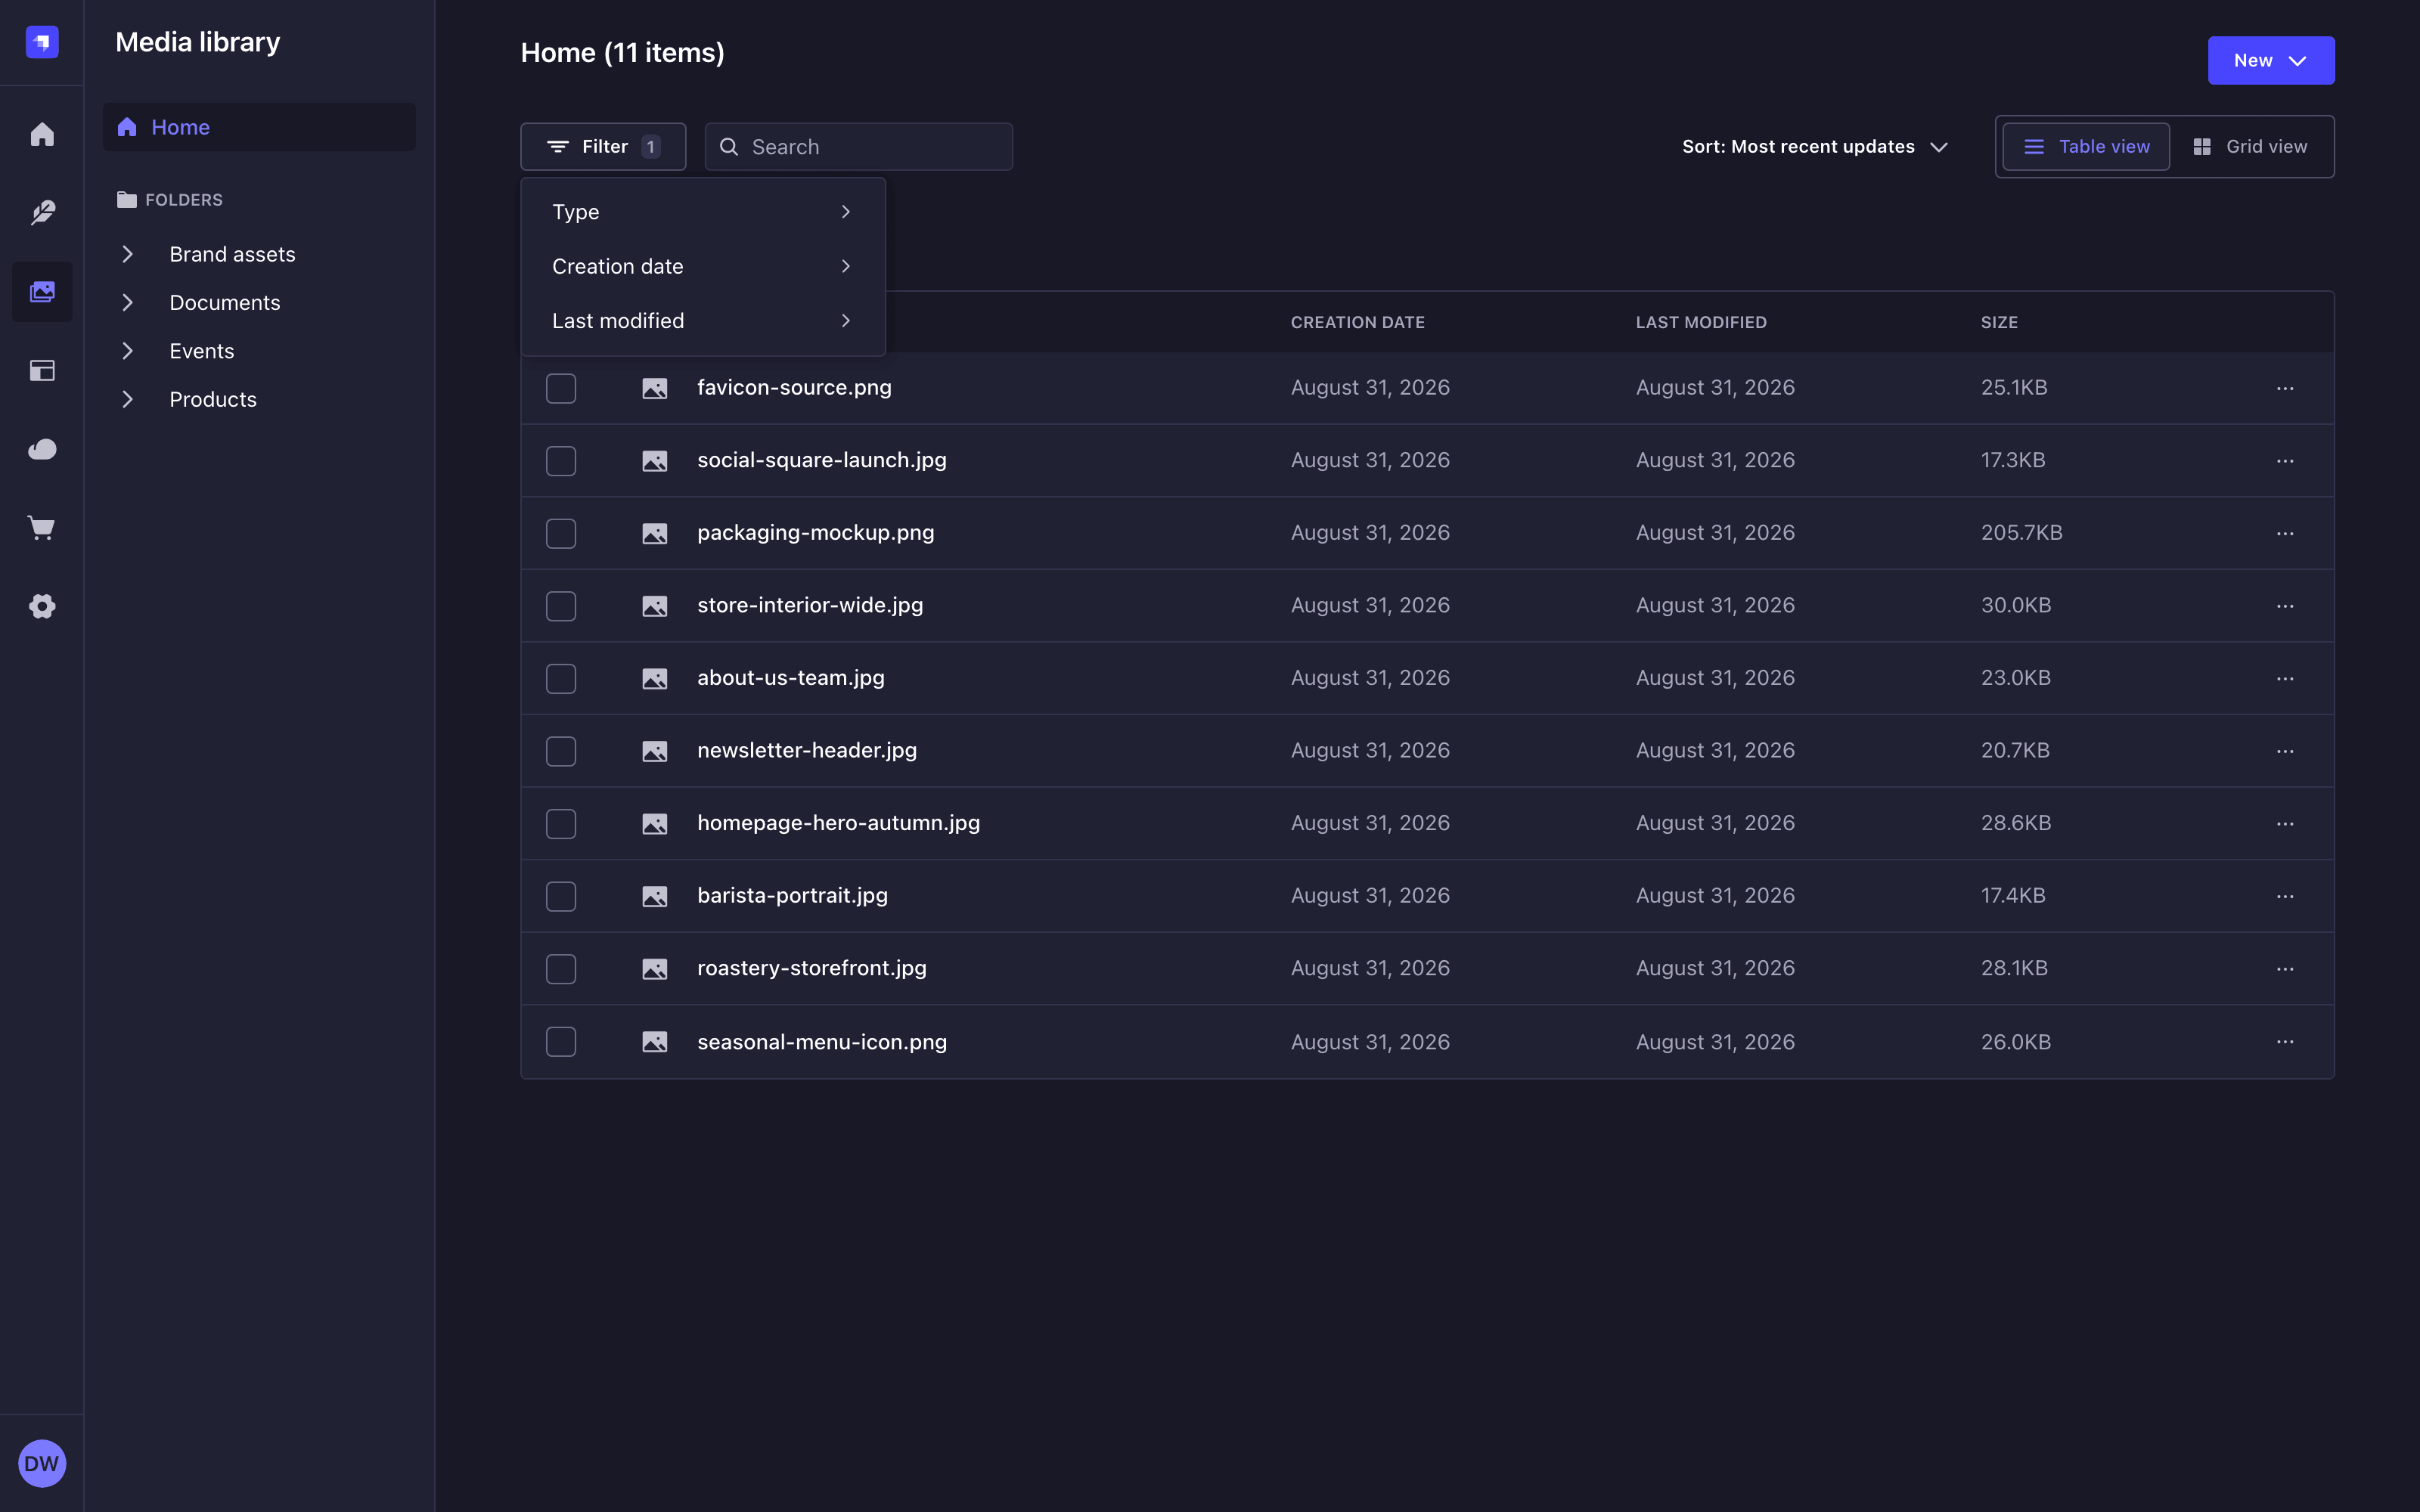
To filter the list:
- Click the Filter button in the toolbar.
- Click a filter field.
- Click one or several values. The Type list stays open so that you can check several types, and the badge lists them all, for instance Type is Picture, Video.
- (optional) Repeat for another field.
Filters combine, so only the items matching every filter are displayed. Each applied filter is added below the toolbar as a badge. Click the condition or the value segment of a badge to change it, and the button to remove that filter.
Filters apply to the location you are browsing, not to the whole library. Use the search to look across all folders.
A Type badge also decides whether folders are displayed: folders are hidden unless Folder is one of its values, and assets are hidden when Folder is its only value.
When the active filters match nothing, the list is replaced by a No items matched current filters message with a Clear filters button that removes all of them. There is no clear-all control in the toolbar: as long as the filters match something, remove the badges one by one.
Sorting assets
Click the Sort button in the toolbar to change the order of the list. The button label always names the active rule, for instance Sort: Most recent updates.
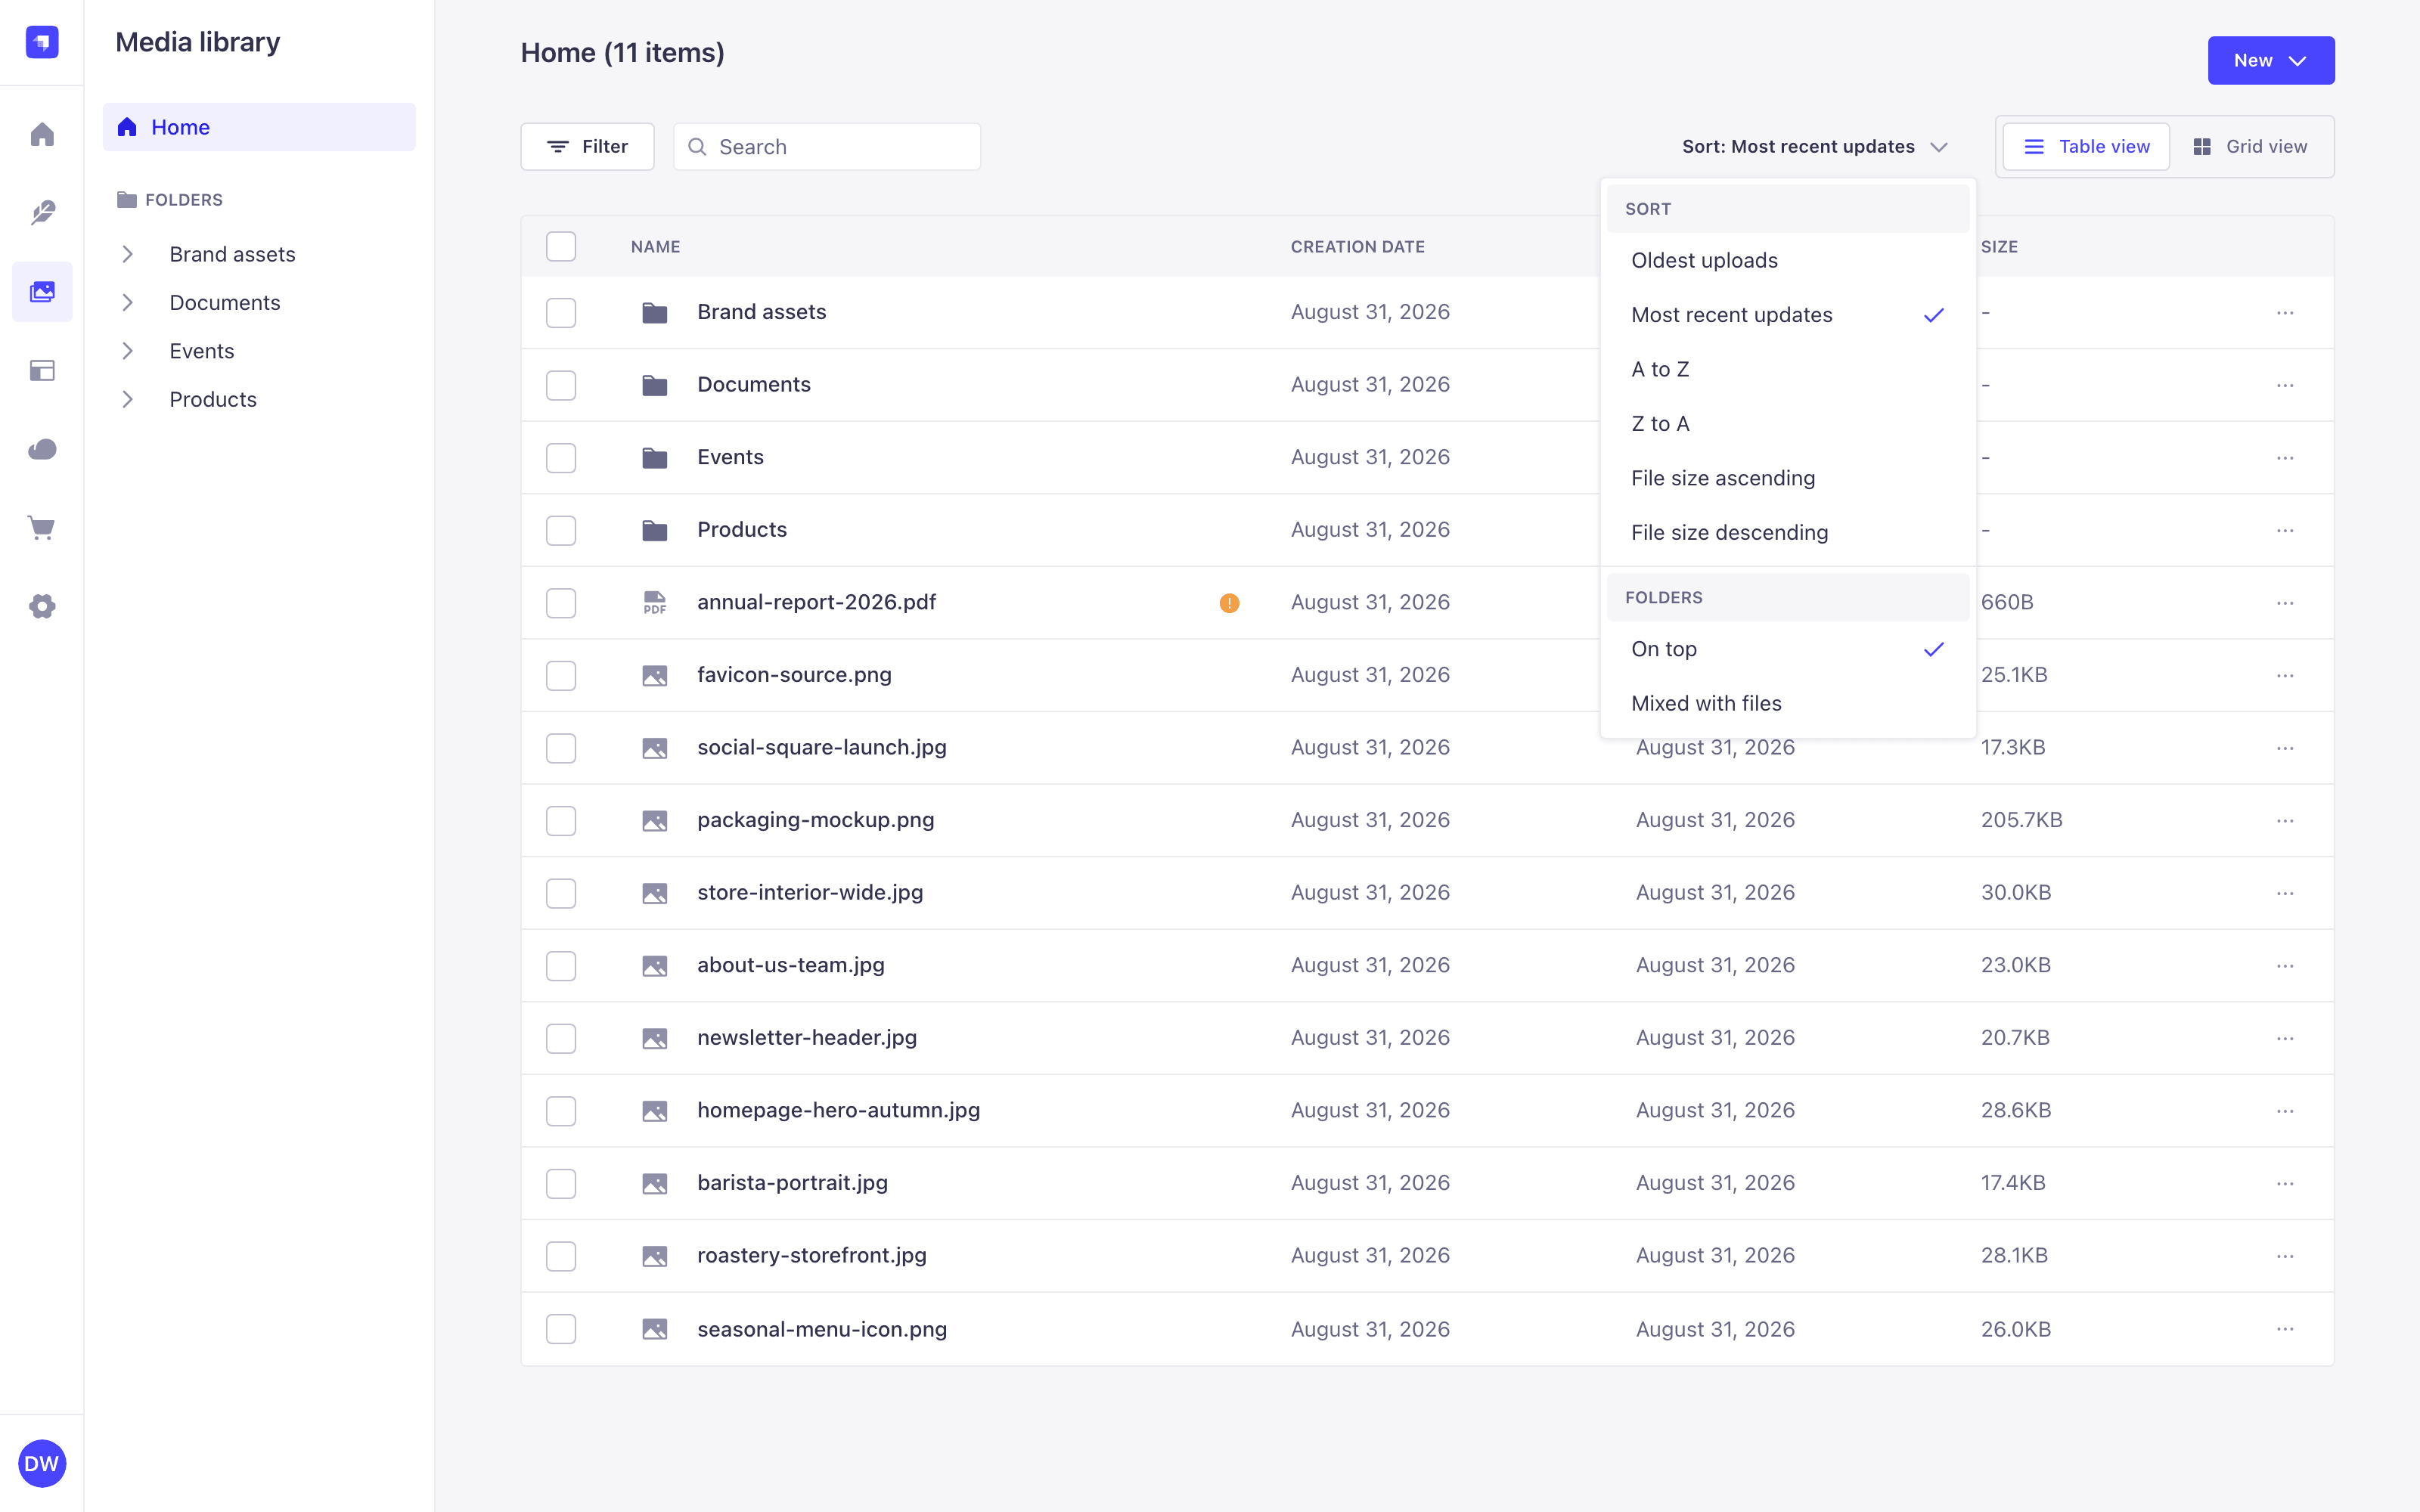
The Sort section offers 6 mutually exclusive rules: Oldest uploads, Most recent updates (the default), A to Z, Z to A, File size ascending, and File size descending.
In the table view, an additional Folders section decides whether folders are grouped On top, which is the default, or Mixed with files, in which case they follow the active sort rule. The grid view always groups folders on top, so it does not display that section.
Folders follow the active sort rule when it can apply to them: Oldest uploads orders them by their own creation date, and A to Z and Z to A by name. They stay in alphabetical order for the default Most recent updates rule, and for the 2 file size rules because folders have no size.
Managing individual assets
Click an asset in the list to open its details panel on the right side of the interface. The list stays visible and usable behind the panel.
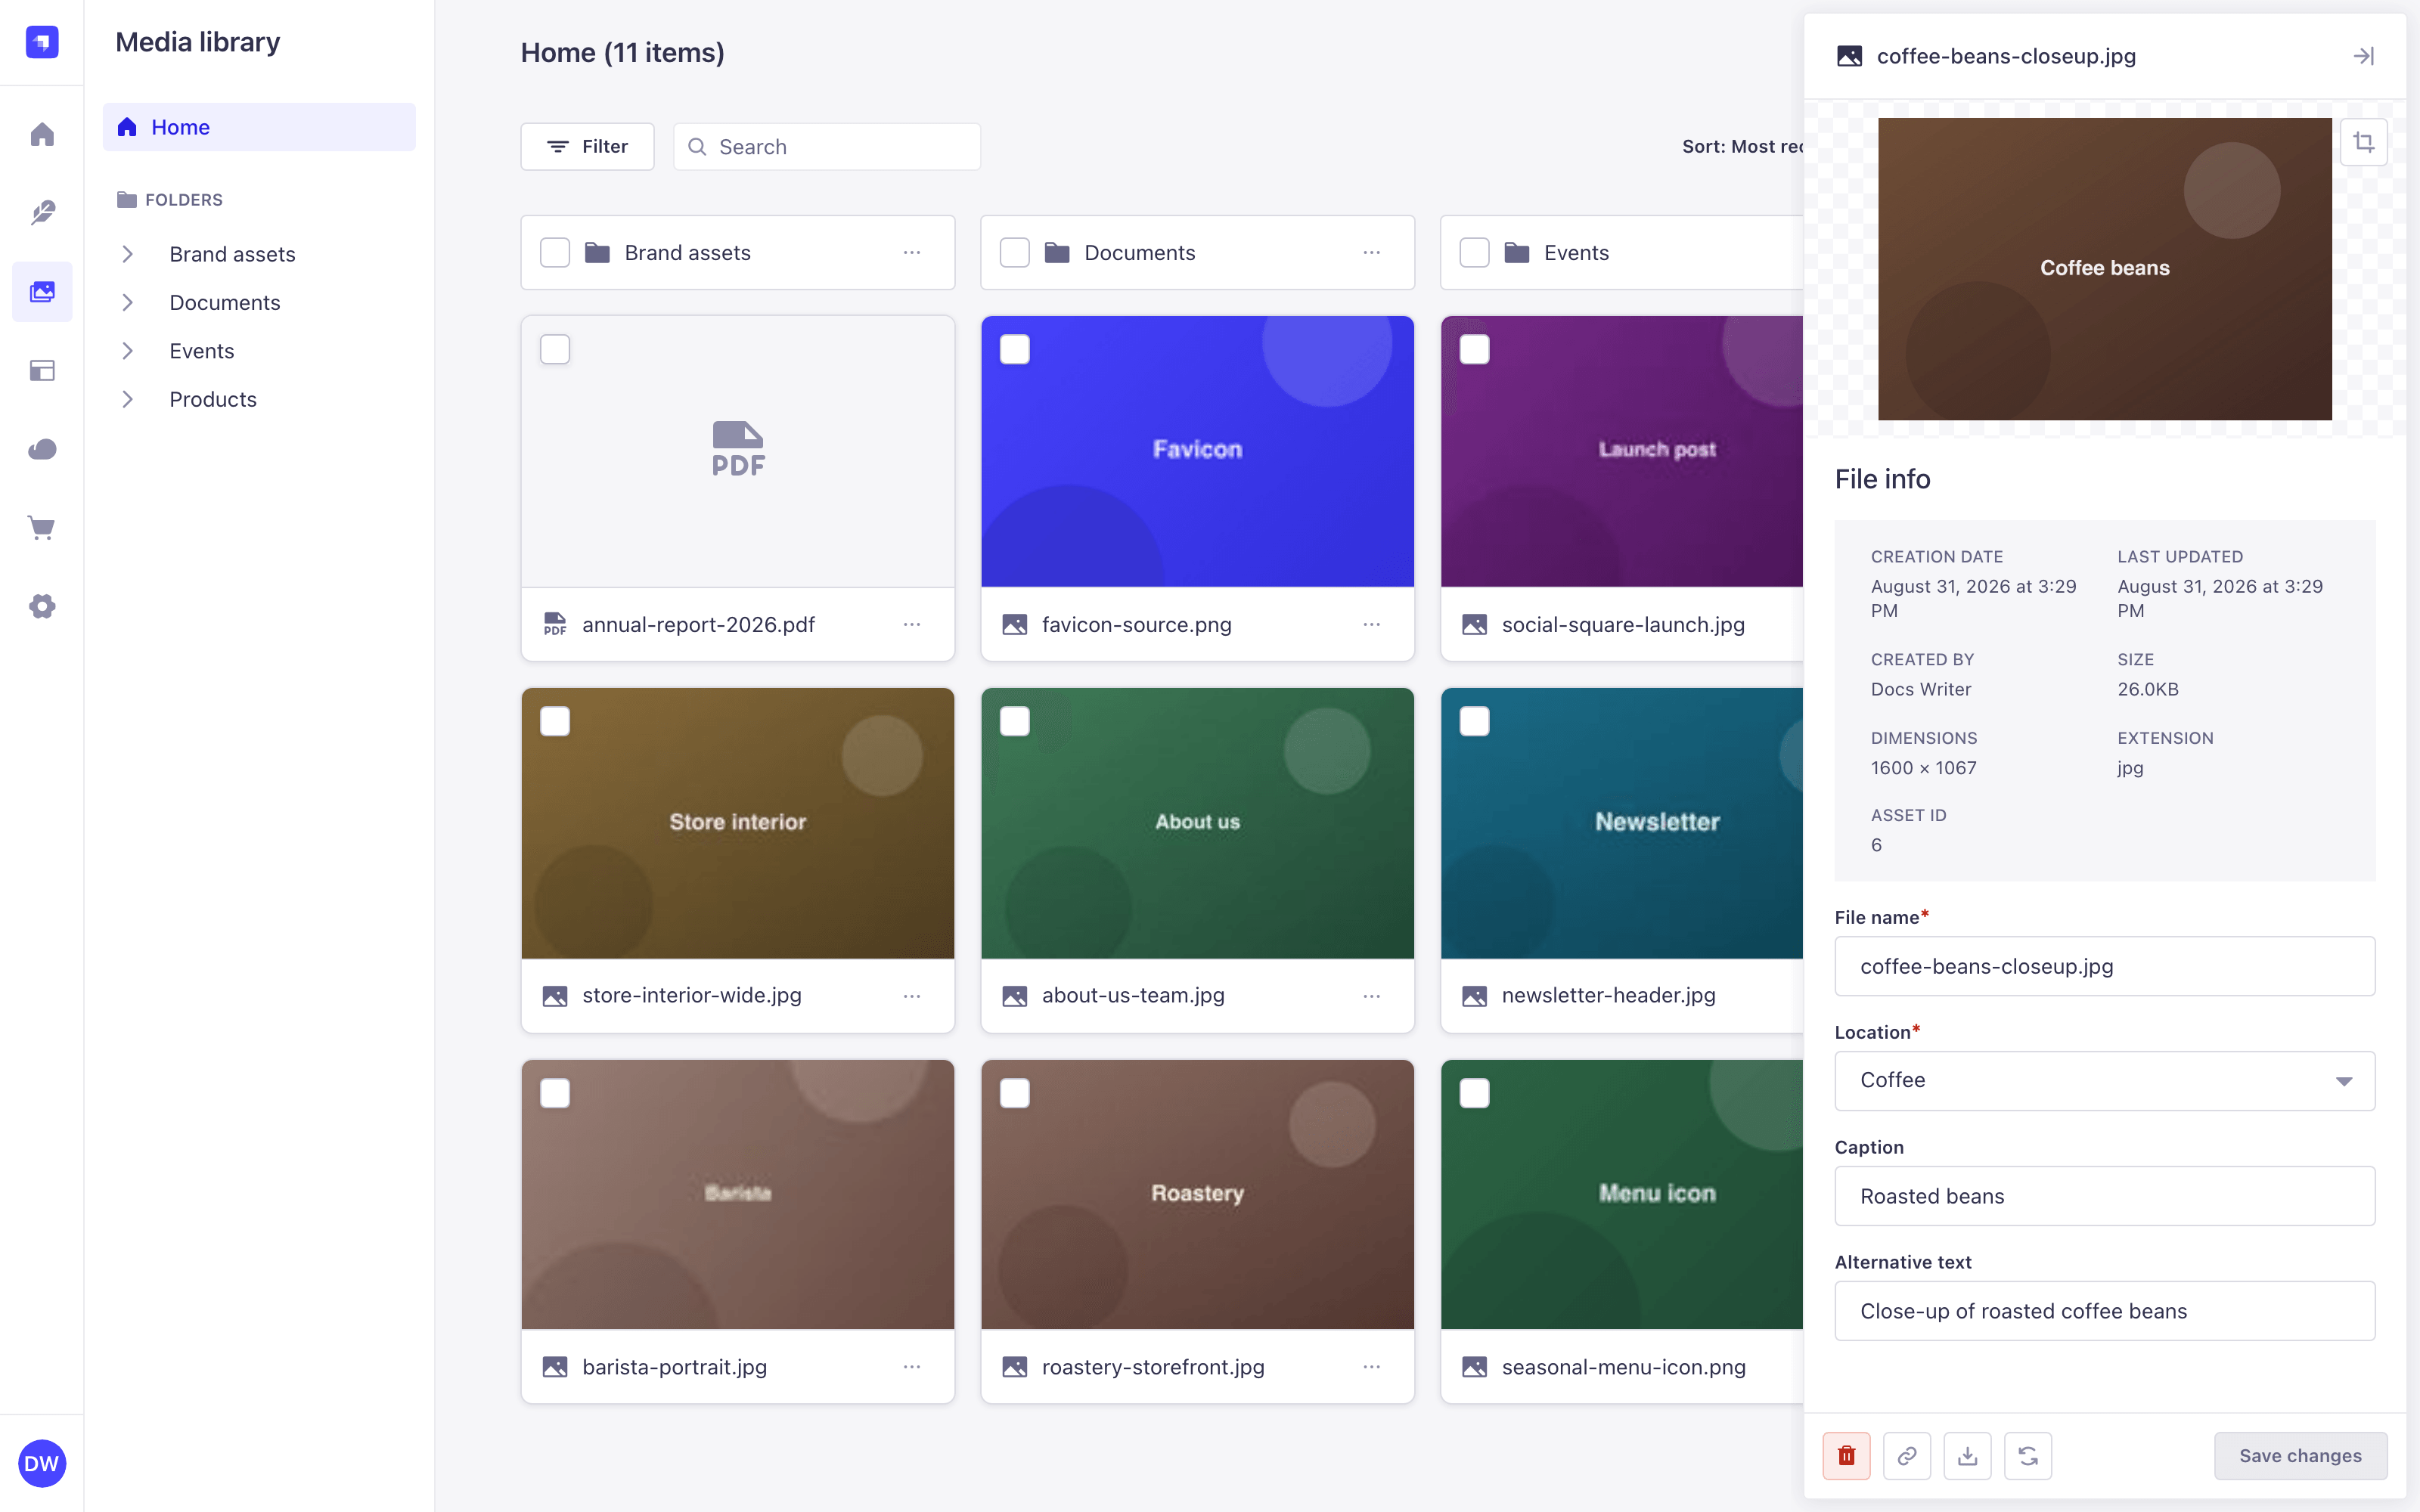
The panel is organized as follows:
- A preview of the asset. Images are displayed, videos and audio files can be played with the browser's own controls, and PDFs are rendered inline. Any other file type displays its icon and No preview available. Images also get a Crop button (see cropping images and setting a focus area).
- A read-only File info section listing the Creation date, Last updated, Created by, Size, Dimensions (images only), Extension and Asset ID of the asset.
- The editable File name, Location, Caption and Alternative text fields. A caption and an alternative text can be set on any file type, not only images, and a warning is displayed next to each of the 2 fields when it is empty.
- A row of icon-only buttons at the bottom: Delete this file, Copy link, Download and Replace this file, next to the Save changes button.
Editing an asset name, caption and alternative text
To rename an asset, or to add or change its caption and alternative text:
- Click the asset in the list.
- Update the File name, Caption or Alternative text fields.
- Click Save changes.
Save changes stays disabled until you change something, and an empty File name prevents saving. If you close the panel with unsaved changes, Strapi asks you to confirm before discarding them.
The Location field of the same panel moves a single asset to another folder. See moving assets and folders for the other options.
Cropping images and setting a focus area
One editor handles both cropping and the focus area. The focus area, also called focal point, keeps the most important part of an image visible when your front end crops or resizes it.
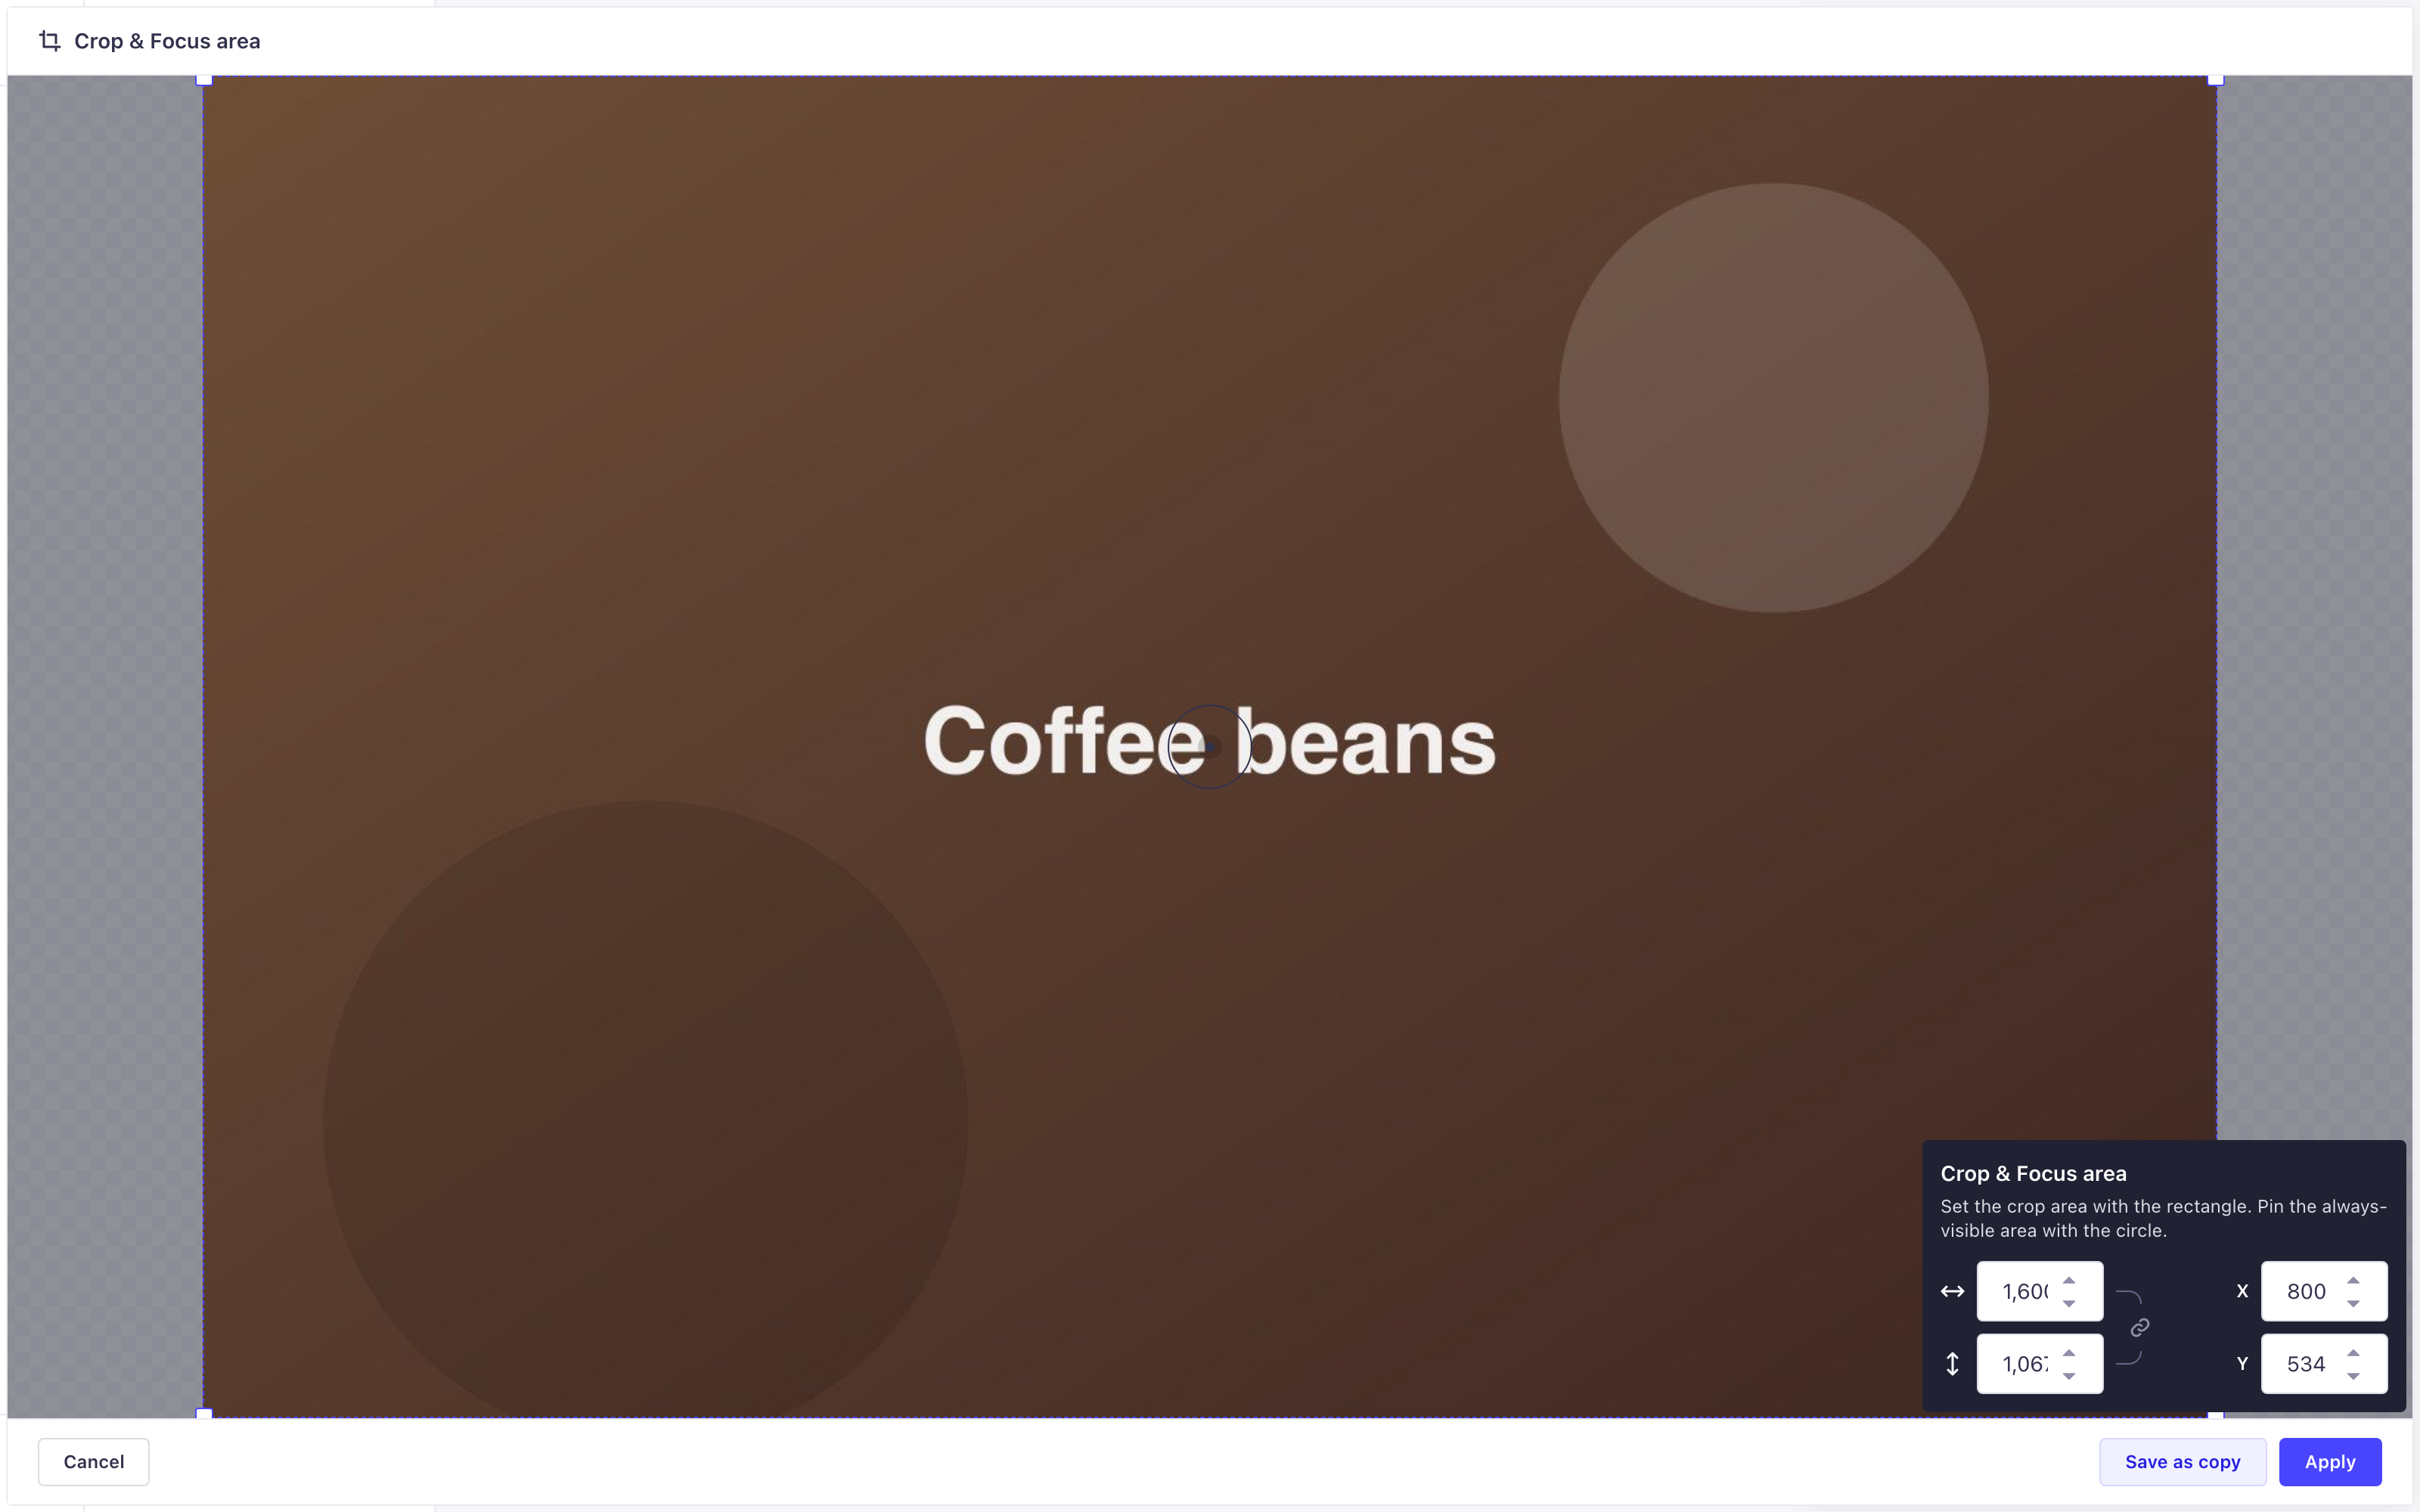
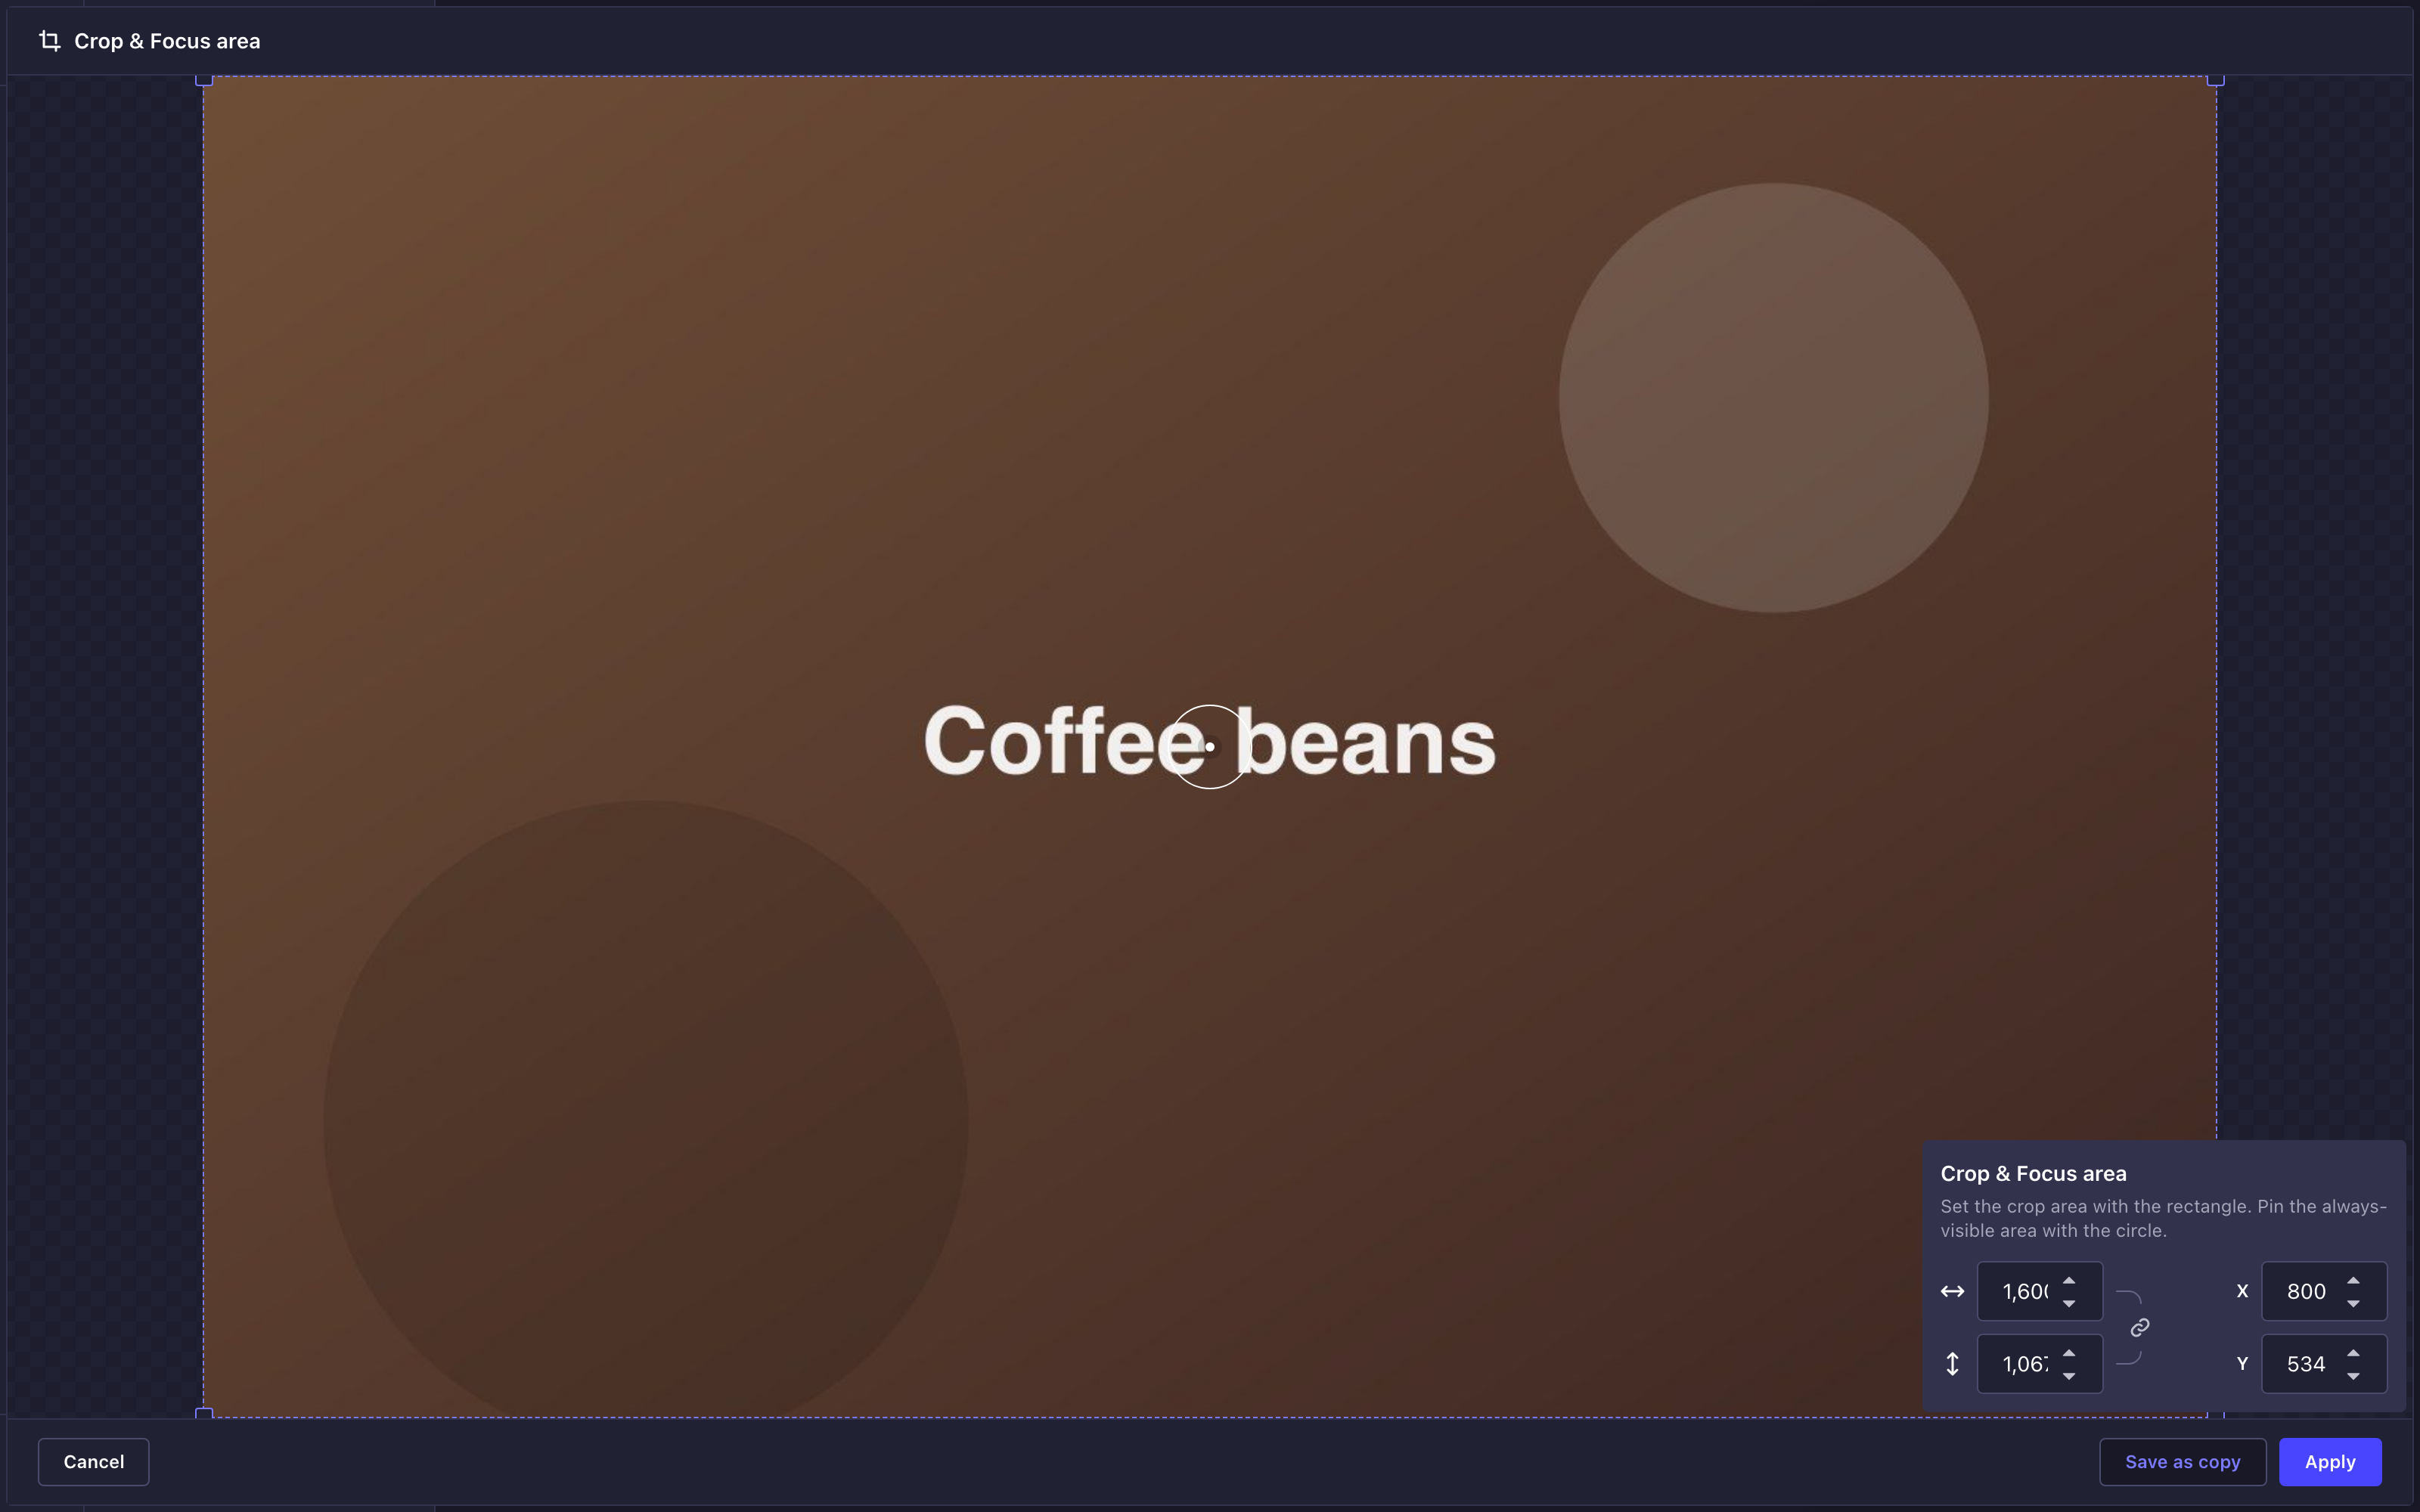
- Click an image in the list to open its details panel.
- Click the Crop button on the preview. The Crop & Focus area editor opens.
- Define the crop area by dragging the handles in the corners of the rectangle, or by typing exact values in the width and height fields of the editor panel.
- (optional) Click the Lock aspect ratio button to resize both dimensions together.
- Define the focus area by dragging the circle inside the crop rectangle, or by typing exact values in the X and Y fields.
- Save your changes:
- Click Apply to crop the original asset. The asset keeps its ID, so content already using it is updated.
- Click Save as copy to keep the original untouched and create a new asset in the same folder. The copy inherits the caption and the alternative text of the original.
To leave the editor without changing anything, click Cancel.
The focus area is stored on the asset and returned by the API as a focalPoint value, so your front end can use it when it crops or resizes the image.
The numeric fields are hidden on small screens. Set the crop and focus areas by dragging the rectangle and the circle directly on the image instead.
Replacing an asset file
Replacing swaps the file behind an asset while keeping the asset itself, so every content entry already pointing at it keeps working.
- Click the asset in the list to open its details panel.
- Click the Replace this file button.
- Click Continue in the confirmation dialog.
- Select the new file in your system's file browser and confirm. The file browser only offers files whose type matches the current asset.
The previous file is permanently replaced and cannot be recovered. If AI metadata generation is enabled, Strapi also generates a new caption and alternative text for the replacement file, overwriting the existing ones. The confirmation dialog says so before you continue.
Downloading assets and copying links
- Click the asset in the list to open its details panel.
- Click the Download button to save the file to your computer, or the Copy link button to copy its URL to the clipboard.
Both actions are also available from the asset's More actions menu, as Download media and Copy link to media.
Copy link to media copies the asset's own URL, the one your front end uses to serve the file. Copy link to folder, in a folder's More actions menu, copies a link to that folder in the admin panel, which only works for someone logged into Strapi.
Deleting assets
- Click the asset in the list to open its details panel.
- Click the Delete this file button.
- Click Confirm.
Deleted files cannot be recovered. If a file is currently in use, the linked content breaks and image containers are left empty.
Assets can also be deleted in bulk, together with folders (see deleting items in bulk).
Using bulk actions
Bulk actions apply to a selection of assets and folders. Select the items first, then pick an action in the bulk actions bar.
Selecting items
Click the checkbox of a folder or an asset to select it. Assets and folders can be selected together.
The following shortcuts speed up selection:
| Shortcut | Description |
|---|---|
Cmd/Ctrl + click | Adds an item to the selection or removes it. |
Shift + click | Selects every item between the last selected item and the clicked one. |
Space | With a card or a row focused, adds it to the selection or removes it. |
Enter | With a card or a row focused, opens the asset details panel, or enters the folder. |
Both modifier shortcuts work on the card or the row itself. Clicking the file name always opens the details panel, whatever modifier you hold.
In the table view only, a Select all checkbox in the header row selects every item currently displayed. The grid view has no equivalent.
Selecting an item displays the bulk actions bar at the bottom of the interface. The bar reports how many items are selected and offers the bulk actions. Click Clear selection to empty the selection.
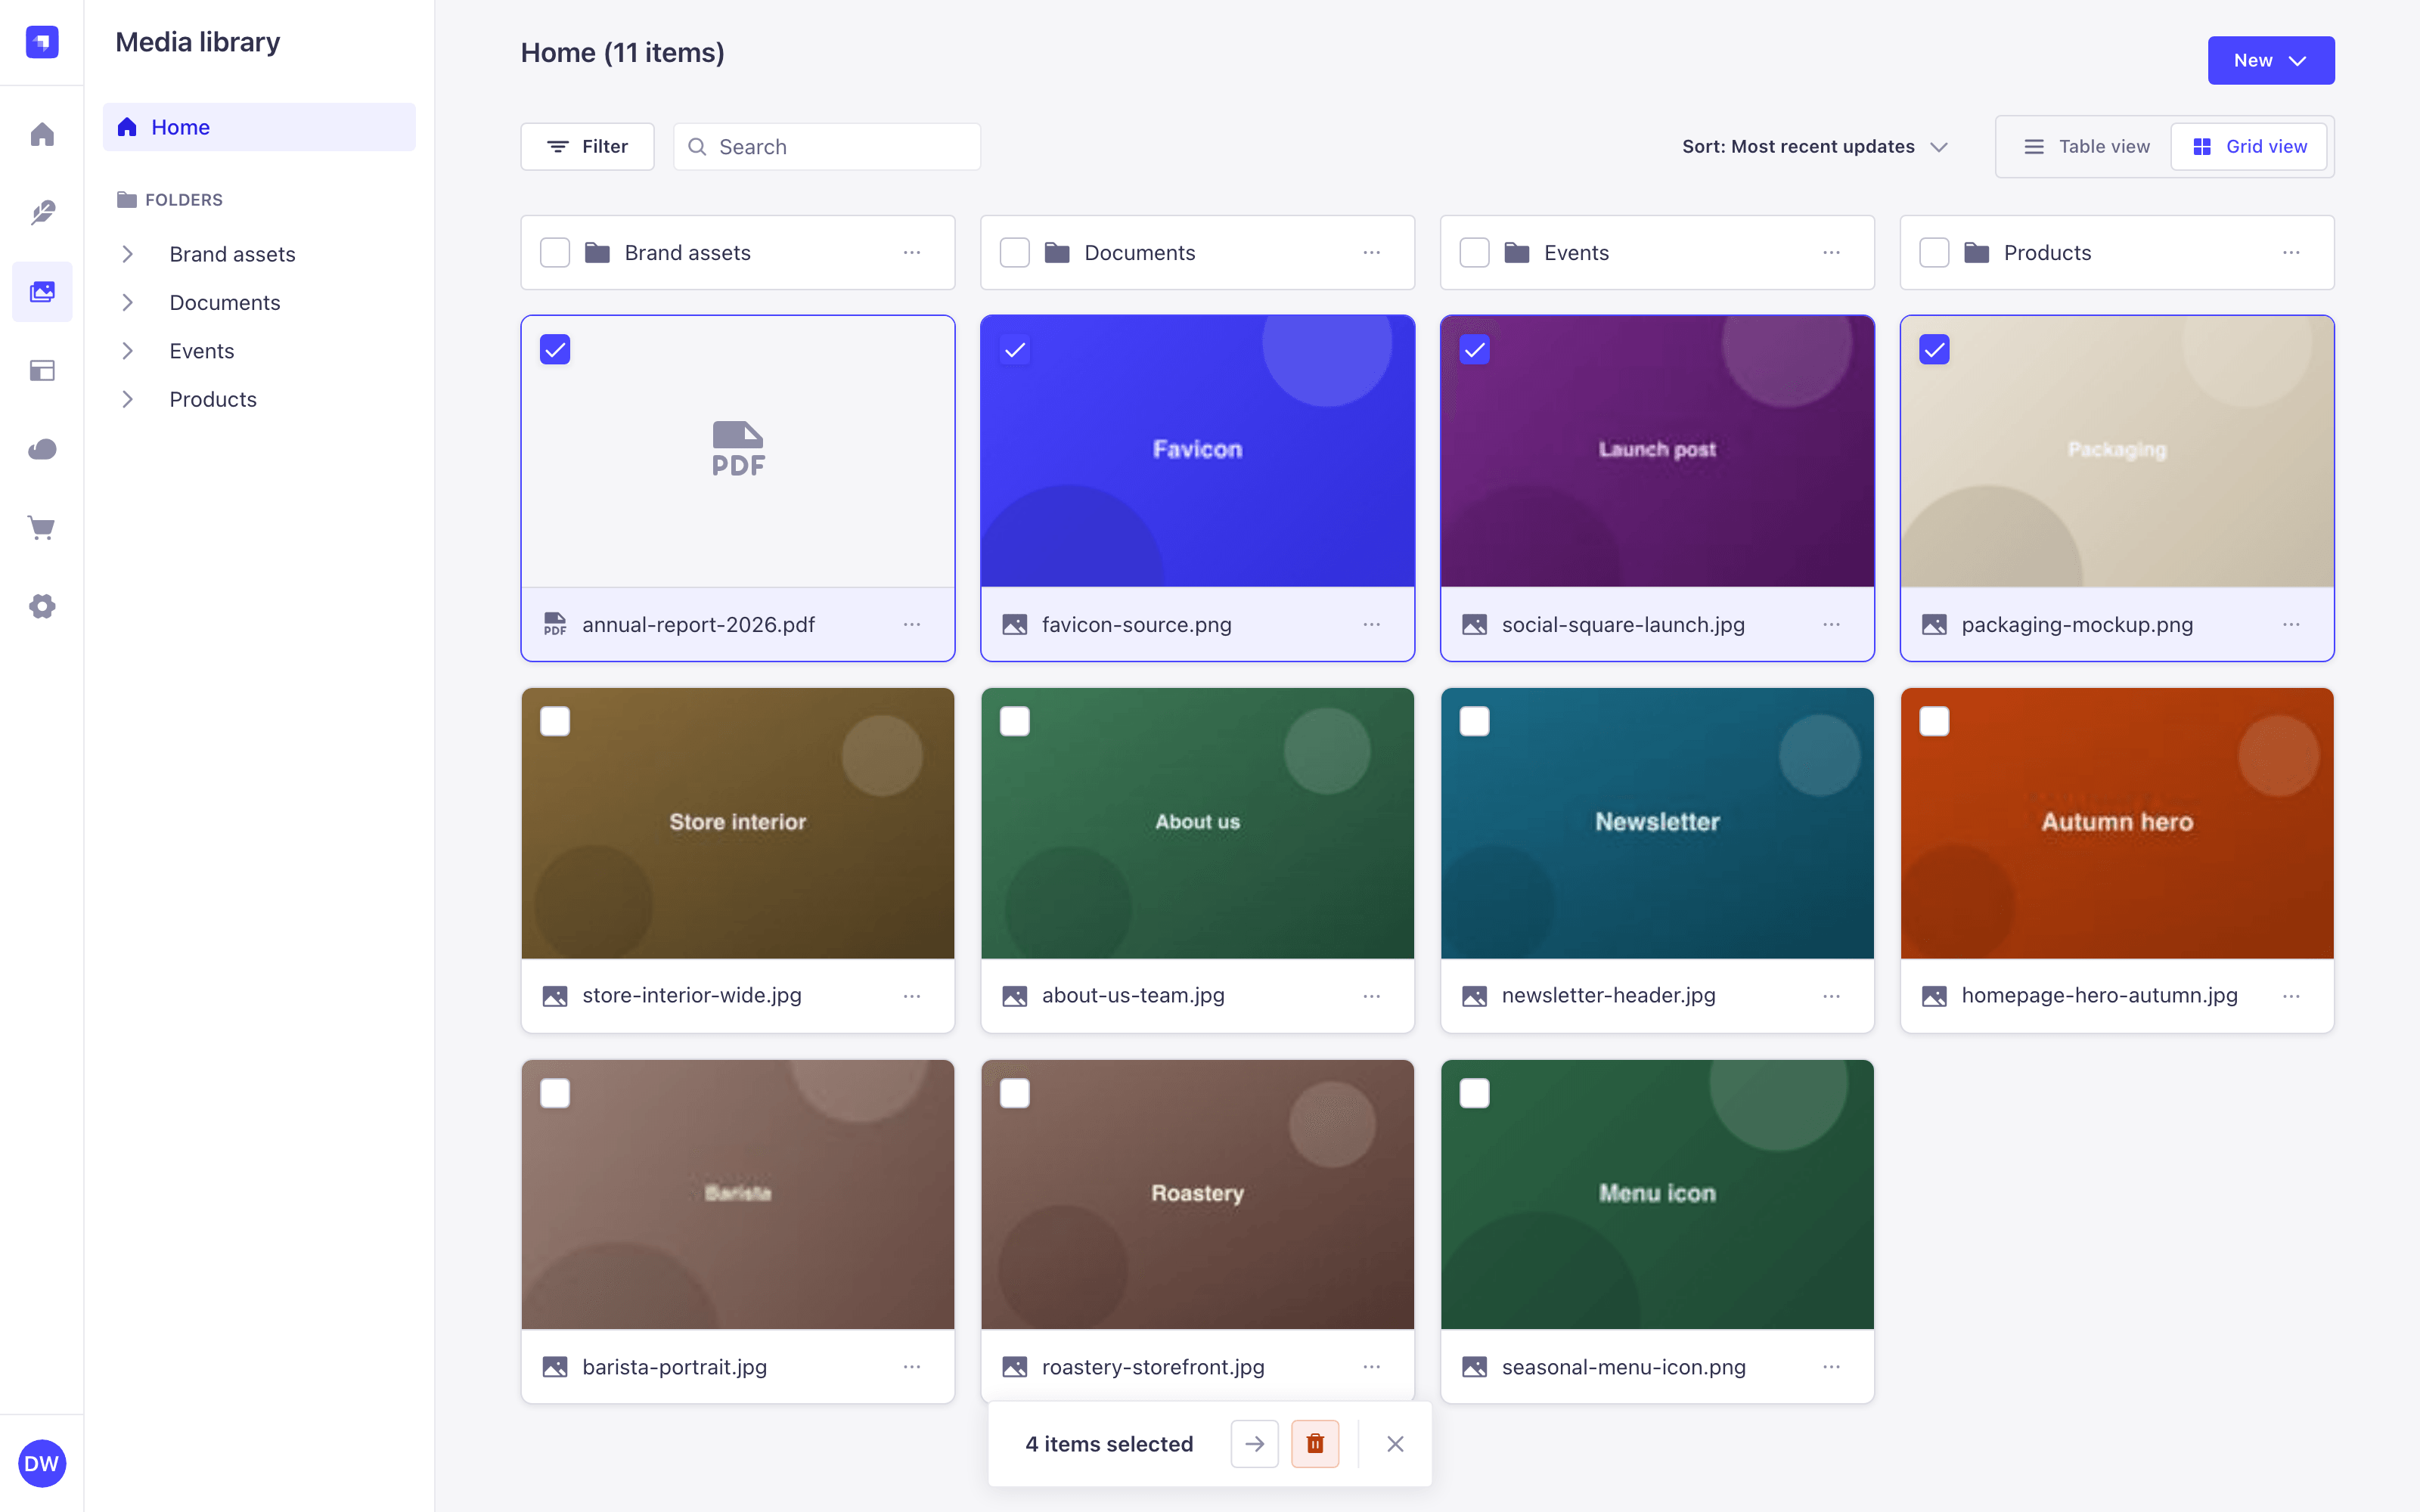
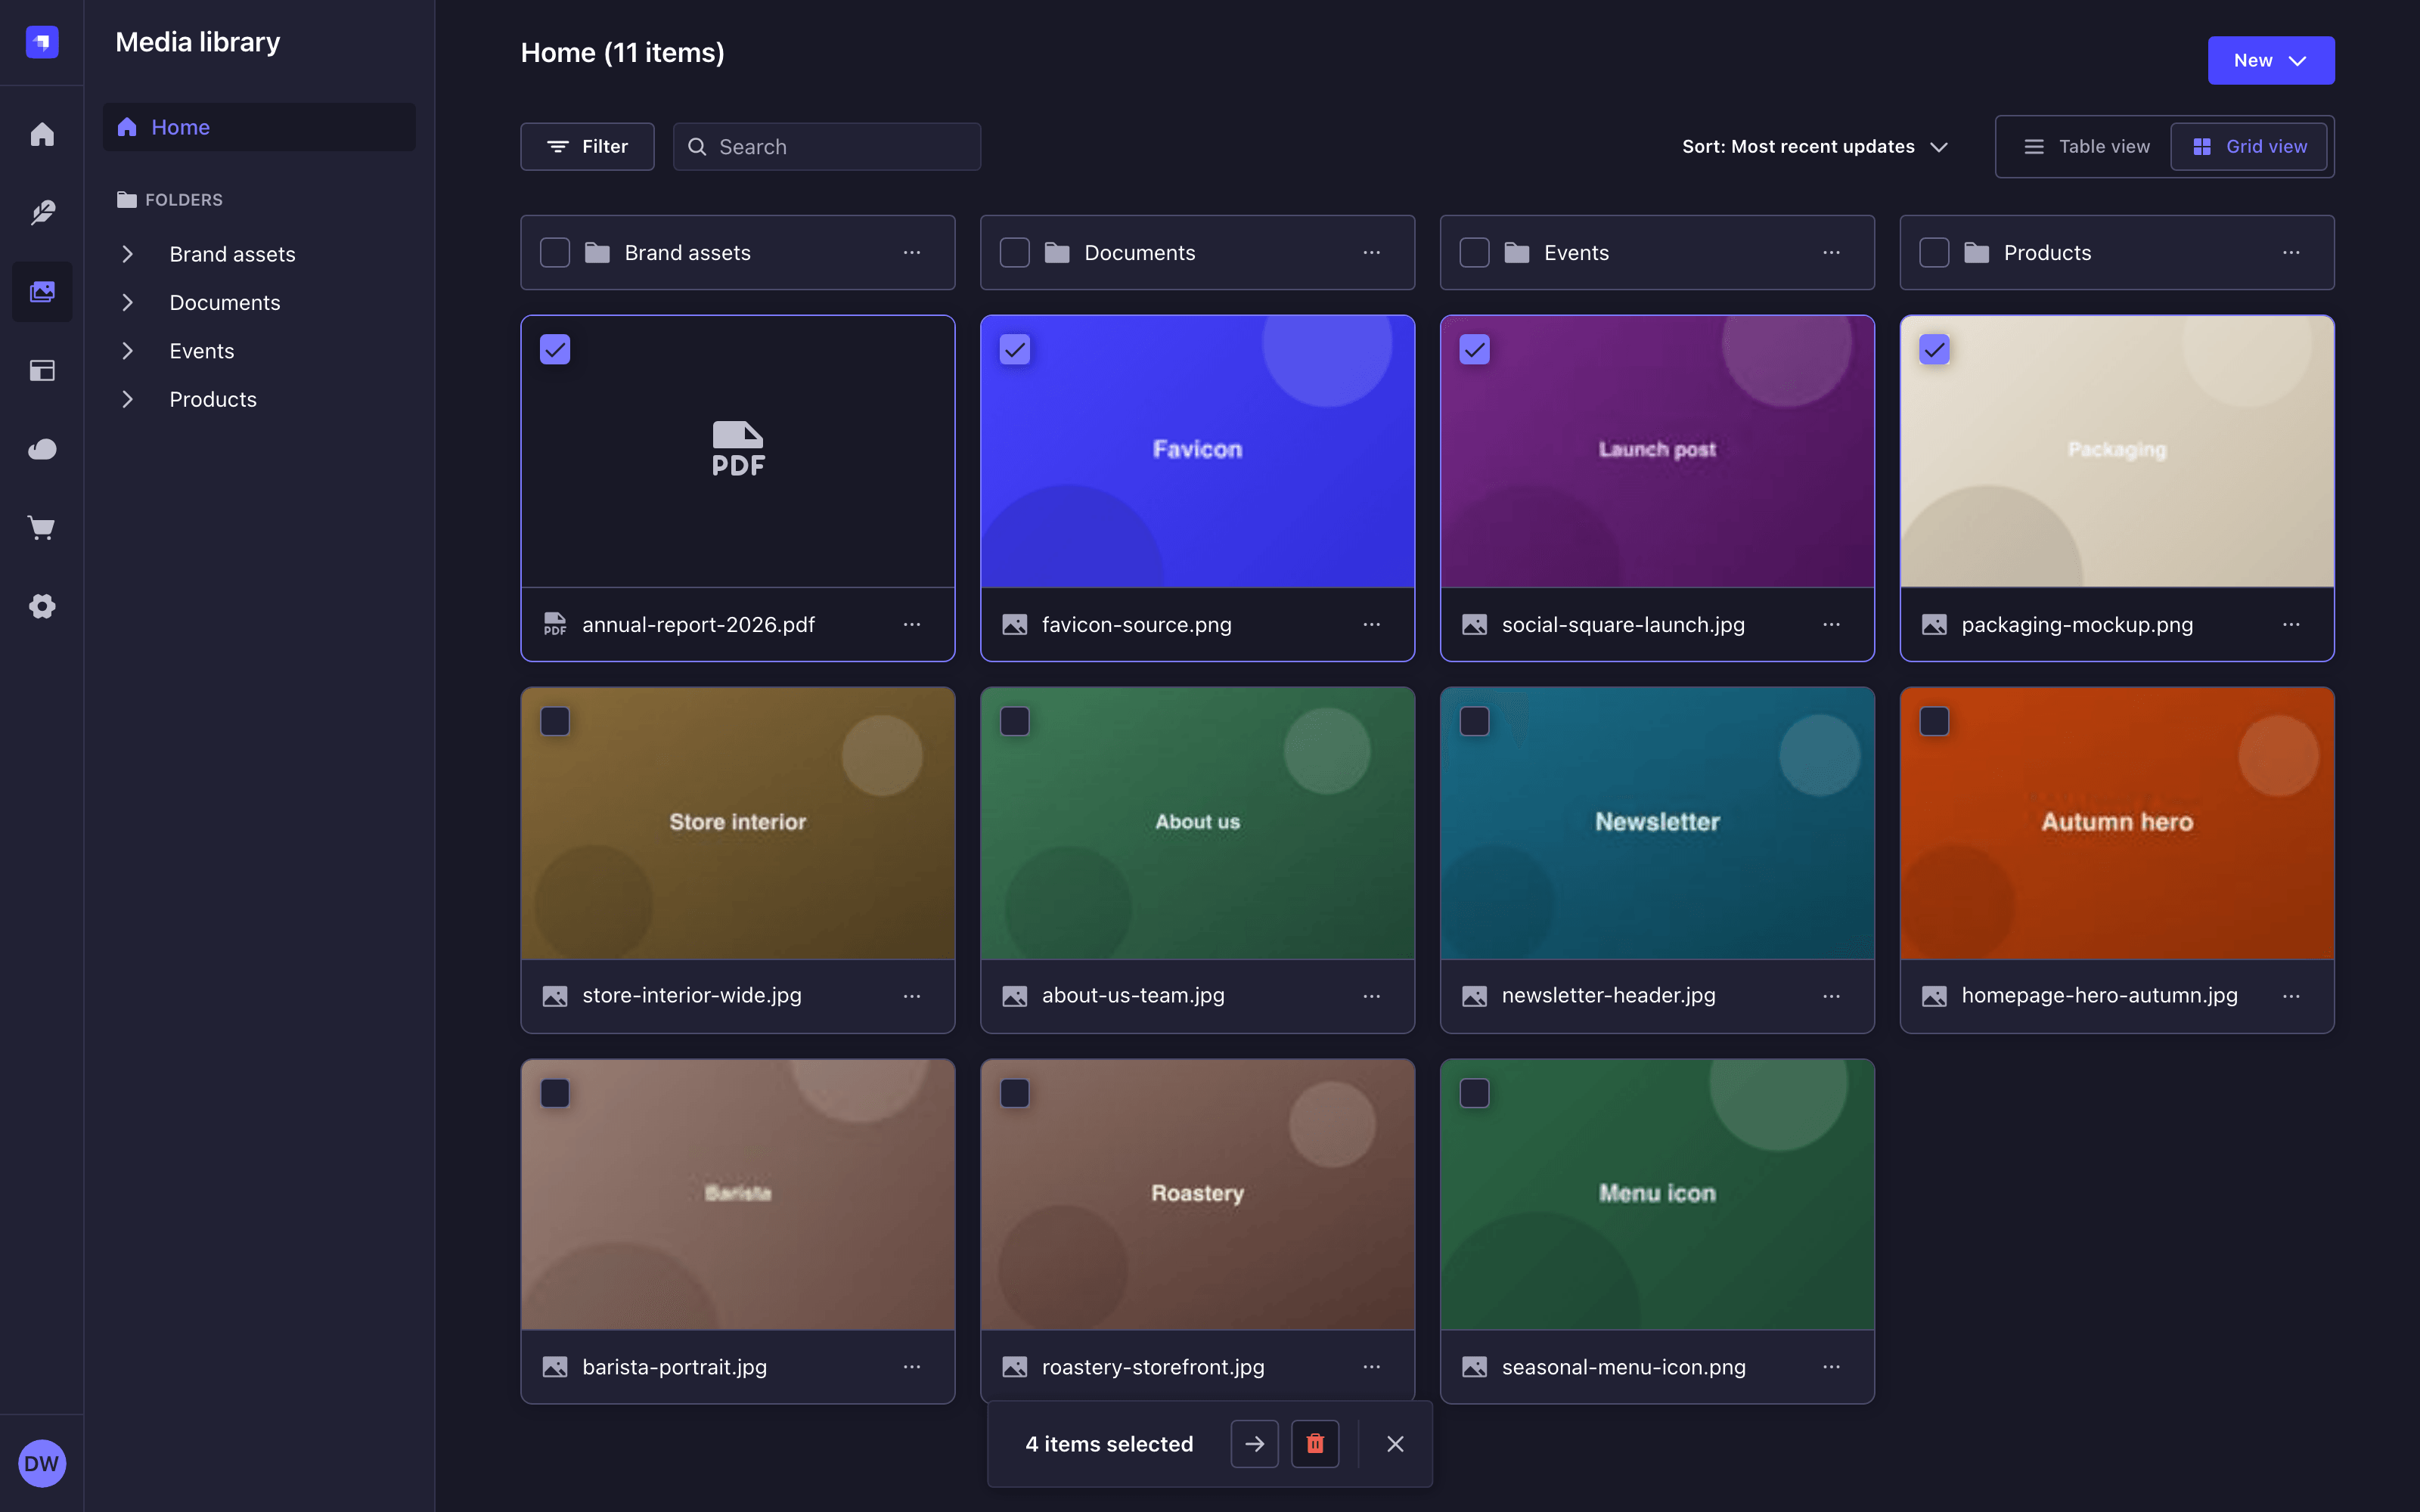
The selection survives switching between the grid and the table view, but it is emptied when you navigate to another folder or change the search, the filters or the sort order.
Opening an asset details panel hides the bar while the panel is open. The selection is kept and the bar comes back when you close the panel.
Moving items in bulk
- Select the assets and folders to move.
- Click the Move button in the bulk actions bar.
- In the Move elements to dialog, select the destination in the Location list. The root of the library is listed there as Media Library, and folders carry their full path, for instance Brand assets / Logos. The folder the items already sit in, and any folder they cannot be moved into, are not listed.
- Click Move.
Items can also be moved by drag and drop (see moving assets and folders).
Deleting items in bulk
- Select the assets and folders to delete.
- Click the Delete button in the bulk actions bar.
- Click Confirm in the dialog.
Deleting a folder also deletes everything it contains, including its subfolders and their assets. None of it can be recovered.
Generating metadata in bulk
GrowthThis feature is available with a Growth plan.When Strapi AI is enabled, a Create metadata button in the bulk actions bar generates a caption and an alternative text for the selected images.
- Select the images to describe.
- Click the Create metadata button in the bulk actions bar.
Metadata can be generated for up to 40 assets at a time. Only PNG, JPEG, WebP, HEIC and HEIF images are supported: selected folders are ignored, and selected files of any other type are reported as skipped.
Organizing assets with folders
Folders in the Media Library help you organize uploaded assets. From the Media Library, it is possible to create new folders, move assets and folders, rename a folder, and delete folders. To browse them, see navigating folders.
Folders follow the permission system of assets (see Users & Permissions feature). It is not yet possible to define specific permissions for a folder. Creating a folder requires the Create permission on assets, and renaming, moving or deleting one requires the Update permission.
In this beta, Rename folder, Move to folder and Delete folder are displayed to every user who can see the folder, including users without the Update permission on assets. The action is then refused by the server.
Adding folders
- Navigate to the location where the folder must be created.
- Click the New button in the upper right corner of the Media Library.
- Click New folder.
- Type a name in the Folder name field.
- Click Create folder.
The dialog title names the parent folder, for instance New folder in Home. To create the folder somewhere else, cancel, navigate to the intended parent, and start again.
Moving assets and folders
Assets and folders can be moved in 3 ways:
- By drag and drop, for a few items at a time. Drag an asset or a folder onto a folder in the list, or onto a folder of the folder tree, including Home. Hovering a folder of the tree for a moment expands it, so that you can drop items into a subfolder in one gesture. Dragging one item of a selection moves the whole selection.
- With the Move elements to dialog, for many items at once (see moving items in bulk). It is also available for a single item, as Move to folder in its More actions menu.
- From the details panel of an asset, by changing its Location field (see managing individual assets).
A folder cannot be moved into itself or into one of its own subfolders. Invalid destinations are refused while you drag.
Drag and drop uses the pointer. To move items with the keyboard, use the Move to folder action of the More actions menu instead.
Renaming folders
- Click the More actions button of the folder.
- Click Rename folder.
- Type the new name in the Folder name field.
- Click Save.
A folder name must be unique among the folders sharing the same parent.
Deleting folders
- Click the More actions button of the folder.
- Click Delete folder.
- Click Confirm.
Deleting a folder also deletes everything it contains, including its subfolders and their assets. None of it can be recovered, and the confirmation dialog does not say so.
Folders can also be deleted in bulk, together with assets (see deleting items in bulk).
Usage with the REST API
The Media Library feature has some endpoints that can accessed through Strapi's REST API:
Use public assets in your code
Public assets are static files (e.g., images, video, CSS files, etc.) that you want to make accessible to the outside world.
Because an API may need to serve static assets, every new Strapi project includes by default a folder named /public. Any file located in this directory is accessible if the request's path doesn't match any other defined route and if it matches a public file name (e.g. an image named company-logo.png in /public/ is accessible through /company-logo.png URL).
index.html files are served if the request corresponds to a folder name (/pictures url will try to serve public/pictures/index.html file).
The dotfiles are not exposed. It means that every file name that starts with ., such as .htaccess or .gitignore, are not served.